© 2001 RadioShack Corporation.
All Rights Reserved.
RadioShack and RadioShack.com are trademarks used by RadioShack Corporation.
OWNER’S MANUAL — Please read before using this equipment.
Mini Twin Desktop Charger for Nokia 5100/6100 Cellular Phones
Your RadioShack Mini Twin Desktop Charger for Nokia 5100/6100
Cellular Phones lets you charge or discharge lithium ion, nickel-metal
hydride, or nickel-cadmium rechargeable batteries for Nokia 5100/
6100 cellular telephones. You can keep the phone with a battery in-
stalled in the front chamber and a spare battery in the rear chamber,
so you always have the power you need to stay connected.
The charger has these features:
Battery Condition Detection — automatically detects whether the
battery is discharging, charging, or fully charged.
2 LED Charging/Discharging Indicators — lets you see the battery’s
condition at a glance.
Short Circuit, Peak Voltage, and 41/2-Hour Maximum Time Pro-
tection — uses three different circuits to protect the battery in the rear
slot from being damaged during charging or discharging.
Caution: Do not use any lithium ion battery other than one that is sold
by RadioShack or manufactured by the original phone manufacturer.
OPERATION
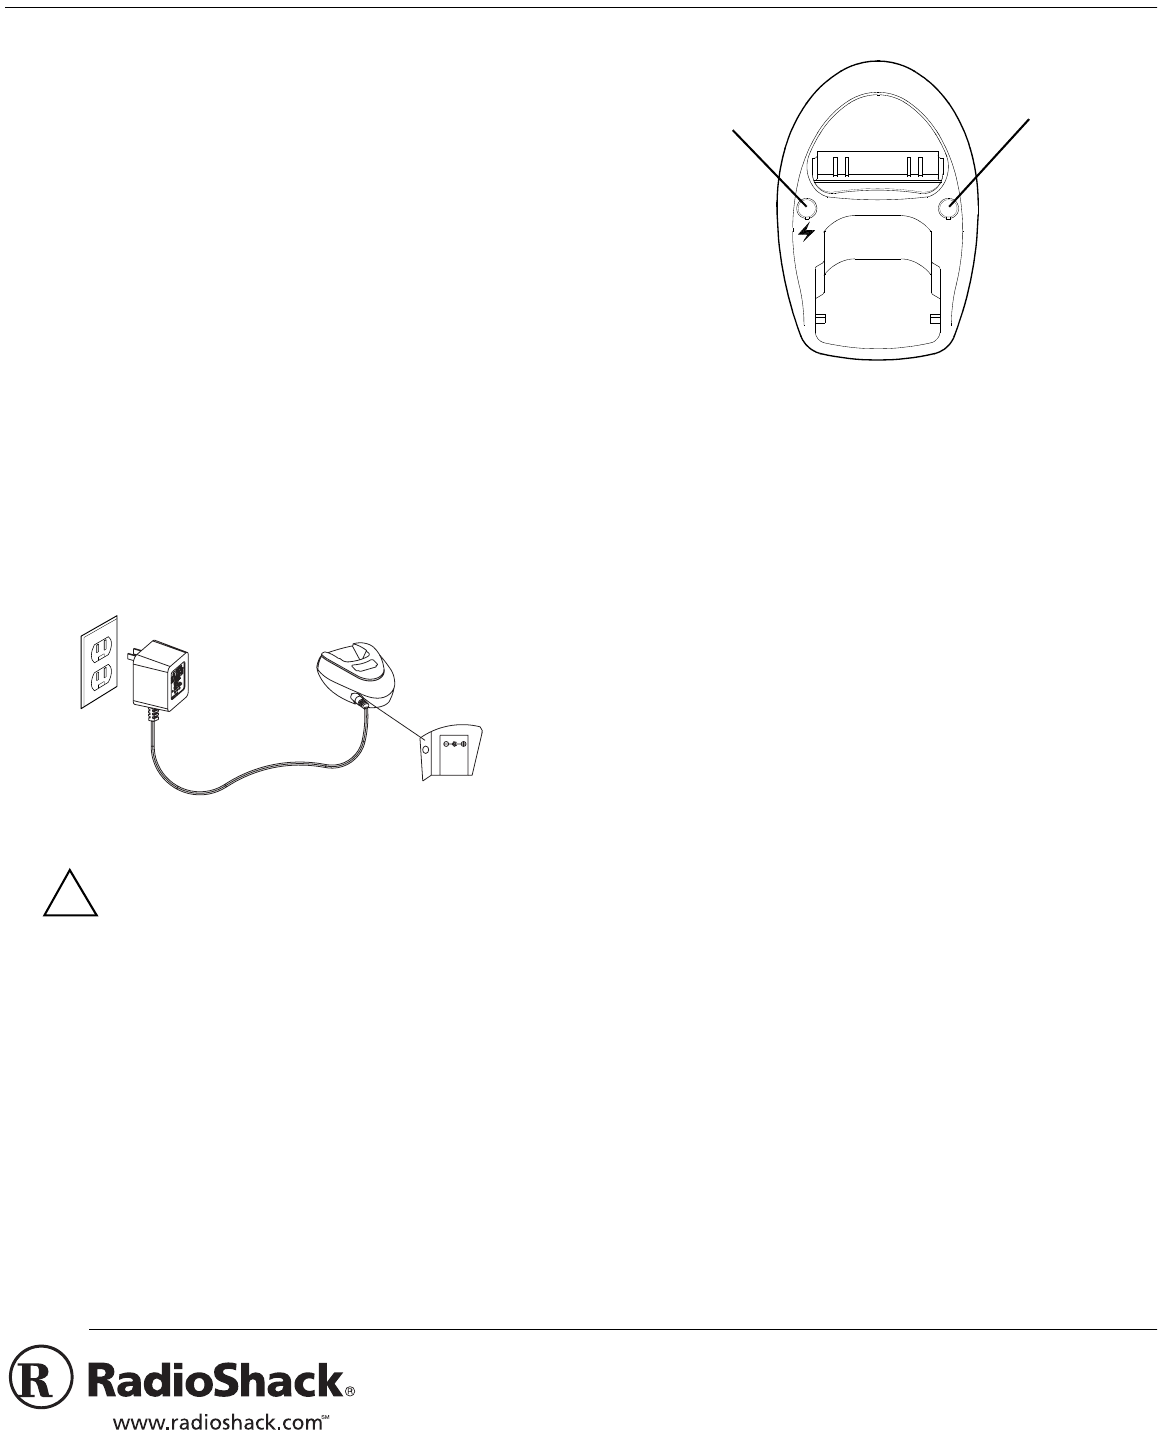
1. Insert the supplied AC adapter's barrel plug into the charger's DC
6V jack, then plug the adapter's AC plug into a standard AC outlet.
The green indicator lights for one second.
Cautions:
You must use a Class 2 power source that supplies at
least 6V DC and delivers at least 300 mA. Its center tip
must be set to positive and its plug must fit the charger's
DC 6V jack. The supplied adapter meets these specifications.
Using an adapter that does not meet these specifications could
damage the charger or the adapter.
• Always connect the AC adapter to the charger before you connect
it to AC power. When you finish, disconnect the adapter from AC
power before you disconnect it from the charger.
2. To charge a battery that is installed in a Nokia 5100 or 6100 cellu-
lar phone, insert the phone into the charger's front chamber. The
red indicator lights. The indicator does not change, since charge
status is indicated by the phone.
3. To charge an additional battery, simply insert it in the rear cham-
ber. The charger starts charging the battery.
To discharge the battery, press the discharge button. The charger
starts discharging the battery, then automatically starts charging when
the battery is discharged completely.
Note: You cannot discharge a battery in the front chamber.
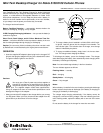
The rear indicator appears as follows:
Flashing Amber — standby
Red — charging
Steady Amber — discharging
Green — fully charged
Notes:
When a battery is installed in the rear chamber, pressing the discharge
button reverses the process to discharge (if the battery is charging) or
charging (if the battery is discharging).
The charger stops charging automatically if the battery cannot be
charged to a minimum working voltage. If the rear indicator goes from
redtoflashingamber,replacethebatterywithanewoneofthesame
type.
Do not store the battery in the charger for more than one week.
!
Front Indicator
Discharge
Button/
Rear
Indicator