


C
H
4
C
H
4
38
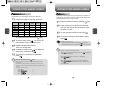
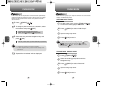
PHONE BOOK PHONE BOOK
39
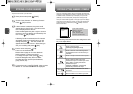
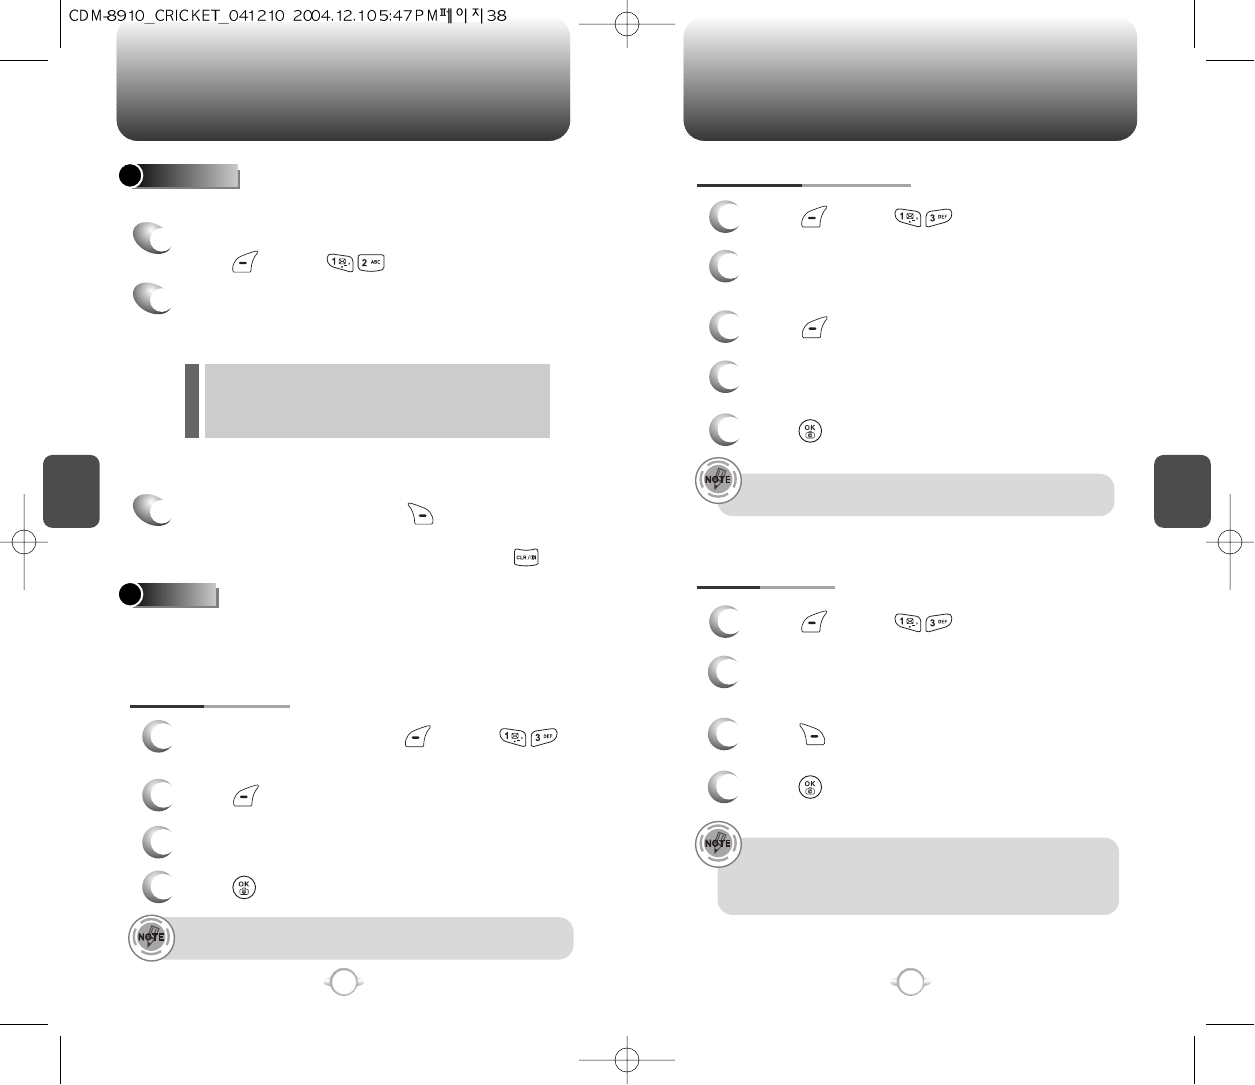
CHANGE GROUP NAME
2
Select an existing group name that you have
added with the Navigation Key.
4
Input a new group name.
5
Press [OK] to save it.
3
Press [MENU] to select “Rename”.
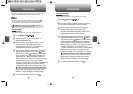
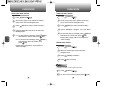
ERASE GROUP
2
Use the Navigation Key to select, then delete
the group.
3
Press [ERASE] to delete it.
4
Press [OK] to erase it.
The default group names (All, Personal, Business, Etc.) cannot
be changed.
To add a phone book entry to a group, select the name of the group
from the Group field when you add or edit the phonebook entry.
• The default group names (All, Personal, Business, Etc.)
cannot be erased.
• When executing erase group, the saved entries are moved
to the Etc. group.
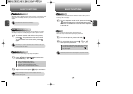
1
Press [MENU] .
1
Press [MENU] .
1
2
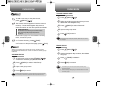
To add a new entry to the phone book,
press [MENU] .
Adds a new entry.
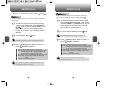
ADD NEW
The Contact screen appears. Enter the name of
the entry. Press the Navigation Key down to
enter information for the other phone book fields.
Please refer to page 31 for more details on entering
letters, numbers & symbols.
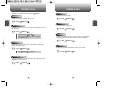
3
3.1 To save the entry, press [SAVE].
3.2 To return to the previous page, press [CLR].
PHONE BOOK FIELD :
Name/Mobile/Home/Office/Pager/Fax/E-Mail/ Wireless
Addr./Group/Ringer/Msg.Ringer/Graphic/Memo/
Set Secret.
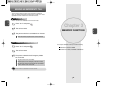
l
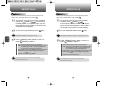
GROUP
Allows you to classify phone entries into groups. Existing groups
include Personal, Business, Etc. and All. A maximum of seven groups
is allowed.
1
3
To add a new group, press [MENU] .
A maximum of seven groups is allowed.
ADD NEW GROUP
Input a new group name.
4
Press [OK] to save it.
2
Press [MENU] to select “Add Group”.