


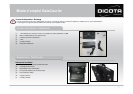
Installation of power supply
Installation of power supply
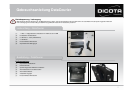
1) Take the remaining four Velcro pads and press two corresponding pairs together. Now you have two Velcro
pad pairs with a protective film on each side (also see Page 3, Fig. 1).
2) Remove the film on one side of each pad pair and press this side to the bottom of the synthetic box. Press the
divider pads to the back side of the DataCourier. Now you can attach the synthetic box to the left inner side of the
DataCourier by removing the remaining protective films.
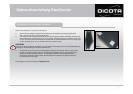
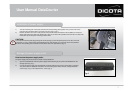
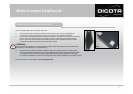
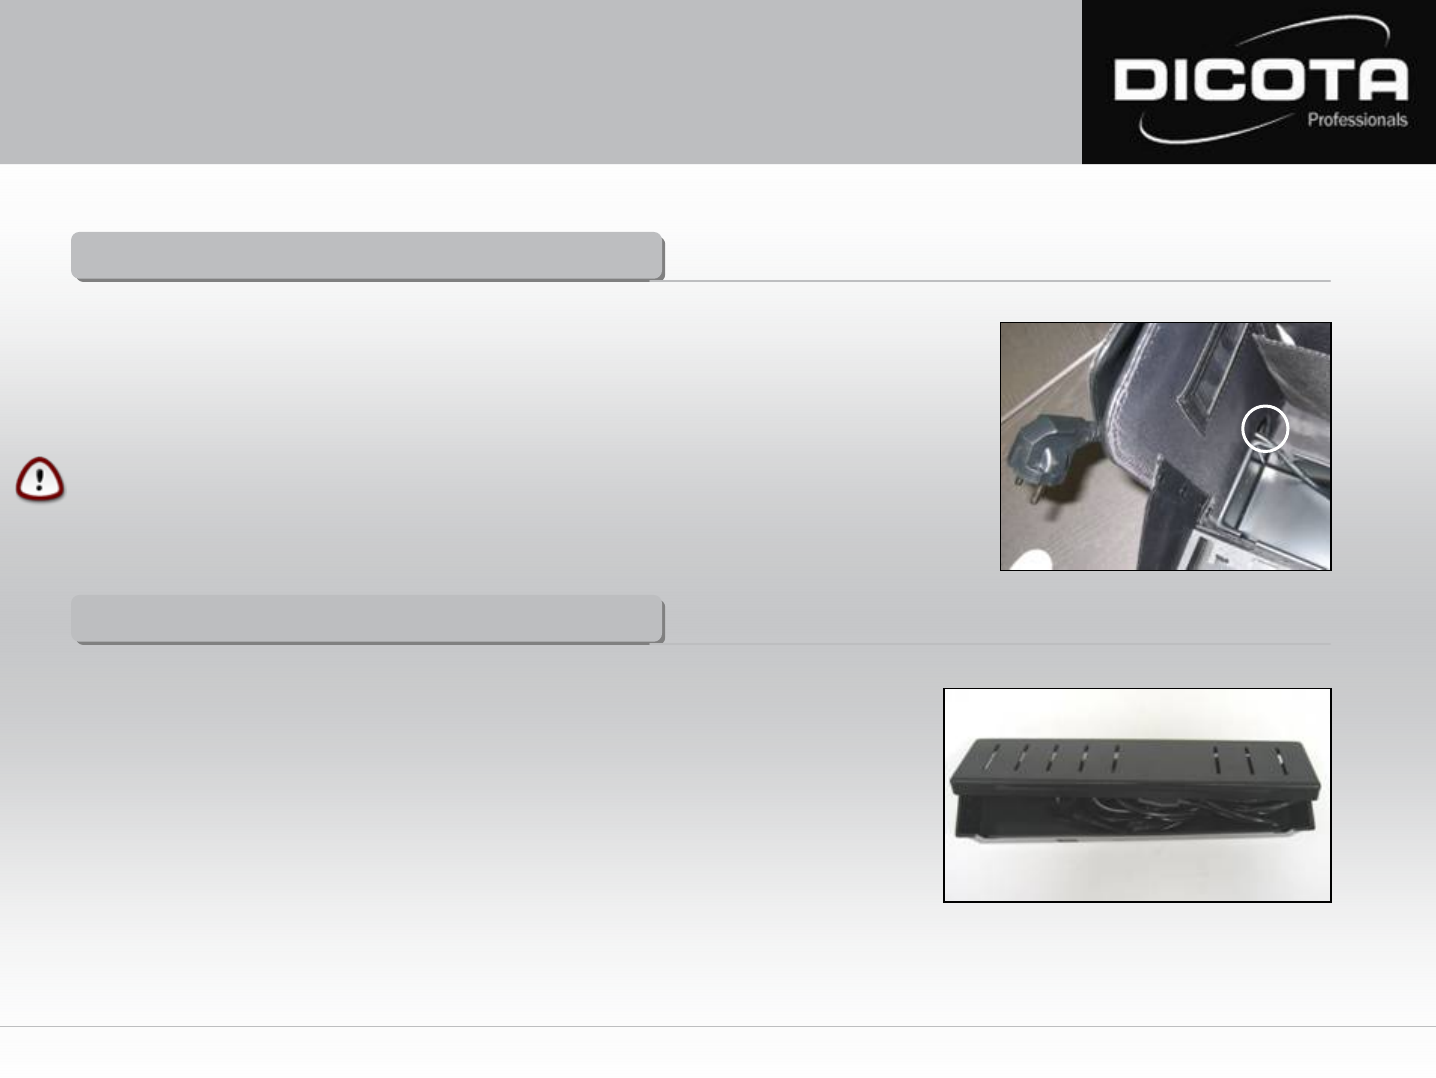
CAUTION!
You must first insert the power plug through the round opening (!) to the side pocket (This can be done on the left
or right side). In case a Velcro pad is already attached to the inner left side, you need only remove the protective
film of the corresponding side and attach it to the bottom side of the synthetic box (Fig. 5).
(1)
Fig. 5
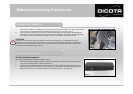
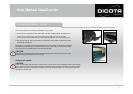
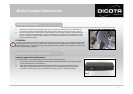
How to store the power supply units:
The power supply units are stored on the inside of the synthetic box.
1) Open the retractable lid. Place the power supply units that belong to your printer and Notebook into the
storage space (Fig. 6 (1)).
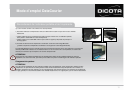
2) Connect the power supply units for Notebook and printer with the Euro 8 power socket (220 V) provided.
The power cables for Notebook and printer can be led through the slots on the left- and right-hand side
of the lid (Fig. 5 (1)). Then replace the lid – done! (Fig. 6)
Storage of power supply units
Storage of power supply units
Fig. 6
(1)
9
User Manual DataCourier