4/10
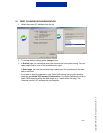
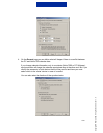
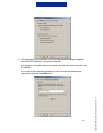
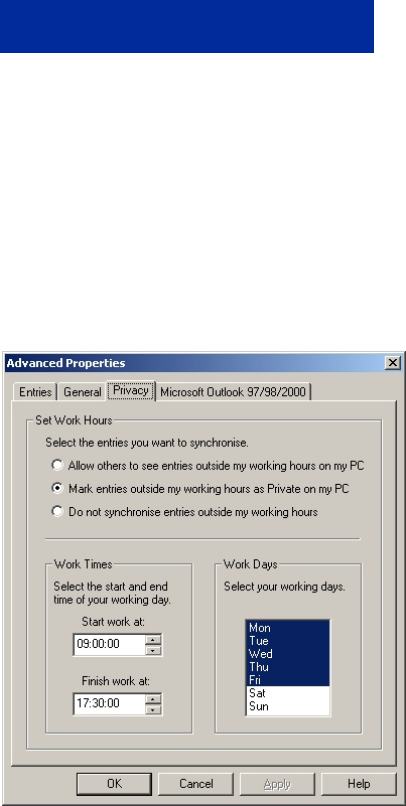
5. On the Privacy page you can set the time range for synchronization. You can set
your personal working times and days.
Synchronisation can include only working hours or both your working time and your
private time.
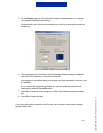
6. The appearance of the final sheet in the Advances properties dialog box depends
upon which PC software you are synchronizing with.
In this page you can define where your calendar and task information is stored in your
PC software.
If your mail profile is password protected you can also enter the password and
username by pressing the profile button.
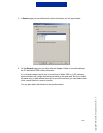
7. Press Ok to close and save changes you made in the Advanced properties dialog
box
8. Press Ok to finalise the task.
If you are synchronising contacts for the first time, you will need to also create a contact
synchronisation task.
Copyright
©
Nokia 2002. All rights reserved | ver. 1.0


