


Installation
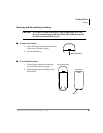
Battery
12
Strata AirLink Integrated Wireless Handset 5/99
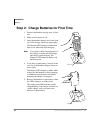
Step 2: Charge Batteries for First Time
1. Remove the handset carrying case, if it has
one.
2. Make sure the power is off.
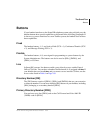
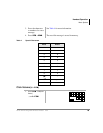
3. Insert the handset (battery in it) in the front
slot of the charger (shown at upper right).
The Handset LED changes to amber and
then to red, indicating rapid charging.
Note
If you place a fully charged battery in
the charger, it detects the full charge
and cancels rapid charging. The
Handset LED changes to amber, red,
and then green.
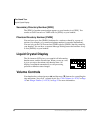
4. If you have a spare battery, insert it in the
rear slot of the handset charger (shown at
lower right).
The Battery LED changes to amber while
waiting for the handset to finish charging
or alternates between green and amber,
indicating discharge is in progress.
5. Remove the handset or spare battery when
the LEDs change to a steady green.
The steady green LED indicates a fully
charged battery. The charger switches to a
“trickle charge” until you remove the
handset or spare battery.
FLSH
PWR
FCN
STO
CALL
END
CLR
1
2
3
4
5
6
7
8
9
ª
0
RCL
ABC
ABC
DEF
MNO
JKL
*
GHI
PQRS
TUV
#
WXYZ
3911
Handset LED
3912
Battery LED