USING YOUR SWITCH
15
AutoScan Mode
In AutoScan mode the Switch remains on one port for 10 seconds before
switching to the next. This time interval cannot be changed.
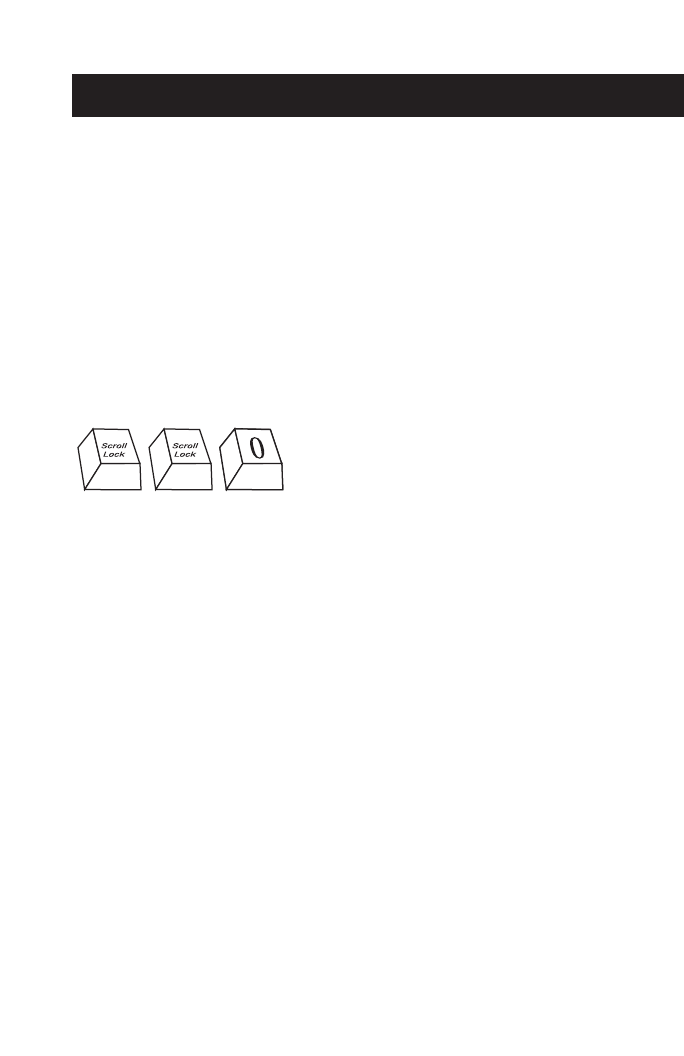
To enable AutoScan mode press [SCROLL LOCK], [SCROLL LOCK],
[0], [0]
Note: There is no mouse or keyboard control in this mode. This is necessary
to prevent errors. Otherwise, if the user is moving the mouse or using the
keyboard when the KVM switches to the next port, communication between
the computer and Switch could be interrupted and cause erratic mouse
movement, or wrong characters to display when using the keyboard.
To disable AutoScan mode, press the space bar.
Connecting USB Devices to the Built-In 2-Port Hub
The Switch includes a built-in 2-port USB device hub that allows you to
connect two additional shared peripherals. When you connect any USB
device to the Switch, that device can be accessed through whichever
computer you are currently using.
Note: This is not suitable for storage devices such as LS-120 drives and Zip
®
drives because you cannot dynamically switch ports and disconnect a
mounted storage device when it is in use by the operating system. For
example, you are working on computer 1 with a file open that is stored on a
Zip drive connected to the Switch. If you switch to computer 2 while the
file is still open, you will get a “file lost or corrupted” error message on
computer one. The same will occur when you are using a streaming device
such as the Belkin VideoBus USB video capture device. You can switch from
one computer safely to the next, only if the VideoBus is no longer in use by
the first computer. You will notice that after the KVM switches to another
computer, the mouse remains inoperative for one or two seconds. This is
normal, and ensures that proper USB synchronization is established.
Enable AutoScan mode—#0 key