5. Continue mounting the tire- check the
location and orientation of the tire
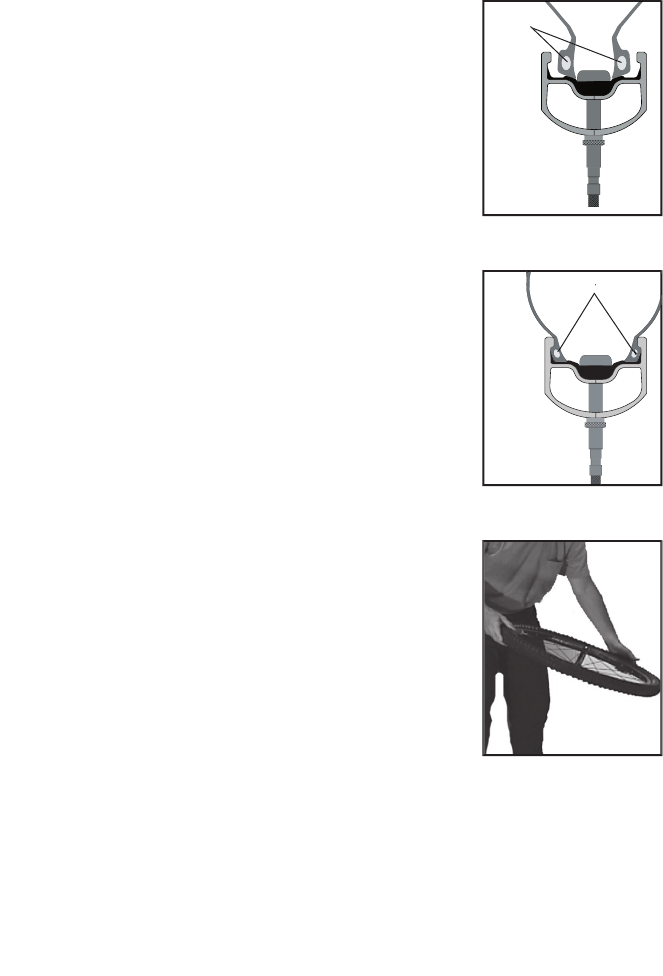
beads in the rim (Figure 4).
The beads must fit uniformly into the central channel of
the rim without twisting. The beads must straddle the valve
where it projects through the rim strip, and make good
contact with the rim strip surface in order to seal in that
area. It is common to have to adjust the beads in the area
around the valve before inflating the tire.
6. Start rapidly inflating the tire using a
floor pump or compressed air source.
If you are using a floor pump, it is usually necessary to
initially inflate the tire with the fastest pumping motion
possible. Once the tire starts to seal and hold air you can
slow down. If the tire doesnʼt begin to seal after attempting
to inflate it, stop and reposition the bead of the tire with
your hands. Small changes in the position of the tire can
7. Inflate the tire until the tire beads seat
The beads often make an audible popping sound as they
snap into place. Use no more than 60PSI (4 ATM) to seat
If the beads donʼt seat properly, deflate the tire and relubri-
cate the bead and rim surfaces by squirting the lubricant
through the gap between the tire and rim, and reinflate the
Make sure the beads are seated correctly in their locked
position before you use the wheel.
8. Thoroughly distribute the sealant
around the inner surface of the tire
Hold the axle tips in each hand and spin the wheel. Orient
the spinning wheel into a variety of positions (angles) so
that the sealant can reach the entire inner surface of the tire.
Some leaks in the casing can take time to seal, especially if
they are located near the bead area.
9. Adjust the tire pressure to the desired
value and install the wheel.
10. Verify that the casing has been
Ride the bike for a short time, and then check the tire
pressure. If the tire pressure drops too quickly, remove the
wheel and follow the Step #8 above to distribute the sealant
Figure 4- Beads straddling
rotate the wheel to distrib-


