25
Web-based Utility
The DGS-1224T Web-Smart Switch has a web browser GUI interface
for configuring the Switch through a web browser. To see the list of
web browsers the Web-based Utility supports, see Supported web
browsers on page 20. A network administrator can manage, control
and monitor the Switch from a PC on the local LAN. This section
describes how to operate the functions found in the Web-based Utility.
Login
Before beginning to configure the Web-Smart Switch through a web
browser over an Ethernet connection, the PC used to manage the
Switch must reside on the same the IP network. By default, the Switch
automatically obtains an IP address from a DHCP Server. The admin
configuring the Switch must check the LAN’s DHCP Server to
identify the IP Address assigned to the Switch. The default IP address
is 192.168.0.1 if the Switch cannot successfully obtain an IP address
from a DHCP Server. If the DHCP assigned IP address of the Web-
Smart Switch is 192.168.0.1, then the managing PC should use
192.168.0.x (where x is a number between 2 and 254) as its IP address,
with a subnet mask also being the same (255.255.255.0 if not assigned
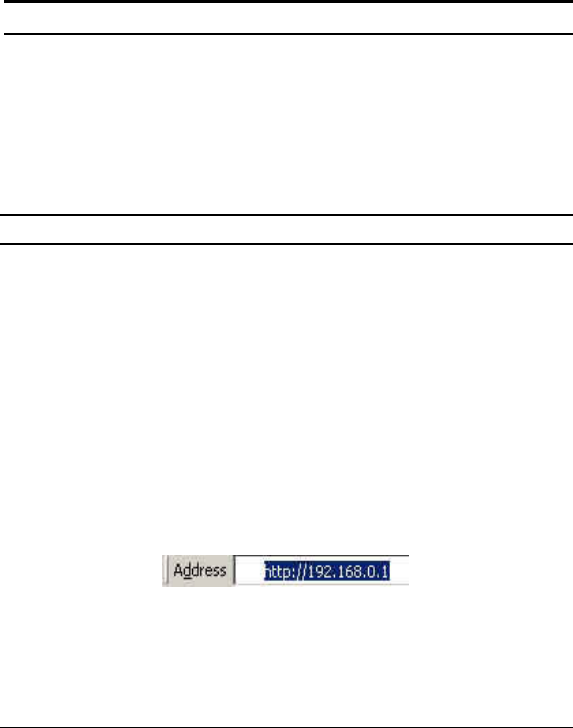
by a DHCP Server). To begin, open a supported web browser and
enter the IP address of the Switch (ex http://192.168.0.1).
Figure 14 – Logging into the Switch’s (DHCP assigned) IP address
Alternatively, through the SmartConsole Utility, when the Switch is
discovered, select the device shown in the Monitor List of the
SmartConsole Utility to open the device in a web browser.


