Clickfree Backup Drive for Macintosh: User Guide Restoring my content
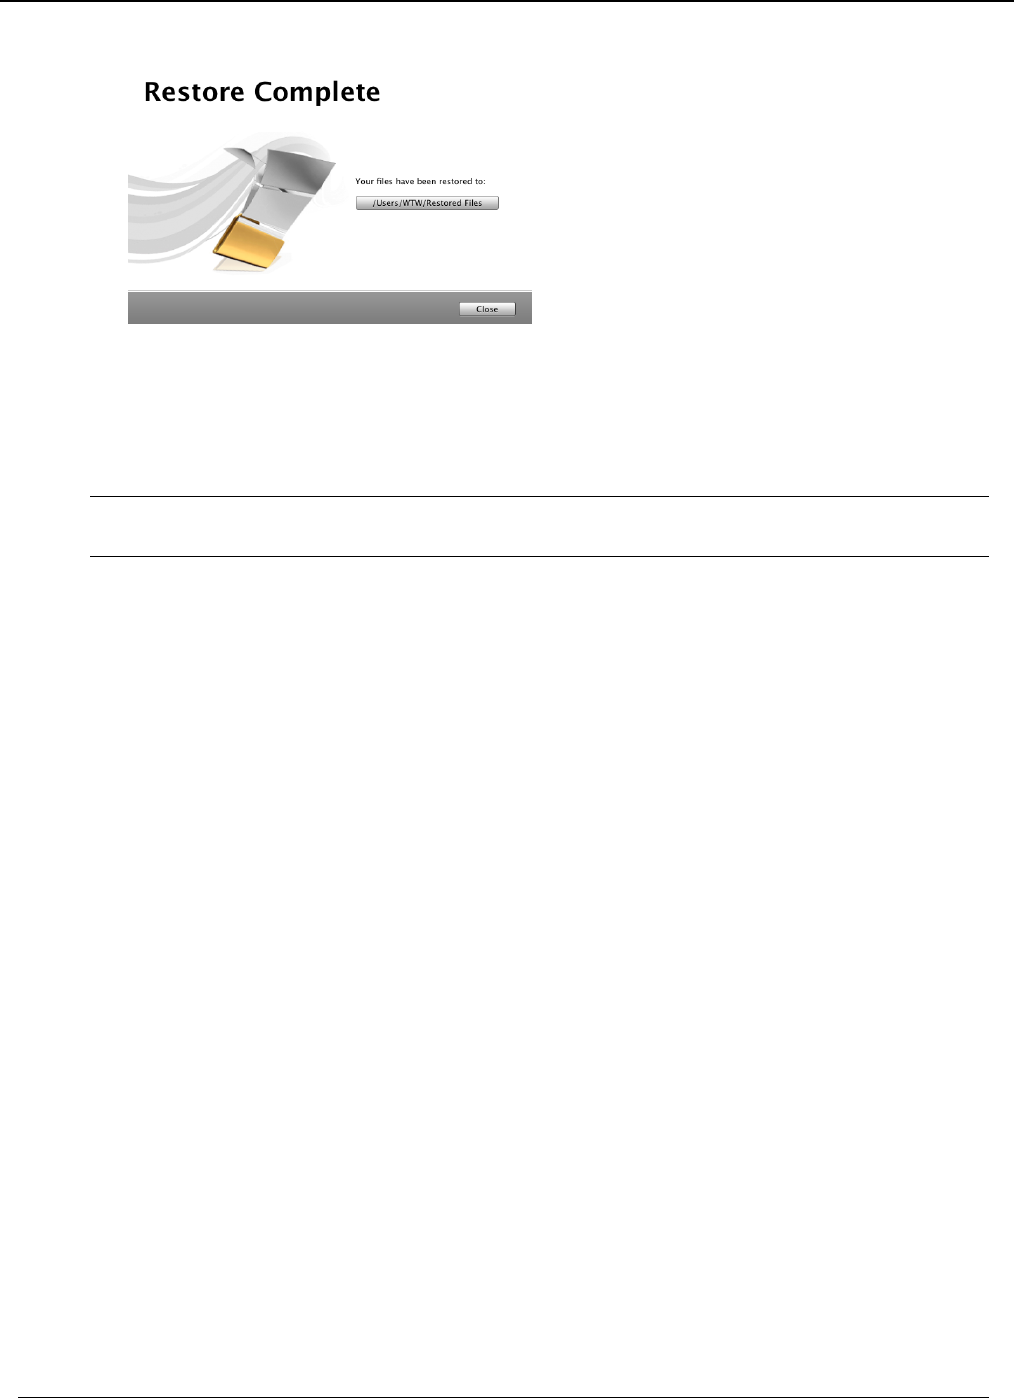
13. When all of your content has been restored, Clickfree tells you that it is done.
14. To open a Finder window at the restore folder, click the button below
Your files have
been restored to
.
15. To finish, simply unplug the
Clickfree Backup Drive and store it in a safe place, or
leave it plugged in and just push the Backup button at any time to perform another
backup or restore.
Note: Your content has not been deleted from your
Clickfree backup: it is still safe on the
Backup Drive.
HOW DO I CHANGE HOW CLICKFREE RESTORES CONTENT?
By making choices at several steps in the restore process you can affect which content is
restored and where it is restored to.
R
ESTORING CONTENT
♦ To change how Clickfree restores content:
1. Follow steps 1 to 8 of the previous section “How do I let Clickfree restore decide what
to restore and where?
” on page 18.
2. What you do next depends on whether you want to restore all or only some of your
files.
• If you want to restore only some of your files, continue with step
3.
• If you want to restore all of your files (the default), go to step
5.
C
HOOSING CATEGORIES OF CONTENT TO BE RESTORED
3. Note that all of the categories that contain files have checkboxes that you can check or
uncheck in the
Categories column. By default, all of them are checked.
For each category whose content you want to restore, ensure that the checkbox is
checked.
4. Click
Continue.
You can also choose to restore individual files within each category. For details see
“
How do I choose individual files for restore” on page 31 in the “Advanced topics”
chapter.
Copyright © 2009 Storage Appliance Corporation. 21


