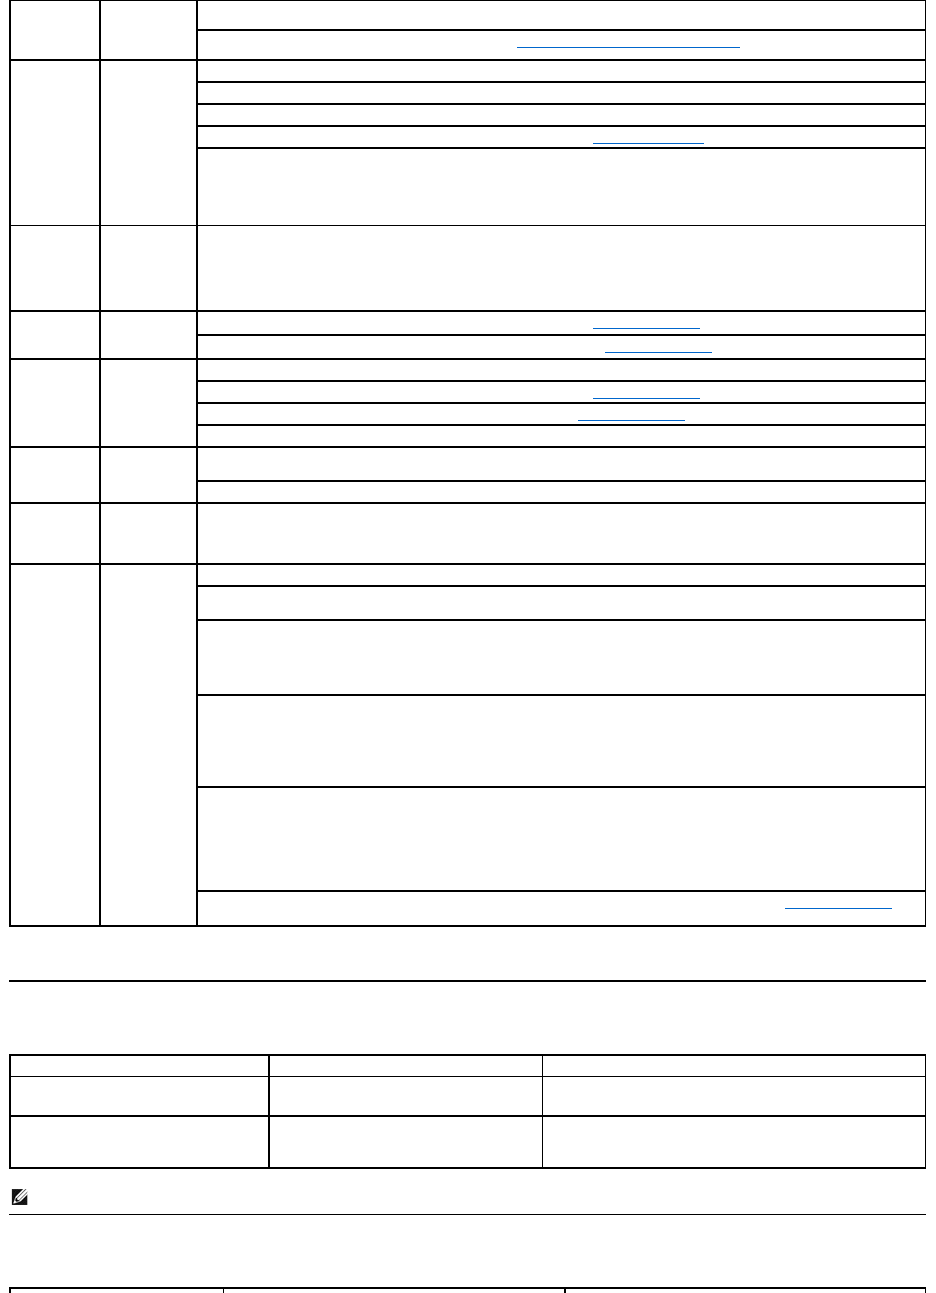
Product Specific Problems
Universal Serial Bus (USB) Specific Problems
The camera is
not working
and the LED is
on
Remove and insert the USB cable.
Reinstall the Dell Webcam Software and drivers. See installing your Dell Webcam Software for more information.
The camera
captures fuzzy
or unclear
videos and
pictures
Verify that the protective film has been removed from the camera and the camera lens is clean.
Clean the camera surface using a damp, soft lint-free cloth.
Increase the available ambient light or change the source of light.
Reset the camera defaults through the Dell Webcam Console. See Using the Camera for more information.
Ensure that the Color Depth settings in Display Propertiesissetto16-bit color or higher. NOTE: Lower color depth
settings result in poor-quality images.
NOTE: The integrated webcam operates at a lower resolution than most commercially available digital cameras. Most
commercial digital cameras are 4 mega pixel or higher. The integrated webcam operates up to 2.0 mega pixel.
Poor quality
video on the
Internet
The camera
captures
grainy images
while using it
on the
Internet
Check your internet connection speed. A slow Internet connection could cause similar problems with the video. It is
recommended to use a broadband connection with good throughput.
The images
are tinted red,
blue, or green
Reset the camera defaults through the Dell Webcam Console. See Using the Camera for more information.
Adjust the camera color settings through Dell Webcam Console. See Using the Camera for more information.
Increase the available ambient light, change the direction of the camera, or change the source of light.
Reset the camera defaults through the Dell Webcam Console. See Using the Camera for more information.
Adjust the contrast levels using the Dell Webcam Console.SeeUsing the Camera for more information.
Ensure the camera is detected correctly by the Windows operating system.
Slow frame
rate in video
capture mode
The capture
video is not
smooth
The video capture especially in high resolution is a resource intensive task, reduce the video recording resolution.Select No
Compression for video in the Video Recording settings.
Install the latest DirectX and the latest webcam driver.
Audio and
video is not
synchronized
The captured
video and
audio are not
synchronized
The video capture, especially in high resolution is a resource intensive task. Reduce the video recording resolution.Select No
Compression for video in the Video Recording settings.
Microphone is
not working
The webcam
captures video
but not sound
Speak closer to the microphone.
Theintegratedmicrophoneisdesignedtohaveawiderreceptionareaforrecording.itstillhasitslimits.Trymovingcloserto
the microphone or ensure that you are within the recording area for the microphone.
Check if the volume is muted. To enable sound:
1. Click Start®Control Panel®Sound and Audio Devices.
2. Click to uncheck the box next to Mute.
Set the correct audio source in Dell Webcam Center. To select the correct audio source:
1. In the Dell Webcam Center, click Tools®Audio Source Control.
2. Select Monitor Webcam (SP2208WFP) in the Audio Source drop down list
3. Adjust the Volume slider to obtain the desired audio level.
Test the microphone. Try testing the microphone using an application other than the Dell Webcam Center. To test the
microphone,
1.Click Start®Control Panel®Sound and Audio Devices.
3.Click the Test Hardware button and follow the instructions.
If the recording is successful, reset the camera defaults or reinstall the Dell Webcam Software. See Using the Camera for
more information.
Screen image is too small
Image is centered on screen, but does not fill
entire viewing area.
l Perform monitor reset on All Settings.
Cannot adjust the monitor with the
buttons on the front panel
OSD does not appear on the screen.
l Turn off the monitor, unplug the power cord and then plug
back and turn on the monitor.
NOTE: When choosing DVI-D mode, the Auto Adjustfunction is not available.


