KK-K9-F12-K-INST-6-06
Page 3
7. Door panels and window guards:
• Center door panels so edges do not hang over.
• Attach to door with #10 x ½” stainless sheet metal screws.
Note: window guards have holes around perimeter for permanent mounting. These holes are not used
with hinge kit! They also come flat in shipping. The guard must be pre-bent so it fits tight against the door
window frame.
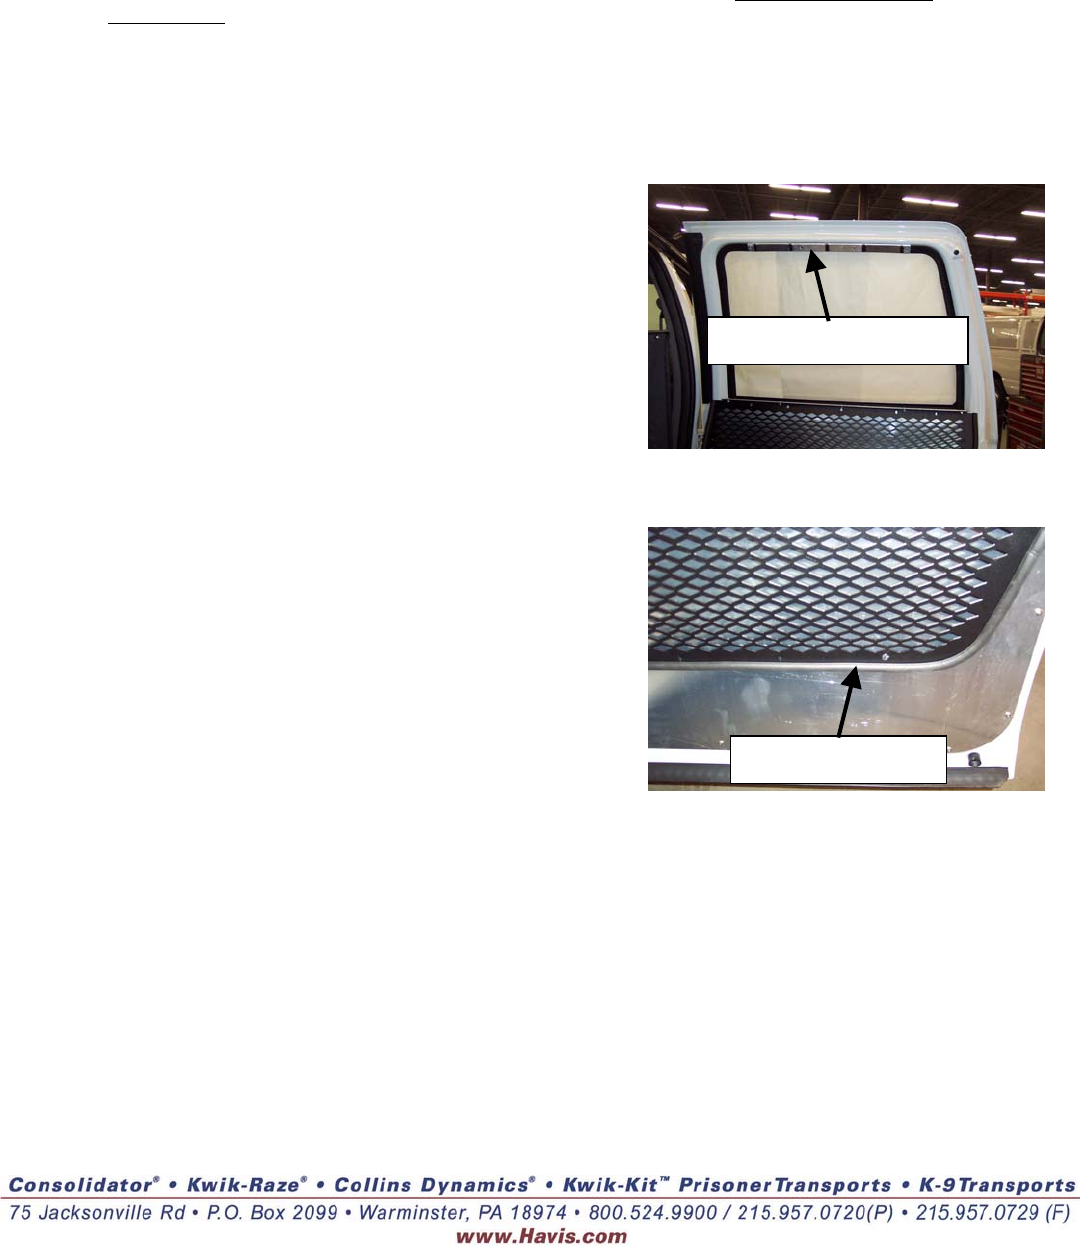
• Hold window guard with pre-assembled hinge and upper bracket onto window frame.
• Make sure guard is centered on window.
• Attach hinge to lower door panel with #10 x ½” sheet metal screws.
• Mark upper aluminum bracket location on
window frame and remove from window guard.
• Attach aluminum bracket onto window frame with
#10 x ½” sheet metal screws.
• Apply adhesive molding to inner side of window
guard.
• Hinge up window guard and reattach to bracket
with #10 x ½” stainless machine screws and #10
stainless flat washers.
Note: this is for easy window cleaning.
8. Final steps:
• Mount dome light (fan if necessary) switch box as
desired. A switch box is provided so switch can
be mounted to K-9 housing in various locations.
(Topside of tunnel housing works very well).
Wire to 12-volt power source.
• Sheet metal seams and gaps need to be carefully
silicone at floor area. Proper sealing of
compartment will eliminate water from getting
under the K-9 unit.
• Allow silicone to dry overnight before placing in
rubber floor mat.
Upper Window Bracket
Adhesive Molding


