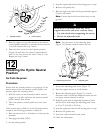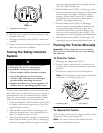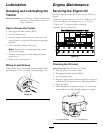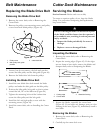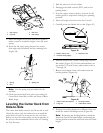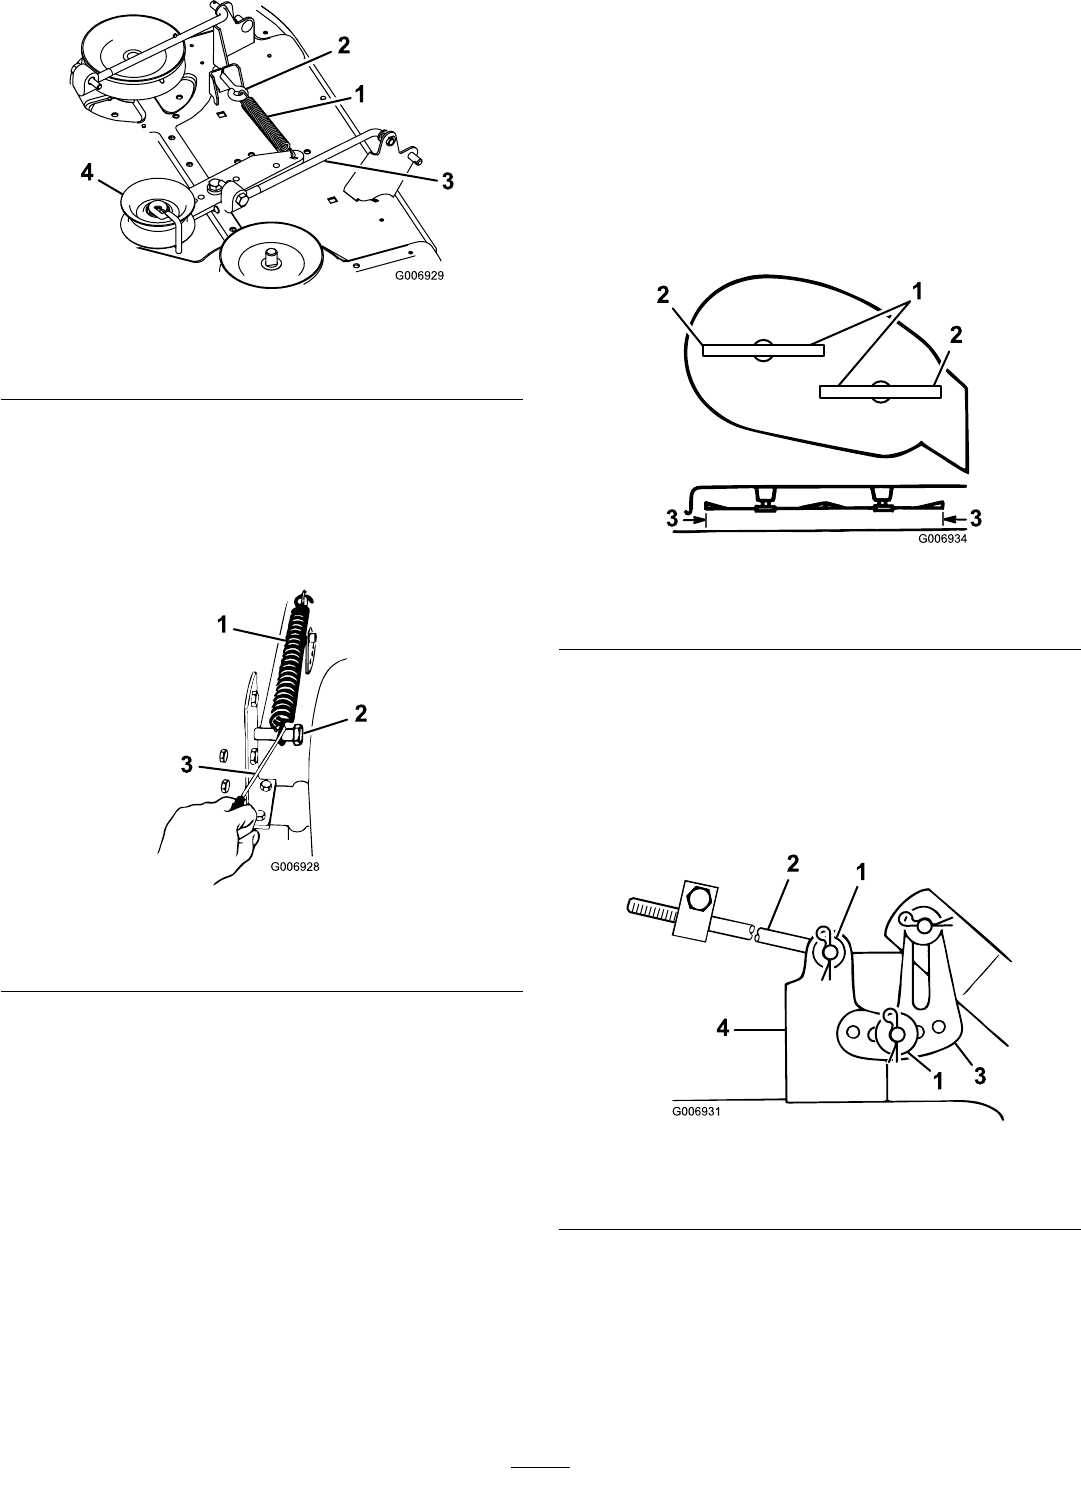
Figure 57
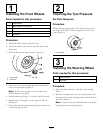
1. Idler spring 3. Idler arm
2. Eye-bolt 4. Idler pulley
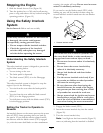
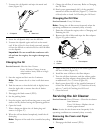
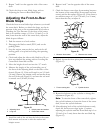
17. Move the height-of-cut lever into the D notch to
make it easier to install the height-of-cut lift assist
spring.
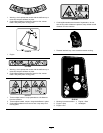
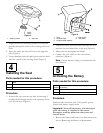
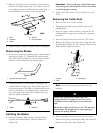
18. Hook the lift assist spring between the cutter
deck right side lift bracket and the retaining bolt
(Figure 58).
Figure 58
1. Spring 3. Spring tool
2. Bolt
Note: Use the spring tool provided with the
machine.
19. Check the cutter deck level; refer to Leveling the
Cutter Deck from Side-to-Side and Front-to-Rear
Blade Slope.
Leveling the Cutter Deck from
Side-to-Side
The cutter deck blades must be level from side to side.
Check the side-to-side level whenever you install the
cutter deck or look for an uneven cut on your lawn.
Before you level the cutter deck, set the air pressure in
the tyres to the recommended level; refer to Checking
the Tyre Pressure.
1. Park the tractor on a level surface.
2. Disengage the blade control (PTO) and set the
parking brake.
3. Stop the engine, remove the key, and wait for all
moving parts to stop before leaving the operating
position.
4. Move the height-of-cut lever into the C notch.
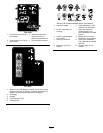
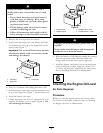
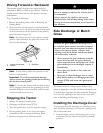
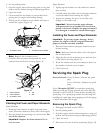
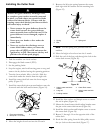
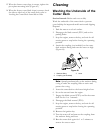
5. Carefully rotate the blades side to side (Figure 59).
Figure 59
1. Blades side to side 3. Measure here
2. Outside cutting edges
6. Measure between the outside cutting edges and the
at surface (Figure 59). If both measurements are
not within 3/16 inch (5 mm), adjust them; refer to
7 through 10.
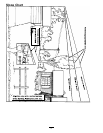
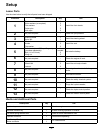
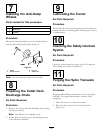
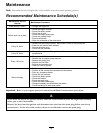
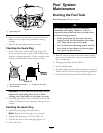
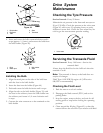
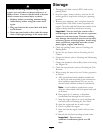
7. Remove the hairpin cotter and washer from the
leveling bracket (Figure 60).
Figure 60
1. Hairpin cotter and washer 3. Leveling bracket
2. Long rod
4. Cutter Deck mount
8. Position the leveling bracket in a different hole and
install the washer and hairpin cotter (Figure 60).
Note: Positioning the leveling bracket toward the
front hole lowers the blade height; positioning the
leveling bracket toward the rear hole raises the blade
height.
39