• Cooling—The Onboard Administrator makes sure there is sufficient cooling capacity for the server
blade or interconnect module by retrieving thermal information from all of the server blades, power
supplies, Active Cool fans, and interconnect modules in the enclosure.
• Location—The Onboard Administrator checks the locations of server blades, Active Cool fans, and
power supplies to determine if they are placed to receive proper cooling and to support the chosen
power configuration.
If a configuration problem exists, the Onboard Administrator gives diagnostic help so that the IT
technician can easily determine the problem by looking at the Insight Display.
The Onboard Administrator significantly enhances network infrastructure management by offering two
methods to initially configure the IP addresses of the server blade iLO 2 ports and the interconnect
module management ports through the management network: DHCP or Enclosure Bay Static IP
Addressing. This configuration capability is managed through a single point, the Onboard
Administrator, rather than managing each iLO or interconnect module individually.
There are three ways for IT technicians and administrators to access the Onboard Administrator:
• The Insight Display
• The web GUI
• A command-line interface (CLI)
More information about the Onboard Administrator is available in the technology brief entitled
“Managing the HP BladeSystem c-Class” at this URL:
http://h18004.www1.hp.com/products/servers/technology/whitepapers/proliant-servers.html.
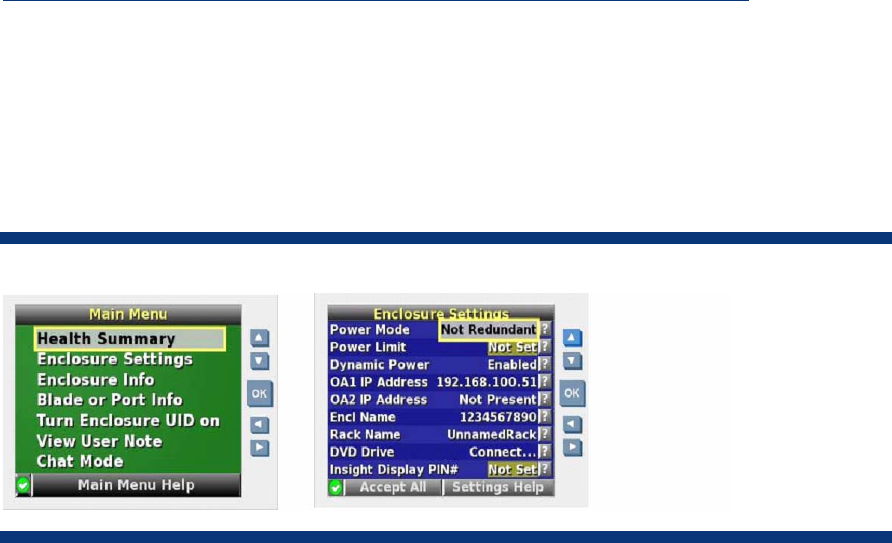
Insight Display
The Insight Display (Figure 14) is an ever-ready, rack-mounted information exchange device with
access to all of the Onboard Administrator setup, management, and troubleshooting information. It
simplifies initial enclosure configuration. It also provides information about the health and operation
of the enclosure. The device is big enough to display ample information, yet can be tucked away
inside the enclosure when not in use.
Figure 14. Insight Display Main Menu and Enclosure Settings menu
When the enclosure is powered up for the first time, the Insight Display launches an installation
wizard to guide the user through the configuration process. To identify the enclosure being
configured, the enclosure UID LED and the background of the Insight Display are illuminated blue
when the enclosure is initially powered on. The Installation Wizard automatically turns on the
enclosure UID at the beginning of the installation and turns it off when the installation is complete.
After configuring the enclosure, the Insight Display verifies that there are no installation or
configuration errors.
19


