CAUTION:
The heat sink(s) and microprocessor(s) might be very hot. Turn off the server and wait three to ve
minutes to let the server cool before removing the server cover.
Before you begin, print all the related instructions or ensure that you can view the PDF version on another
computer for reference.
Note: Depending on the model, your server might look slightly different from the illustrations in this topic.
To replace the system board, do the following:
1. Remove all media from the drives and turn off all attached devices and the server. Then, disconnect all
power cords from electrical outlets and disconnect all cables that are connected to the server.
2. If the server is installed in a rack cabinet, remove the server from the rack cabinet and place it on a at,
clean, and static-protective surface. See the Rack Installation Instructions that comes with the server.
3. Remove the hot-swap redundant power supplies. See “Replacing a hot-swap redundant power
supply” on page 102
.
4. Remove the server cover. See “Removing the server cover” on page 69.
5. Remove the cooling shroud. See “Removing and reinstalling the cooling shroud” on page 73.
6. Record the component locations, cable connections, and cable routing in the server.
7. Remove all memory modules. See “Removing a memory module” on page 80.
8. Remove the two riser card assemblies. See “Replacing the riser card assembly 1” on page 142.
9. Remove the TPM if one is installed. See “Removing the ThinkServer Trusted Platform Module” on
page 98.
10. Remove the TMM Premium if one is installed. See “Removing the TMM Premium” on page 95.
11. Remove the system board battery. See “Replacing the system board battery” on page 144.
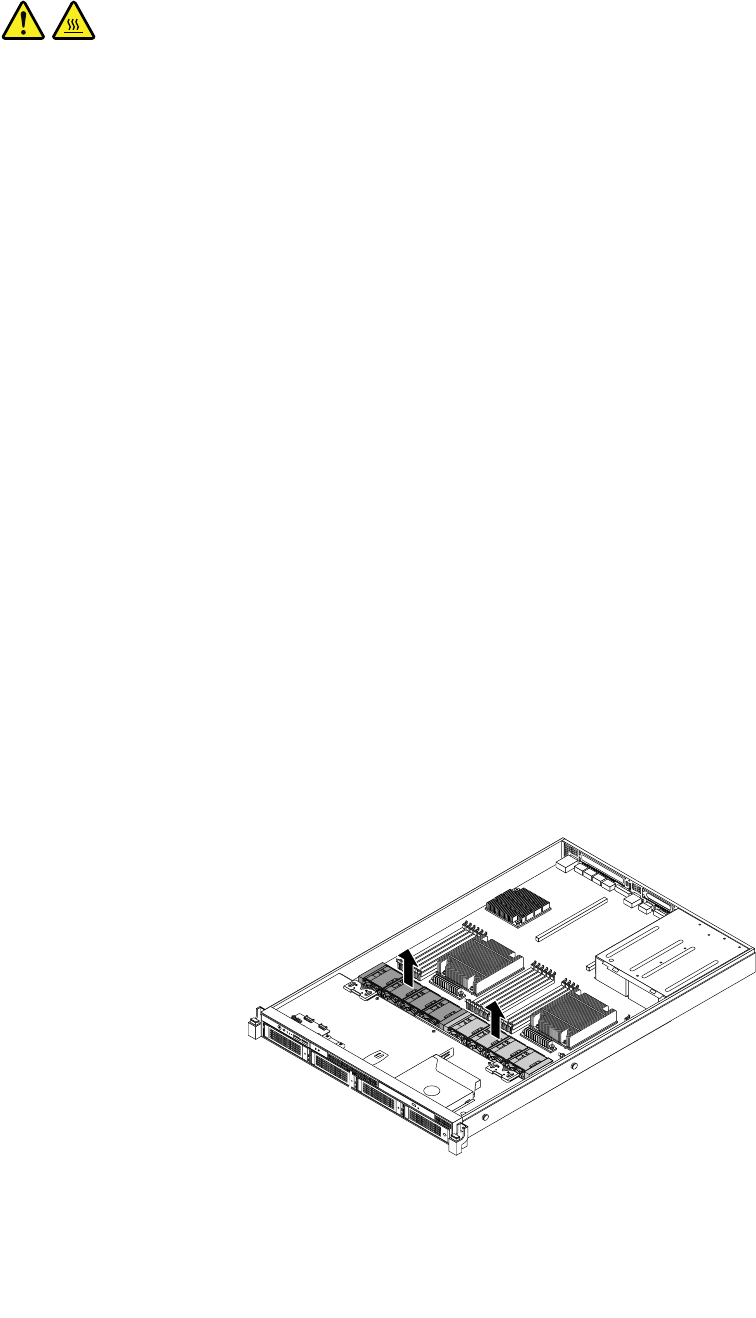
12. Disconnect all the system fan cables from the system board. Then, hold the two system fan cages
and lift them straight up and out of the chassis.
Figure117. Removing the two system fan cages with the system fans
Chapter 6. Installing, removing, or replacing hardware 147


