Chapter 3
Configuration
4
Network Storage Link for USB 2.0 Disk Drives
Chapter 3:
Configuration
For advanced users, a web-based utility has been
programmed into the Storage Link. This chapter
will explain all of the functions in this web utility. All
administrative tasks are performed through this web
utility. The web utility can be accessed by any PC on the
network by entering http://192.168.1.77 in the PC’s web
browser Address window.
Internet Explorer Address Bar
After you press Enter, the Web Management Home Page
will appear.
NOTE: The Storage Link is designed to function
properly after using the Setup Wizard. This
chapter is provided solely for those who wish
to perform more advanced configuration or
monitoring.
Home Tab
Click the disk’s links to access their contents. If you click
the link to User Login (Private Data), you will be required
to enter your User Name and Password. Clicking the Disk
(Public Data) or Flash (Public Data) options allows you
to view the contents of either the USB hard disks or flash
drives that are attached to the Storage Link.
Home Tab
User Password Tab
Password Change
From the User Password tab, any user can change their
Storage Link password. Simply enter your user name in the
User Name field. This should be the same as your network
logon. Then, enter your Storage Link password. Next,
enter your new password in the New Password field. This
new password can be up to 15 hexadecimal characters
long. Enter this new password again in the Confirm new
password field and click Save to save this new password.
User Password Tab
Click Save to save any changes, Cancel to clear all changes,
or Help to get more information about anything on this
screen.
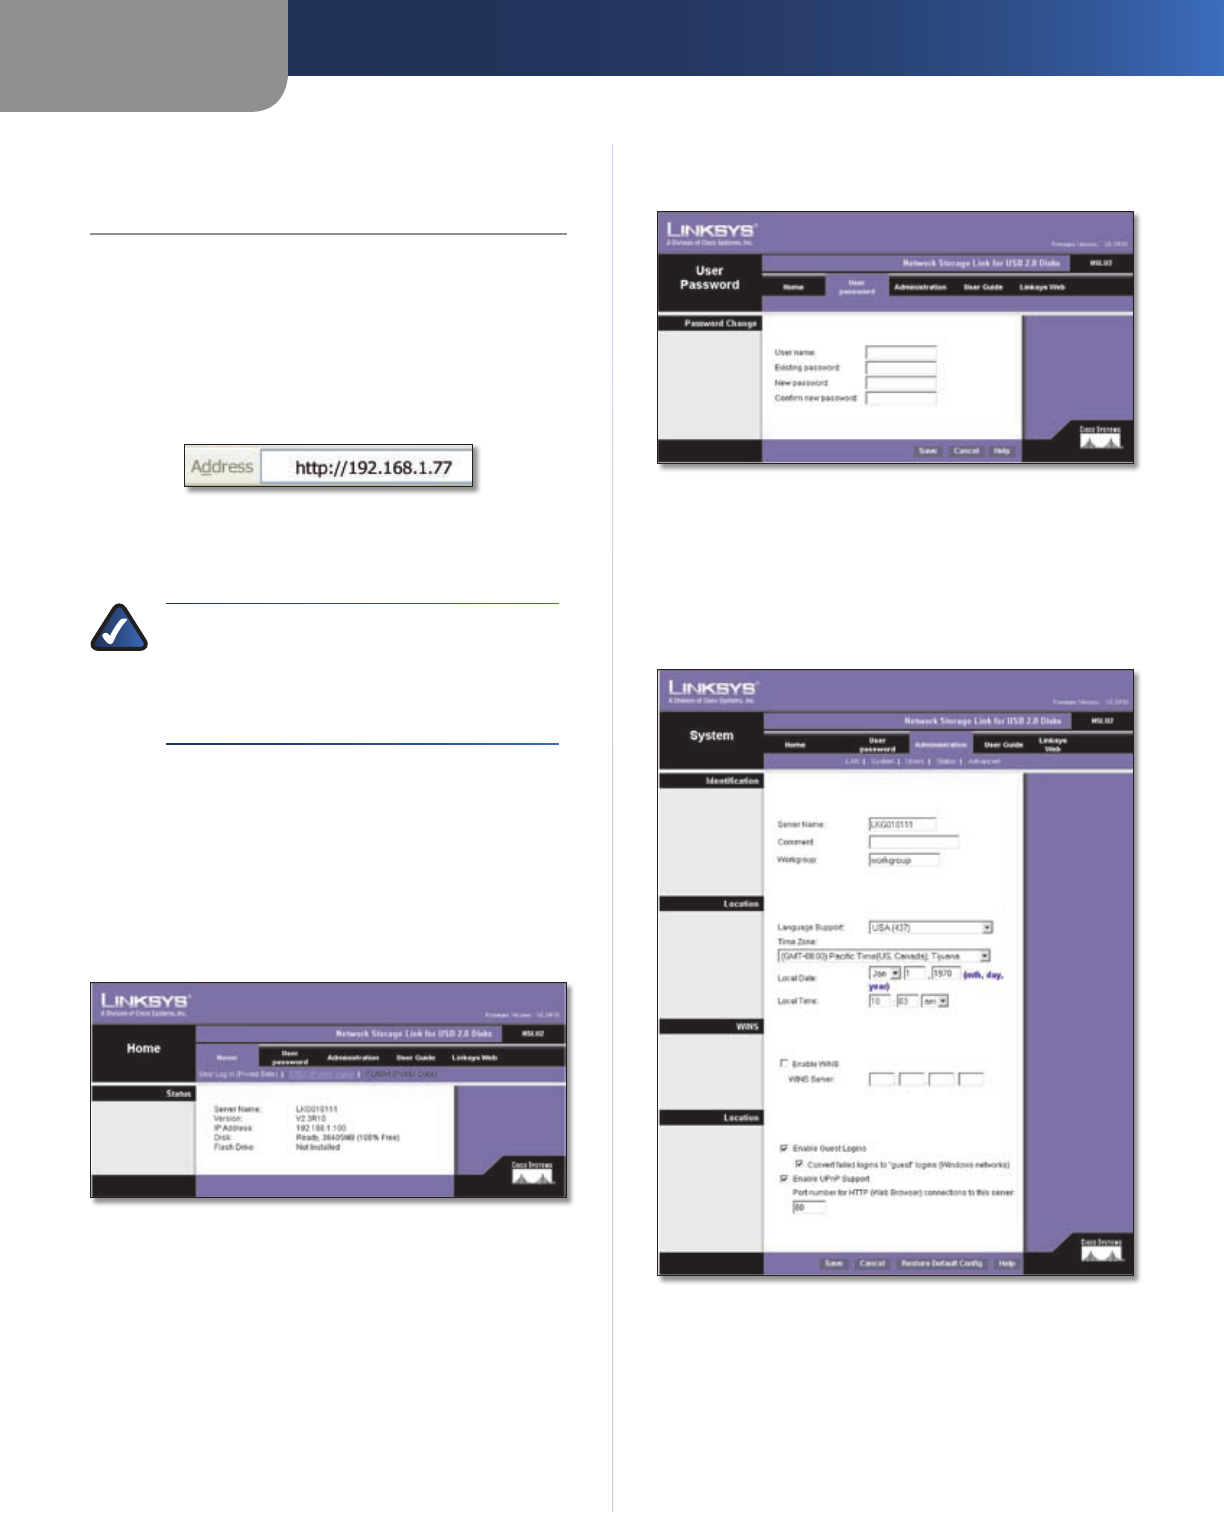
Administration Tab > System
Administration > System
From the Administration > System screen, you will be
able to change some of the Storage Link’s general and IP
settings. These settings, broken up into four categories,
are described below.
