154 Connections
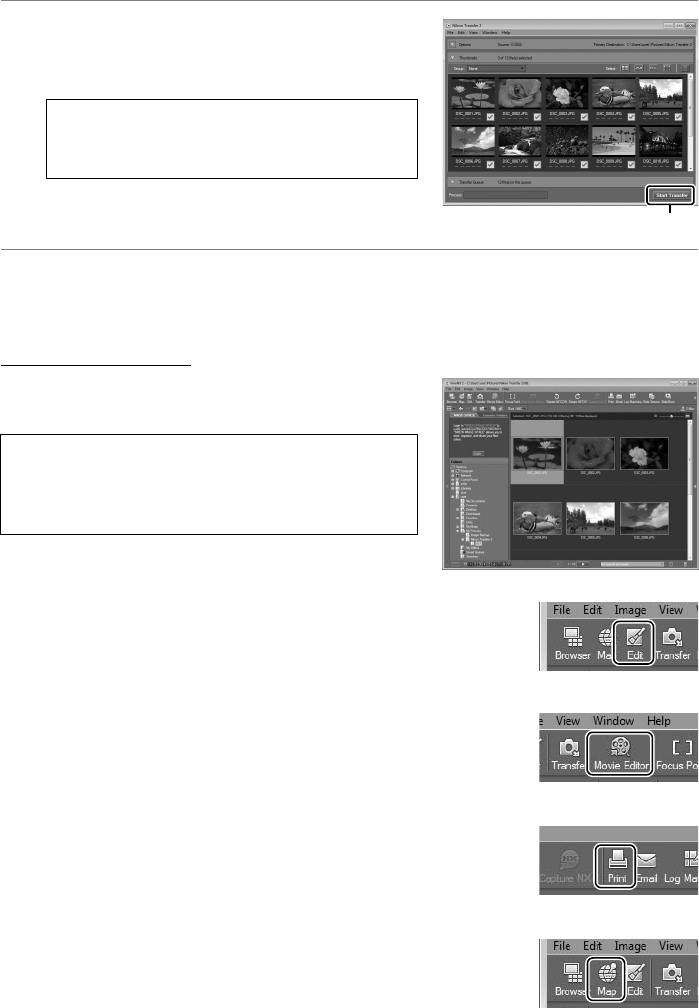
3 Click Start Transfer.
At default settings, pictures on the memory
card will be copied to the computer.
4 Terminate the connection.
When transfer is complete, turn the camera off and disconnect the USB cable.
View Pictures
Pictures are displayed in ViewNX 2 when transfer is
complete.
❚❚ Retouching Photographs
To crop pictures and perform such tasks as adjusting sharpness
and tone levels, click the Edit button in the ViewNX 2 toolbar.
❚❚ Editing Movies
To perform such tasks as trimming unwanted footage from
movies shot with the camera, click the Movie Editor button in
the ViewNX 2 toolbar.
❚❚ Printing Pictures
Click the Print button in the ViewNX 2 toolbar.
A dialog will be
displayed, allowing you to print pictures on a printer connected
to the computer.
❚❚ Viewing Location Data
To view the locations where pictures were taken or display track
logs, click the Map button in the ViewNX 2 toolbar.
A During Transfer
Do not turn the camera off or disconnect the
USB cable while transfer is in progress.
A Starting ViewNX 2 Manually
• Windows: Double-click the ViewNX 2 shortcut on
the desktop.
• Mac OS: Click the ViewNX 2 icon in the Dock.
Start Transfer
