3. Telephone
24
Note:
L Telstra, Optus, Telecom New Zealand and
TelstraClear do not currently send caller
name information.
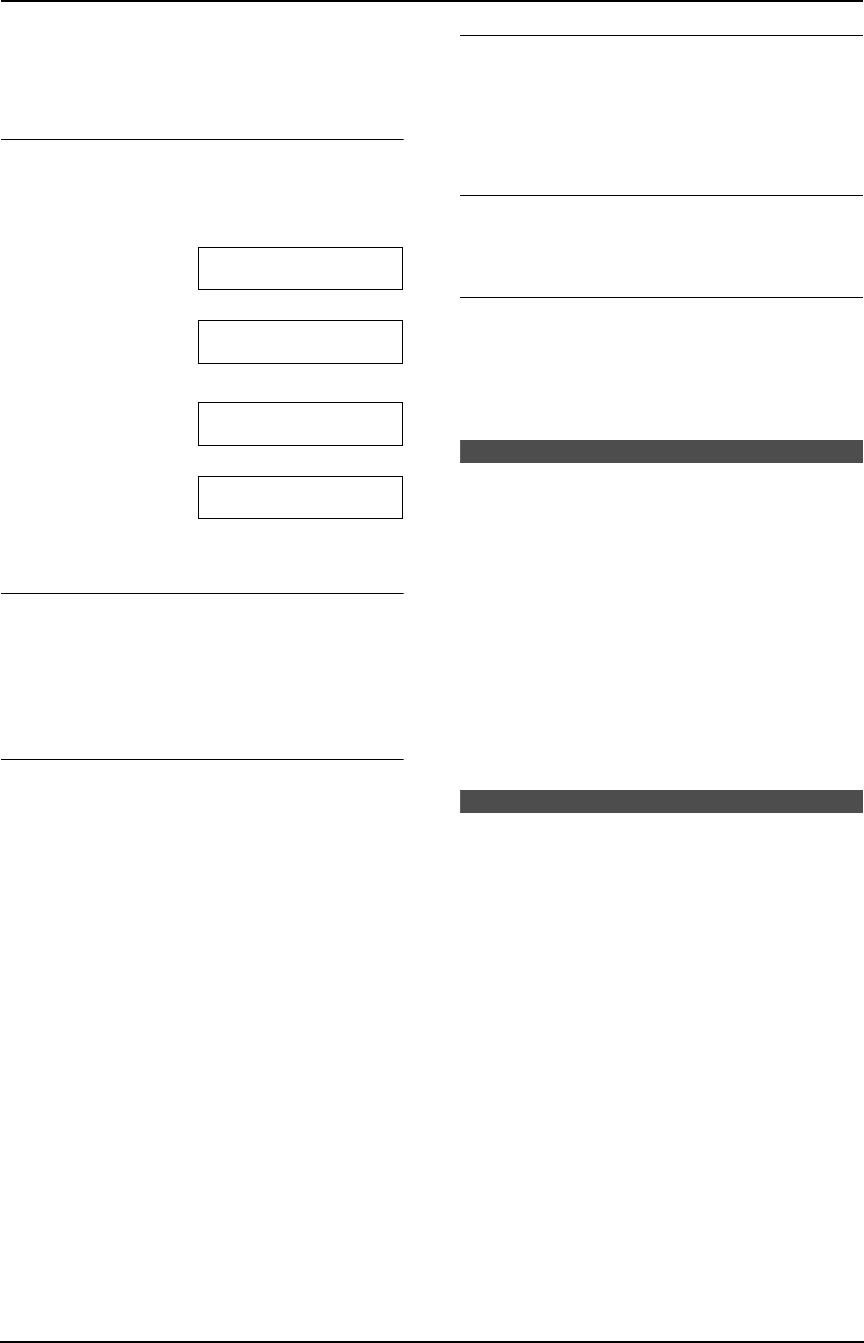
To change the display of the caller
information
Press {NAME/TEL NO.} repeatedly after step 2.
Example (for Australian users):
SAM LEE
11:20AM Jul 20 ,
b
3456789012
11:20AM Jul 20 ,
Example (for New Zealand users):
3456789012
11:20AM Jul 20 ,
b
NO NAME RCVD
11:20AM Jul 20 ,
L Check mark (,) on the display means the call
has already been viewed or answered.
Display while viewing
L When the unit did not receive name
information, the display will show “NO NAME
RCVD”.
L When no calls have been received, the
display will show “NO CALLER DATA”.
To stop viewing
Press {STOP} after step 2.
3.7.1 Editing a caller’s telephone
number before calling back
1 Press {CALLER ID SEARCH}.
2 Press {A} or {B} repeatedly to display the
desired entry.
3 Press {NAME/TEL NO.} to display the
telephone number.
4 Press dial key (0 to 9) or {*} to enter the
editing mode and edit the telephone number.
5 Press {MONITOR} or lift the handset to call
back the edited number.
L The unit will start dialling automatically.
L To send a fax, insert the document FACE
DOWN and press {FAX START}.
Note:
L The edited telephone number will not be
saved in the caller information. To save in the
directory, see page 25.
To correct a mistake
1. Press {<} or {>} to move the cursor to the
incorrect number.
2. Press {STOP} to delete the number.
3. Enter the correct number.
To delete a number
Press {<} or {>} to move the cursor to the
number you want to delete and press {STOP}.
To insert a number
1. Press {<} or {>} to move the cursor to the
position to the right of where you want to
insert the number.
2. Enter the number.
3.8 Printing the Caller ID
list
L Keep the front cover page open for button
locations.
1 Press {CALLER ID PRINT} to start printing.
L The display will show “ERASE ALL OK?”
after printing.
2 Press {STOP} to exit the program.
L To erase all of the stored caller
information, press {SET} instead of
{STOP}.
3.9 Erasing caller
information
L Keep the front cover page open for button
locations.
3.9.1 Erasing all caller
information
1 Press {MENU} repeatedly to display
“CALLER SETUP”.
2 Press {SET}.
3 Press {SET}.
L To cancel erasing, press {STOP}, then
{MENU}.
4 Press {SET}.
5 Press {STOP} to exit the program.
FL511AL.book Page 24 Tuesday, October 7, 2003 2:18 PM


