1. Introduction and Installation
13
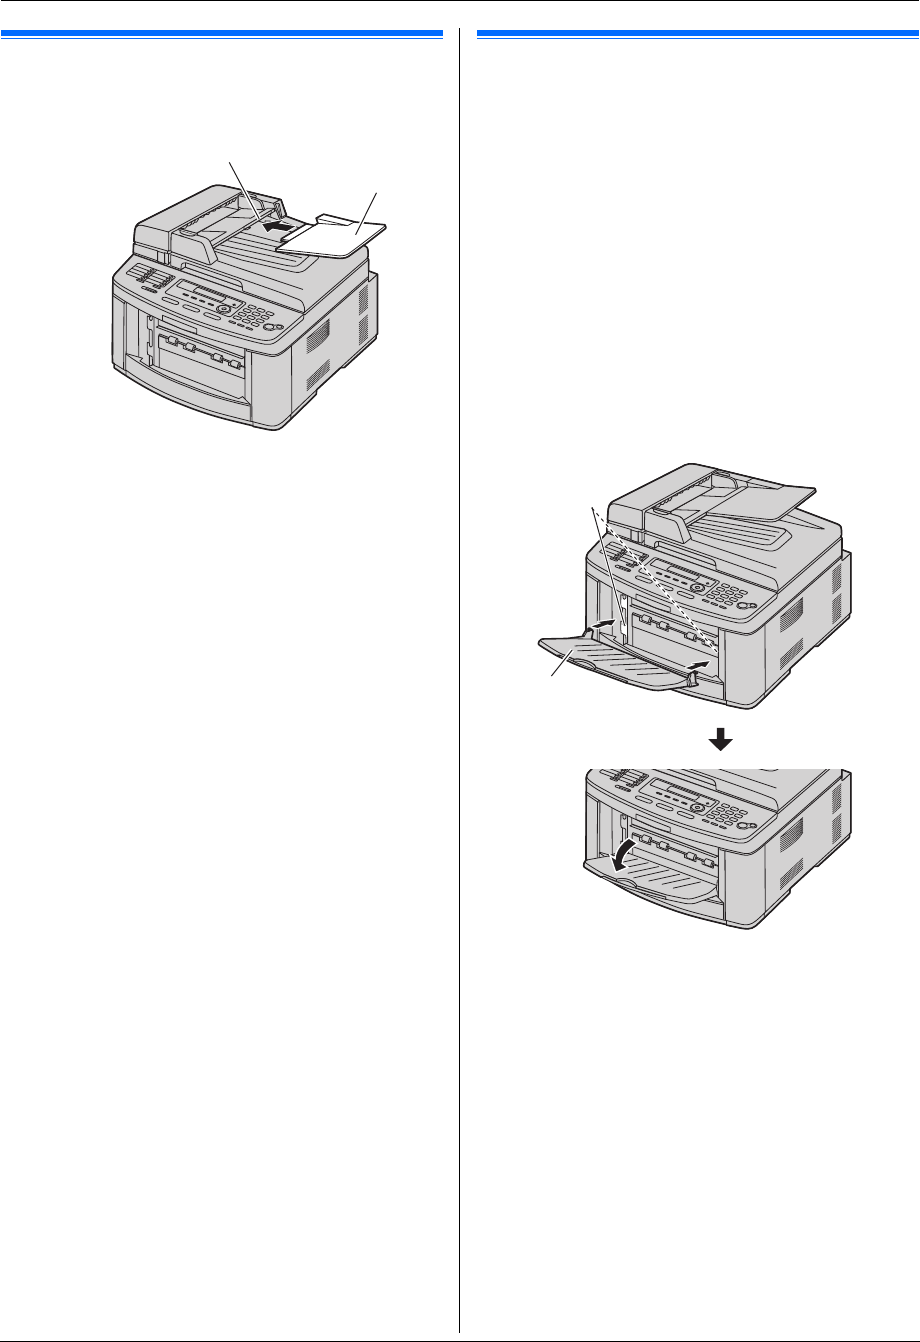
1.6 Document tray
Insert the document tray (1) into the slot (2) on the
unit.
1.7 Output tray
Note:
L Do not place the unit in an area where the output tray
may be easily bumped into.
As the default setting, printed paper is stacked on the
output tray as follows.
– Upper output tray (“#1”): Printed document by using
the computer and copied document.
– Lower output tray (“#2”): Received fax document.
L You can change the output tray setting for faxing
(feature #441 on page 61) and for copying (feature
#466 on page 62).
To change the output tray from the computer, set the
printer properties. See page 27 for details.
1 Insert the output tray (1) into the slots (2), then
push the tray down until it locks into place.
2
1
1
2
FLB882CX-PFQX2773ZB-OI-en.book Page 13 Friday, October 5, 2007 11:45 AM


