SHUTTER
AUTO SETUP
VIDEO IN
S-VIDEO IN
COMPNENT IN
HDMI1 IN
HDMI2 IN
PC IN
SCART IN
DESABLE
OFF
OFF
OFF
FUNCTION BUTTON2
FUNCTION BUTTON3
FUNCTION BUTTON1
FUNCTION BUTTON
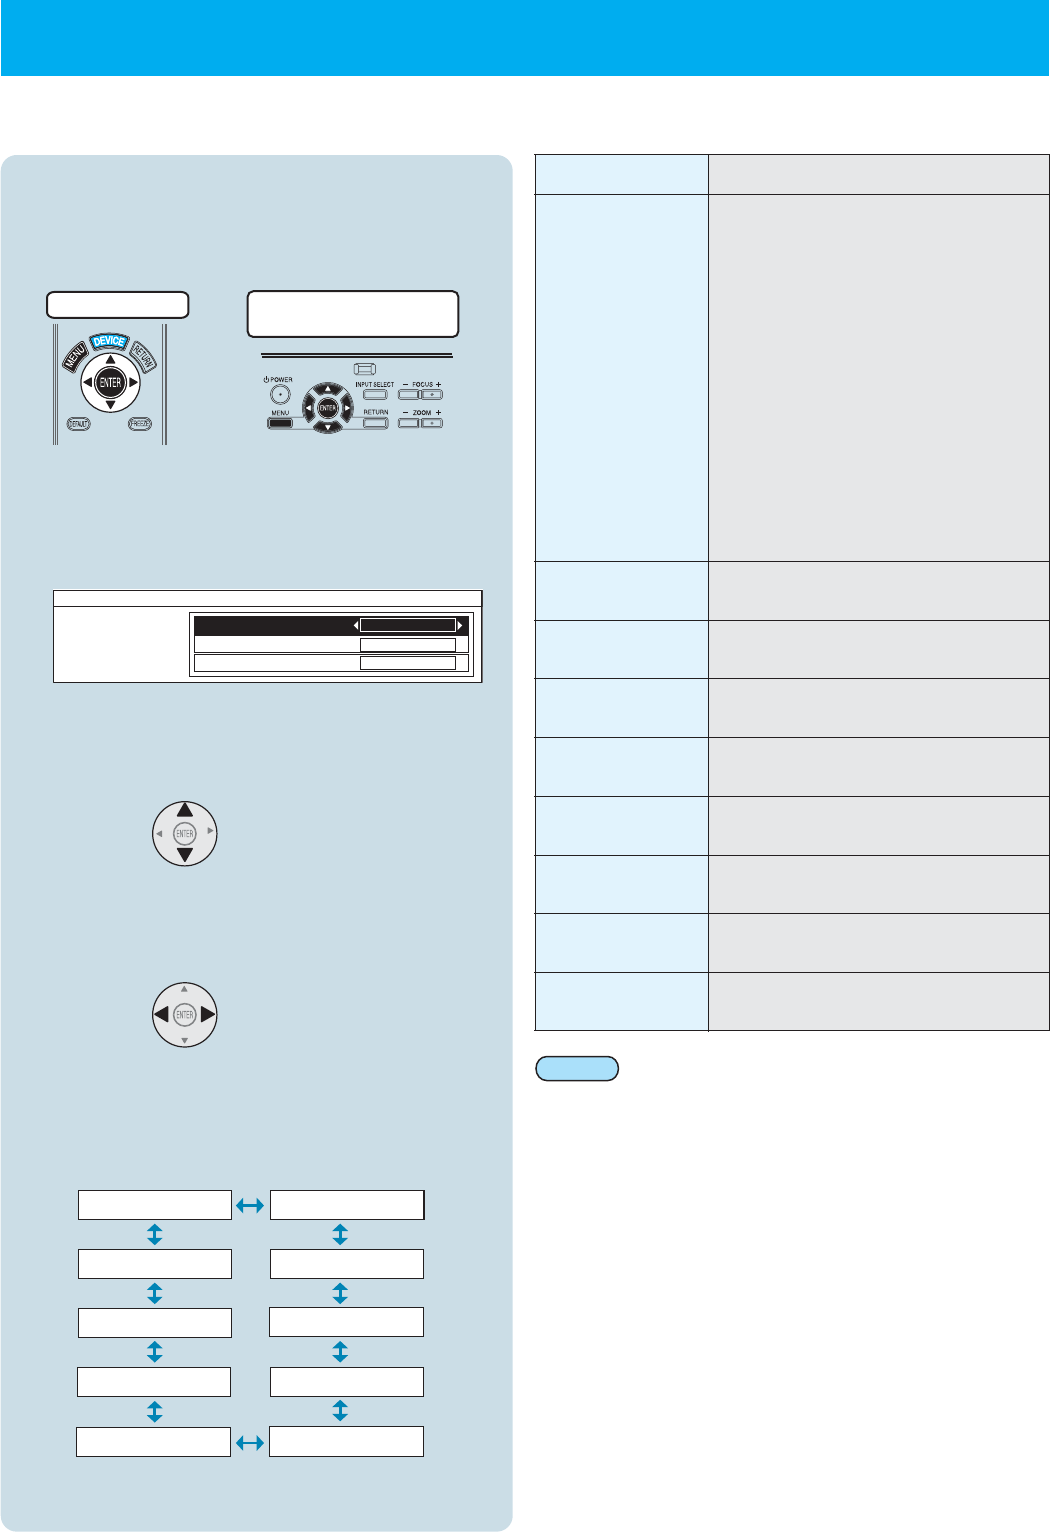
DISABLE
SHUTTER
AUTO SETUP
VIDEO IN
S-VIDEO IN
SCART IN
PC IN
HDMI1 IN
HDMI2 IN
Function button is disabled.
Starts automatic position correction
Switches input to video input.
Switches input to S-video input.
COMPONENT IN
Switches input to component input.
Switches input to SCART input.
Switches input to computer input.
Switches input to HDMI1 input.
Switches input to HDMI 2 input
٨
㧔
㧔
Operates the shutter function.
٨
٨
When the shutter operates at times
such as when not using the projector
for fixed periods, the pictures turn off
and power consumption is reduced.
When any button on the remote
control
or the projector's operation panel is
pressed, the shutter function is
cancelled and pictures can be
projected again.
However, this does not apply for the
remote control's "LIGHT" button and
the system device operation buttons.
Setting method
-Use the projector's menu to make the settings
1
2
Remote control
Projector's operation
panel
Press "MENU" on either the remote control
or the projector's operation panel.
Select "OTHER SETTINGS" from the main
menu, and then press "ENTER". Next,
select "FUNCTION BUTTONS" from the
sub-menu and then press "ENTER".
3
Press the top or bottom of the tilt button to
select the "FUNCTION" button (1--3) to be
set.
4
Press the left or right of the tilt button to
select the function to be set for the
"FUNCTION" button.
The selected item will change as shown below
each time the tilt button is pressed.
ع
Using the function buttons
If remote control signals for home theatre system
devices or operation macros have been assigned to
the "FUNCTION" buttons, the functions assigned to
the "FUNCTION" buttons by the above procedure will
not work.
Note:
Function buttons [1], [2] and [3] can be used as quick shortcut buttons by assigning operations
that are frequently used to them.
ENGLISH - 13


