English 19
Getting started
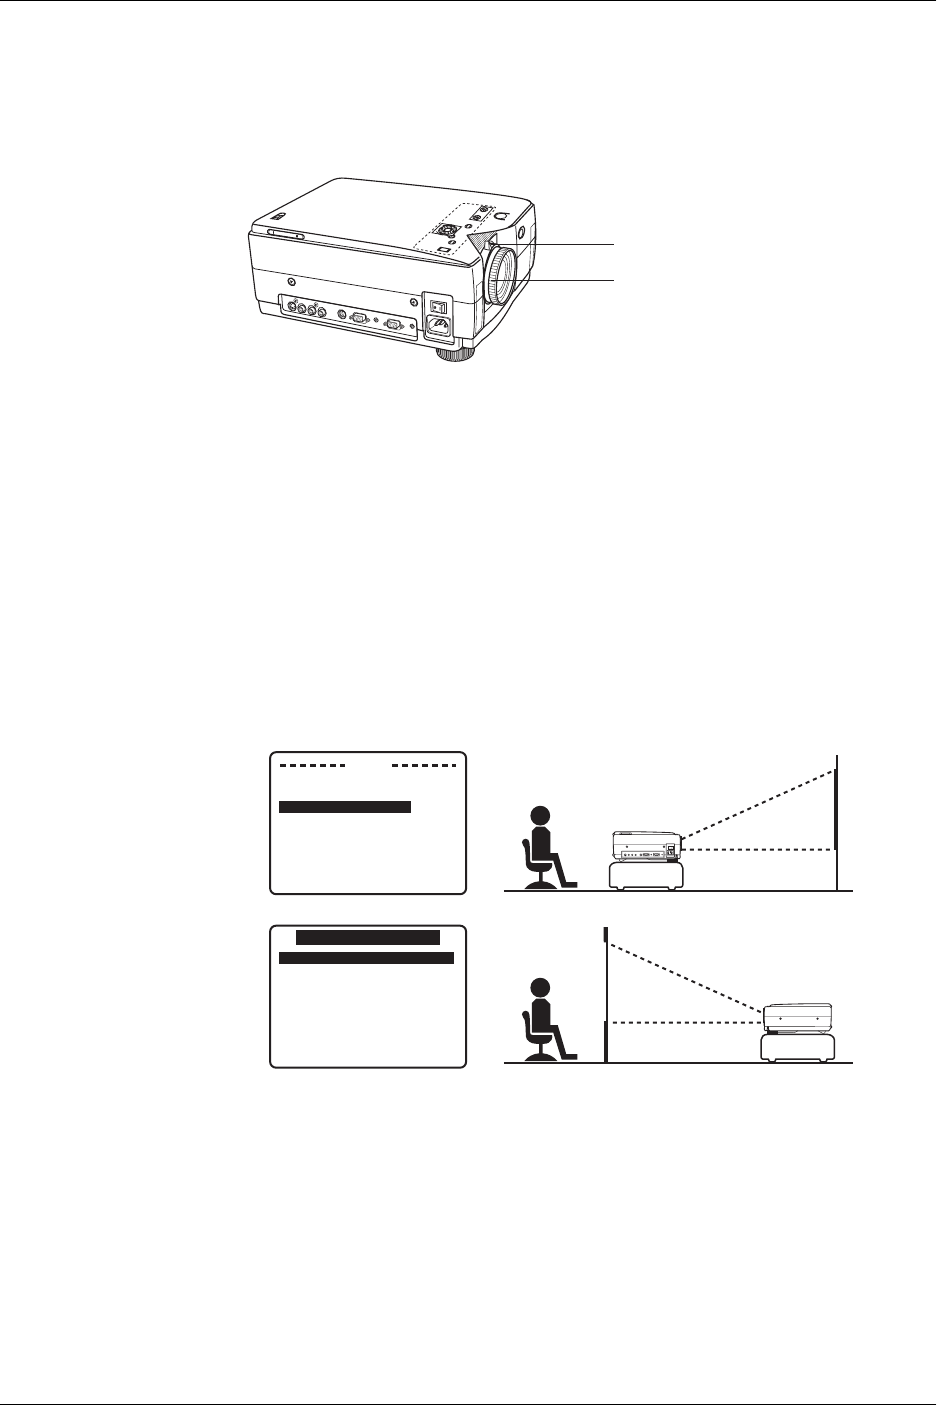
Adjusting the lens
If the LCD projector is not set up so that it is horizontal, it will not be possible to
obtain a distortion-free picture. Turn the adjusters in either direction to make fine
adjustments to the level of the projector so that the projector is perfectly horizontal.
a. Use the ZOOM ring to adjust the size of the picture.
For a larger picture, turn the ring to the right. For a smaller picture, turn the
ring to the left.
b. Use the FOCUS ring to adjust the focus of the picture.
Turn the ring to the right or left until the picture is at the optimum focus.
Rear screen mode projection
The image can be flipped to a mirror image of the input video signal for rear screen
projection.
The procedure and on-screen displays shown below assume that an RGB signal is
being used to input the signal.
1. Press MENU to display the menu.
2. Press ។ or ៓ to select SET UP PROJECTOR, and then press ្ or ៑ to
display the screen.
3. Press ។ or ៓ to select FRONT REAR and then press ្ or ៑ select
FRONT or REAR.
Select FRONT to return to the standard projection format.
Select REAR to flip to a mirror image of the input signal.
4. Press MENU twice to exit.
S
T
A
N
D
A
R
D
VOLUME
MODE
MENU
INPUT
STATUS
CODE
S-VIDEO
VIDEO IN
L-AUDIO-R
RS232C
RGB IN
AUDIO IN
RGB OUT
AUDIO OUT
MAIN
MAIN
OFF
ON
a
b
MENU
RGB ADJUST
RGB SYNC MENU
>SET UP PROJECTOR
LANGUAGE
/SPRACHE /LANGUE
/IDIOMA /LINGUA
SELECT : PUSH ។or៓
SET : PUSH ្or៑
END : PUSH MENU
SET UP PROJECTOR
>FRONT REAR FRONT
INPUT DISP ON
REMOTE POWER ON
EXPANSION (VGA) ON
LAMP TIME RESET OFF
SELECT : PUSH ។or៓
SET : PUSH ្or៑
END : PUSH MENU
S-VIDEO
VIDEO INL-AUDIO IN-RRS232CRGB INAUDIO IN AUDIO OUTRGB OIUT
Front mounting
(factory setting)
Rear mounting


