79
Photo
GB
Photo options menu
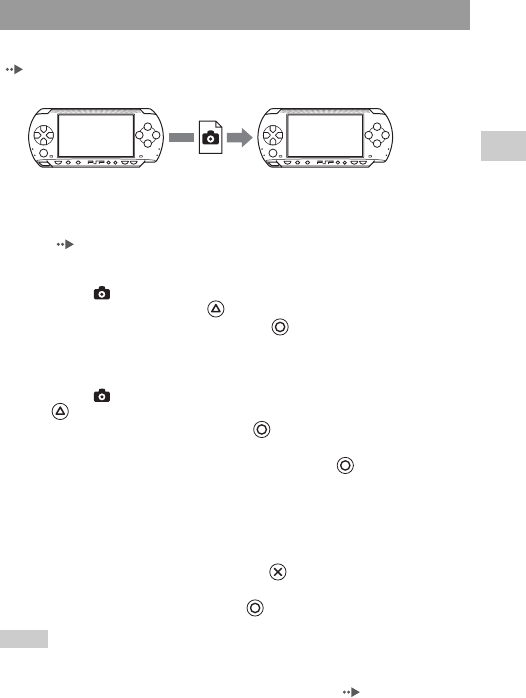
You can transfer images with another PSP® system using ad hoc mode
( page 115). The steps for the sender and the receiver are different.
1 Set up for ad hoc mode. (both sender and receiver)
1 Turn on the WLAN switch on the left side of the PSP® system
( page 21).
2 Prepare to receive the image. (receiver)
1 Under , select the icon for the location where you want to save the
image, and then press the button.
2 Select "Receive", and then press the button.
The system is now ready to receive an image.
3 Send the image. (sender)
1 Under , select the image that you want to send, and then press the
button.
2 Select "Send", and then press the button.
The nicknames for PSP® systems ready to receive an image are displayed.
3 Select the system to send to, and then press the button.
The system starts to send the image.
4 Save the image that you received. (receiver)
After the transfer has been completed, the image that was received is
displayed on the screen.
1 With the image displayed, press the button.
A confirmation message is displayed.
2 Select "Yes", and then press the button.
Hints
• The location where an image is saved depends on your selection in step 2-1. Note that you
cannot save images in the Digital Camera Images folder.
• You can also transfer images from the on-screen control panel ( page 73).
Sending and receiving images
Sender Receiver


