63
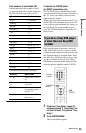
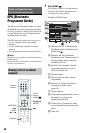
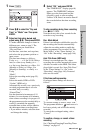
Timer Recording (For Freeview users only)
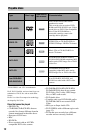
“HDD Rec. Picture Size”/“DVD Rec.
Picture Size”:
Sets the picture size of the programme to
be recorded.
• 4 : 3 (default): Sets the picture size to
4:3.
• 16 : 9: Sets the picture size to 16:9
(wide mode).
• Auto (HDD only): Automatically
selects the actual picture size.
“DVD Rec. Picture Size” works with
DVD-RWs/DVD-Rs (Video mode)
when the recording mode is set to HQ,
HSP, SP, LSP, or ESP. For all other
recording modes, the screen size is fixed
at “4 : 3.”
For DVD-Rs/DVD-RWs (VR mode), the
actual picture size is recorded regardless
of the setting. For example, if a 16:9 size
picture is received, the disc records the
picture as 16:9 even if “DVD Rec.
Picture Size” is set to “4 : 3.”
For DVD+RWs/DVD+Rs, the screen
size is fixed at “4 : 3.”
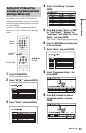
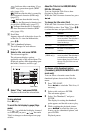
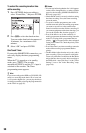
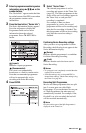
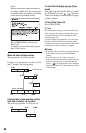
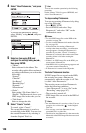
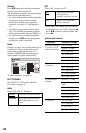
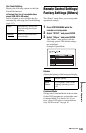
“Rec. NR” (noise reduction): Reduces
noise contained in the video signal.
“Rec. Video Equalizer”: Adjusts the
picture in greater detail.
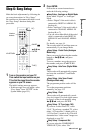
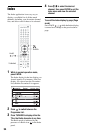
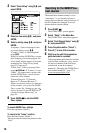
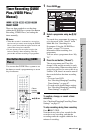
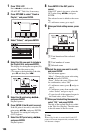
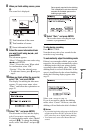
Press M/m to select the item you want to
adjust, then press ENTER.
• Contrast: Changes the contrast.
• Brightness: Changes the overall
brightness.
• Colour: Makes the colours deeper or
lighter.
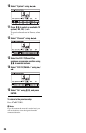
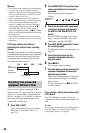
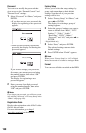
3 Adjust the setting using </M/m/,,
and press ENTER.
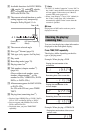
The default setting is underlined.
“Rec. NR”: (weak) Off 1 ~ 2 ~ 3
(strong)
“Rec. Video Equalizer”:
• Contrast: (weak) –3 ~ 0
~ 3 (strong)
• Brightness: (dark) –3 ~ 0
~ 3 (bright)
• Colour: (light) –3 ~ 0
~ 3 (deep)
Repeat steps 2 and 3 to adjust any other
items.
b Notes
• For HDD/DVD-RWs (VR mode), if “TV Type”
of “Video Output” is set to “16:9” in the “Video”
setup (page 140), the picture is recorded as 16:9
regardless of the setting for “HDD Rec. Picture
Size” or “DVD Rec. Picture Size.”
• If one programme contains two picture sizes, the
selected size is recorded. However, if the 16:9
signal cannot be recorded as 16:9, it is recorded as
4:3.
• When playing a 16:9 size picture recorded as 4:3,
the image is fixed to 4:3 Letter Box regardless of
the setting in “TV Type” of “Video” setup
(page 140).
• Remnants of images may appear on your screen
when using “Rec. NR.”
• “Rec. Video Equalizer” does not affect the input
of the DV IN jack or digital TV pictures and does
not work with RGB signals.
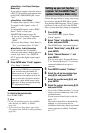
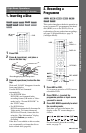
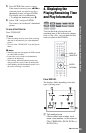
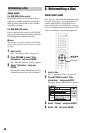
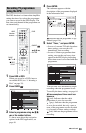
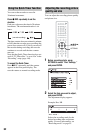
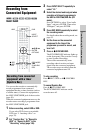
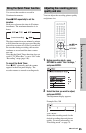
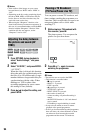
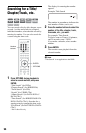
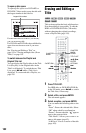
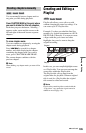
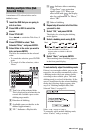
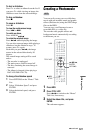
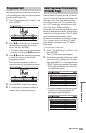
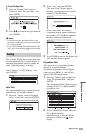
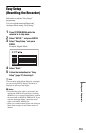
The recorder can automatically divide a
recording (a title) into chapters by inserting
chapter marks at approximately 6 minute
intervals during recording. To disable this
function, set “Auto Chapter” in the
“Recording” setup to “Off” (page 146).
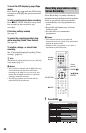
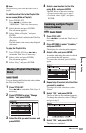
When recording to the HDD, a DVD-R (VR
mode) or a DVD-RW (VR mode), you can
insert and erase chapter marks manually
(page 105).
b Note
When dubbing (page 109), the chapter marks in the
dubbing source are not retained in the dubbed title.
Creating chapters in a title