Chapter 33 OSPF
XGS-4728F User’s Guide
286
33.6 Configuring OSPF Interfaces
To configure an OSPF interface, first create an IP routing domain in the IP Setup
screen (see Section 8.6 on page 86 for more information). Once you create an IP
routing domain, an OSPF interface entry is automatically created. See Section
33.1 on page 277 for more information on OSPF.
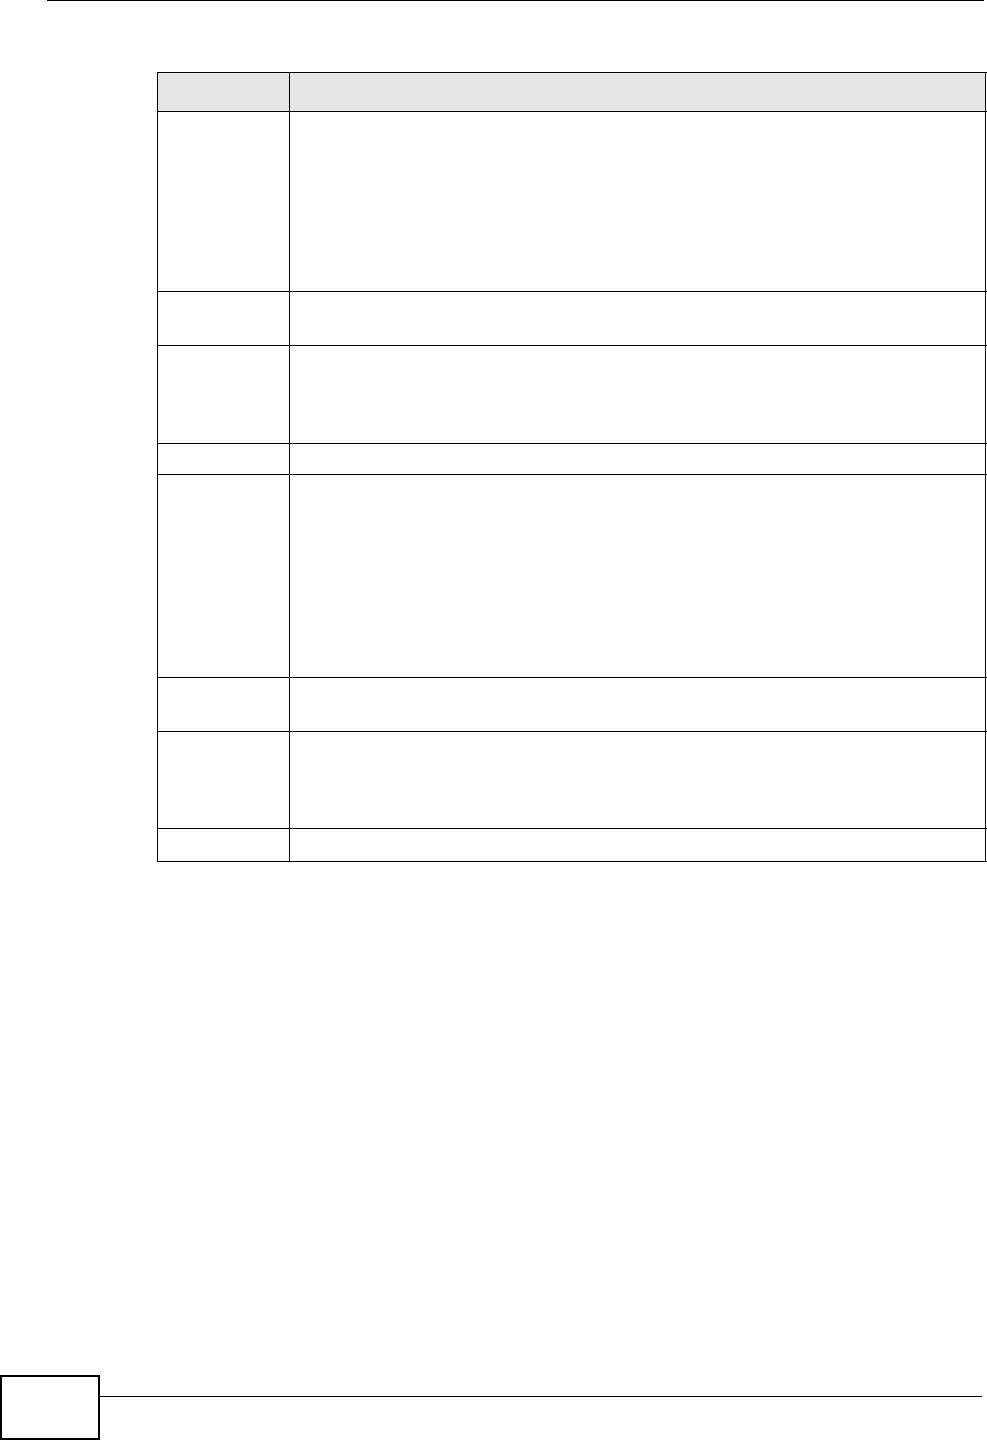
Type Select 1 for routing protocols (such as RIP) whose external metrics are
directly comparable to the internal OSPF cost. When selecting a path, the
internal OSPF cost is added to the AB boundary router to the external
metrics.
Select 2 for routing protocols whose external metrics are not comparable
to the OSPF cost. In this case, the external cost of the AB boundary router
is used in path decision to a destination.
Metric Value Enter a route cost (between 0 and 16777214). The default metric value is
15.
Apply Click Apply to save your changes to the Switch’s run-time memory. The
Switch loses these changes if it is turned off or loses power, so use the
Save link on the top navigation panel to save your changes to the non-
volatile memory when you are done configuring.
Cancel Click Cancel to begin configuring this screen afresh.
Summary
address
Enter a network IP address which can cover more than one network in
order to reduce the routing table size. For example, you can use
192.168.8.0/22 instead of using 192.168.8.0/24, 192.168.9.0/24,
192.168.10.0/24, and 192.168.11.0/24.
The third octet of these four network IP addresses is 00001000, 00001001,
00001010, 00001011 respectively. The first 6 digits (000010) are the
common part among these IP addresses. So 192.168.8.0/22 can represent
all of these networks.
Subnet
mask
Enter the subnet mask for this summary IP address which can cover
multiple networks.
Add Click Add to save your changes to the Switch’s run-time memory. The
Switch loses these changes if it is turned off or loses power, so use the
Save link on the top navigation panel to save your changes to the non-
volatile memory when you are done configuring.
Cancel Click Cancel to begin configuring this screen afresh.
Table 100 IP Application > OSPF Configuration > Redistribute (continued)
LABEL DESCRIPTION


