14
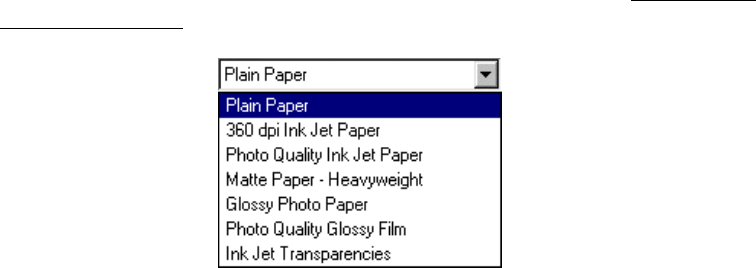
6. If you loaded special paper, choose the correct paper type (click the arrow to scroll
through the Type list). If you’re not sure which setting to select, see S
electing the
Correct Paper Type.
7. Select your paper size (click on the arrow to scroll through the Size list).
8. If necessary, select your page orientation: Portrait for documents that are longer
than they are wide, or Landscape for documents that are wider than they are
long.
9. You can also make these settings:
■ PhotoEnhance: Improves the appearance of low-resolution and improperly
exposed photos. Not available when Black Ink Only is selected.
■ ICM (Image Color Matching): Matches colors on your printout as closely as
possible to the colors you see using ICM-compatible monitors or scanners.
■ Black Ink Only: Prints using only black ink.
■ Reverse Order: Prints your document so that the pages are in the right order
when you retrieve them from the paper tray.
■ Print Preview: Lets you see what your printout will look like before you
print.
Tip: For more information about printer settings, click the Help button, or
right-click any item on the screen and then click What’s This?.
10. Click OK to return to the Print window. Then click OK (or Print) to start
printing.


