31
Turning On &
First Time Setup
If you connect an -compatible Onkyo MiniDisc
recorder or CD recorder to the TAPE IN/OUT sockets,
for to work properly, you must change this setting.
This setting can only be changed on the HT-R520.
To enjoy Dolby Digital and DTS, you must connect your
DVD player to the HT-R520 by using a digital audio
connection (coaxial or optical).
With this function you can assign digital audio inputs to
input sources. You only need to change these assign-
ments if your connections don’t match the default
assignments listed below.
For example, if you connect your DVD player to the
OPTICAL 1 DIGITAL IN, you’ll need to change the
DVD input source from COAX to OPT 1, and change the
CD input source to something other than OPT 1.
If you want to use the TAPE input source with only the
analog TAPE IN sockets, you’ll need to change the
TAPE assignment from “OPT3” to “----” (Analog).
You can change the assignments as follows.
CD
+
10 0
CLEAR
123
456
789
V1 V2 V3
DVD MULTI CH
--/---
TAPE TUNER
INPUT
I
+
-
AMP
+
_
TONE
TUNER/
TAPE
ON STANDBY
T
V
TV CH
T
V VOL
REMOTE MODE
STANDBY
ON
STANDBY/ON
PHONES
STANDBY
DISPLAYTONE TUNING MODEDIGITAL INPUT
LISTENING
MODE
STEREO
MEMORY
RETURNSETUP
VIDEO 2
TAPE TUNER
C
D
VIDEO
3
DVD
VIDEO
1
VCR
MULTI CH
MASTER VOLUME
TUNING
ENTER
PRESET
S VIDEO
VIDEO
AUDIO
LR
VIDEO 3
INPUT
CLEAR
SPEAKERS BA
DIGITAL INPUTSTANDBY/ON
TAPE
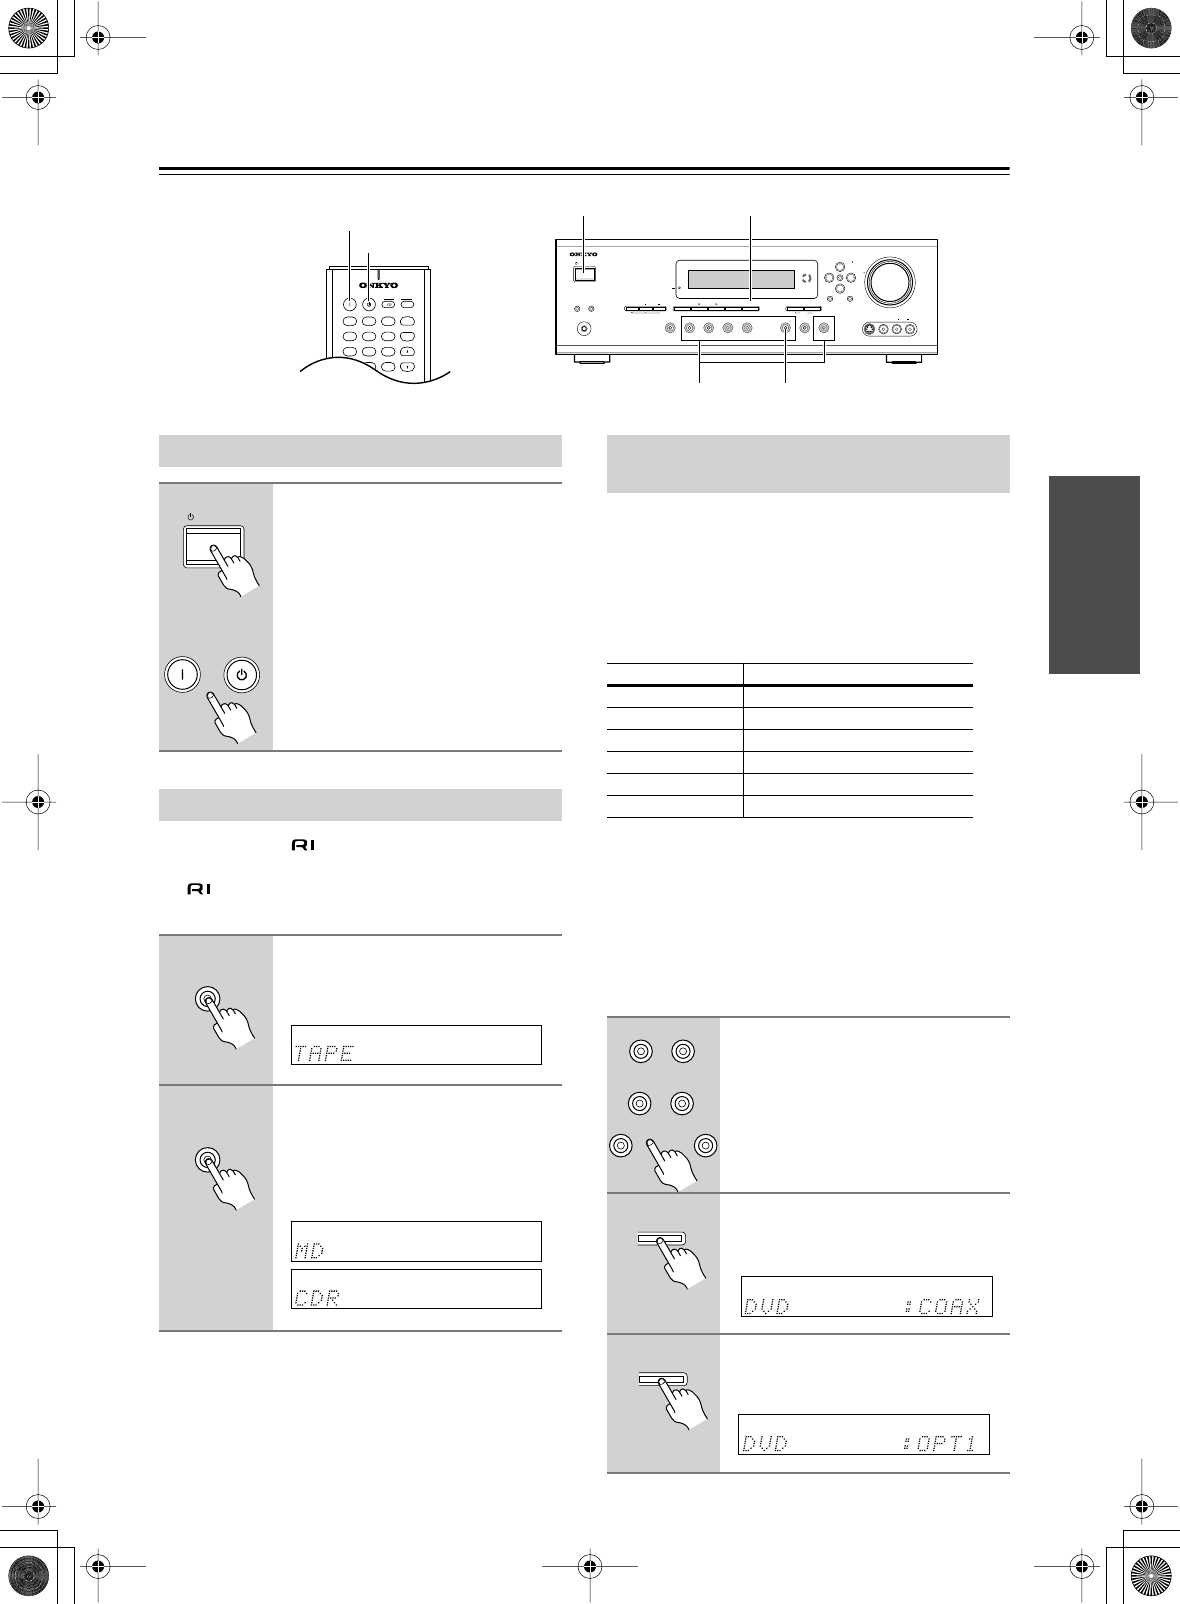
Input selector buttons
Turning On the HT-R520
Press the [STANDBY/ON] button.
Alternatively, press the remote
controller’s [AMP] button fol-
lowed by the [ON] button.
The HT-R520 comes on, the display
lights up, and the STANDBY indicator
goes off.
To turn off the HT-R520, press the
[STANDBY/ON] button. The
HT-R520 will enter Standby mode.
Changing the TAPE/MD/CDR Display
1
Press the [TAPE] input selector
button so that “TAPE” appears
on the display.
2
Press and hold down the [TAPE]
input selector button (about 3
seconds) to set the display.
Repeat this step to select TAPE, MD, or
CDR.
STANDBY/ON
STANDBY
ON
Remote
controller
TAPE
TAPE
Assigning the Digital Inputs to Input
Sources
Input source DIGITAL INPUT
DVDCOAX (COAXIAL)
VIDEO 1 - - - - (Analog)
VIDEO 2 OPT2 (OPTICAL 2)
VIDEO 3 - - - - (Analog)
TAPE OPT3 (OPTICAL 3)
CD OPT1 (OPTICAL 1)
1
Press the input selector button
for the source that you want to
assign.
(Digital inputs cannot be assigned to
the TUNER input source.)
2
Press the [DIGITAL INPUT]
button.
The current assignment appears.
3
Press the [DIGITAL INPUT] but-
ton repeatedly to select COAX,
OPT1, OPT2, OPT3, or – – – –.
VIDEO 2
TAPE
C
D
VIDEO
3
DVD
VIDEO
1
VCR
DIGITAL INPUT
DIGITAL INPUT


