1
P/N: 4809650
©2004 Paxton Automotive
All Rights Reserved, Intl. Copr. Secured
11NOV04 v1.0 03DodgeHemi(4809650v1.0)
Section 7
AIR INTAKE ASSEMBLY
7. AIR INTAKE ASSEMBLY
A. Locate the supplied air filter, formed enclo-
sure, mounting flange, and 1/4"-20 mount-
ing hardware.
B. Attach the flange to the air filter enclosure
using the 1/4"-20 nuts, bolts, and washers
provided. (See Fig. 7-a.)
Fig. 7-a
C. Attach the supplied air filter to the air filter
mounting flange and secure with the hose
clamp provided.
D. Remove the aluminum A/C line from its
plastic clip on the passenger side inner fend-
er. Remove the plastic clip from the vehicle
it will not be reused. Gently bend the A/C
line up for clearance for the air filter enclo-
sure.
E. Mount the supplied air filter enclosure to the
passenger side inner fender using the sup-
plied sheet metal fasteners provided in the
assembly.
*** NOTE ***
The upper mounting tab should be about 1/8" down
from the top of the fender. (See Fig 7-x.)
F. Place the supplied 3-1/2" sleeve and the sup-
plied #56 hose clamps onto the inlet of the
supercharger. Leave the hose clamps loose at
this time.
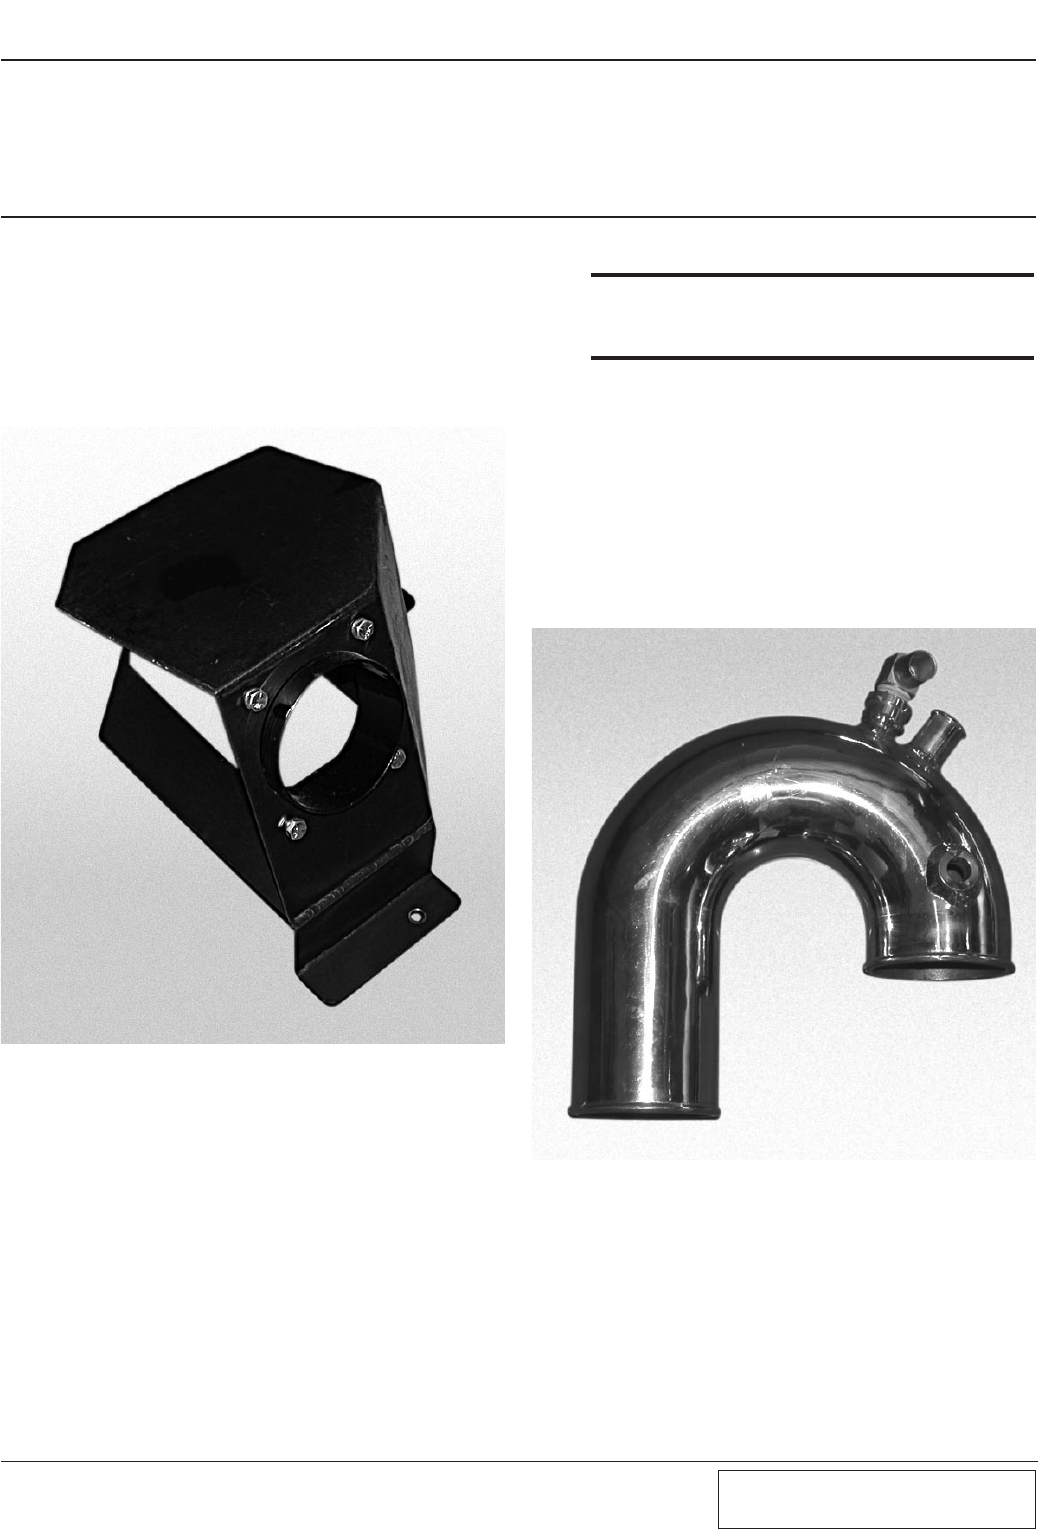
G. Locate the supplied 180º inlet duct. Install
the supplied 90º x 3/8" NPT x 1/2" hose
barb into the tapped bung on the 180° inlet
duct using Teflon paste to seal the threads.
This fitting should face straight up. (See Fig.
7-b.)
Fig. 7-b
H. Install the supplied 180º inlet duct to the
supplied 3-1/2" sleeve previously attached to
the supercharger. Attach a 6" length of sup-
plied flex hose to the open end of the inlet
duct and connect the opposite end to the pre-
viously mounted air filter enclosure. Secure
all connections using the hose clamps pro-
vided. (See Fig. 7-h.)
7. AIR INTAKE ASSEMBLY


