7
2. Setting up the monito
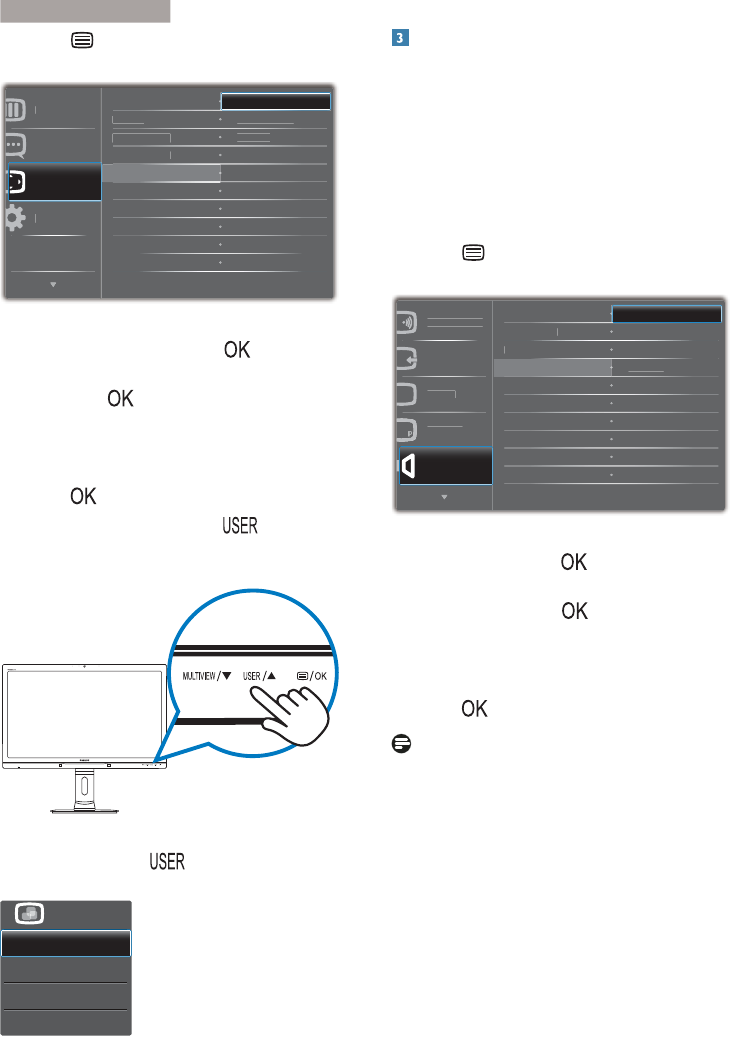
1. Press button on the front bezel to
enter OSD Menu Screen.
+
UL]
QW
ROR
/DQ
XD
26'6HWWLQJV
6HWX
HUW
FD
UDQVSDUHQF\
'7LP
8VHU
,QSXW
XGLR6RXUFH
R
XPH
Z
U
Q
2. 3UHVVɼRUɾEXWWRQWRVHOHFWPDLQPHQX
[OSD Settings], then press button.
3. 3UHVVɼRUɾEXWWRQWRVHOHFW>User],
then press button.
4. 3UHVVɼRUɾEXWWRQWRVHOHFW\RXU
preferred function: [Input], [Audio Source],
[Volume], or [PowerSensor].
5. Press EXWWRQWRFRQÀUP\RXUVHOHFWLRQ
Now you can press the hotkey directly on
the front bezel. Only your pre-selected function
will appear for quick access.
For example, if you selected [Audio Source] as
the hotkey, press the button on the front
bezel, the [Audio Source] menu appears.
'0,
'
,
X
R
Q
'LVSOD\3RUW
$XGLR6RXUFH
Independent audio playback, regardless of
video input
Your Philips monitor can play the audio source
independently, regardless of which video input.
For example, you can play your MP3 player from
the audio source connected to the [Audio In]
port of this monitor, and still watch your video
source connected from [HDMI1], [HDMI2], or
[DisplayPort].
1. Press button on the front bezel to
enter OSD Menu Screen.
RZHU
HQVRU
,QSXW
LFWXUH
L33
3
$XGLR
O
P
6WDQG$ORQ
XWH
$XGLR6RXUFH
'LVSOD\3RUW
+'
,
$
GL
,Q
2. 3UHVVɼRUɾEXWWRQWRVHOHFWPDLQPHQX
[Audio], then press button.
3. 3UHVVɼRUɾEXWWRQWRVHOHFW>Audio
Source], then press
button.
4. 3UHVVɼRUɾEXWWRQWRVHOHFW\RXU
preferred audio source: [DisplayPort],
[HDMI1], [HDMI2], or [Audio In].
5. Press EXWWRQWRFRQÀUP\RXUVHOHFWLRQ
Note
The next time you turn on this monitor, it
will by default select the audio source you
previously selected.
In case you want to change it, you will have
to go through the selection steps again to
select your new preferred audio source as
the default.


