


NEW PHOTO MSG NEW PHOTO MSG
C
H
6
103
C
H
6
102
1
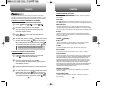
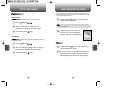
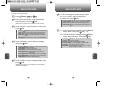
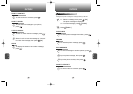
Press [MENU] or .
To send a new picture message:
3
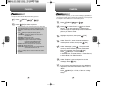
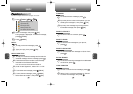
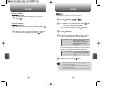
Under “Send To”, input the phone number, then
press [OK].
4
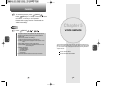
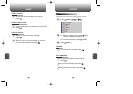
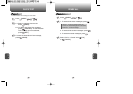
Under “Message”, input a new text message,
then press [OK].
(Please refer to page 86 for more details on take a photo.)
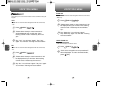
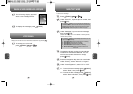
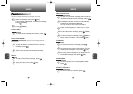
5
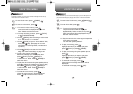
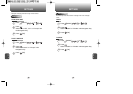
Under “Subject”, input a message subject, then
press [OK].
(Please refer to page 31 for more details on entering letters,
numbers and symbols.)
6
To send a message to another person, select
the “CC” or “BCC” and input the phone
numbers, then press [OK].
7
7.1. To send the picture message, press [MENU],
select “Send”, then press [OK].
7.2. To save the picture message, press [MENU],
select “Save to Outbox”, then press [OK].
2
Phone goes into camera mode automatically.
Take a picture, then press [OK].
By pressing [MENU], the user can choose from the following:
1. Find: Search for a phone number stored in the phone book.
2. Save: Stores the phone number the message was sent to.
3. Msg. Group: Allows you to select all the phone numbers in a
group.
4. Online Album: To send Photo by using online Address Book.
By pressing [MENU], the user can choose from the following:
1. Find: Search for a phone number stored in the phone book.
2. Save: Stores the phone number the message was sent to.
3. Msg. Group: Allows you to select all the phone numbers in a
group.
By pressing [MENU], the user can choose from the following:
1. Take Photo: To take a new Photo.
2. Voice Record: To record a voice memo.
3. Insert Q.Text: To insert canned text into message
4. Insert/Delete Photo: To insert/delete a picture from your
photo gallery.
5. Insert/Delete Sound: To Insert/delete a sound in Photo Msg.
6. Insert/Delete Slide: To insert/delete a picture in Photo Msg.
7. Slide Duration: To select a slide duration time.
By pressing [MENU], the user can choose from the following:
1. Send: To send a picture message.
2. Preview: To preview a written picture message.
3. Send to Outbox: To save a message to “Outbox” folder.
4. Priority: To select priority “Normal” or “High”.
5. Expiration: To select expiration time “Off”, “1 day”, “2 days”,
“3 days”, “4 days” or “5 days”.