Chapter 4 Menu
18
3. Reconnect the smaller plug on the USB to mini-USB cable to the mini-USB/charger jack at the bottom of your
WiFi phone.
4. Connect the larger plug on the USB to mini-USB cable to an available USB port on your PC if it is not still
connected from Step 2.3 (the red charging LED on your WiFi phone should light up when both ends of the
cable are connected).
5. Press the “Menu” softkey on your WiFi phone.
6. Use the navigation key to scroll down to “Phone Settings” and press the “Select” softkey.
7. Use the navigation key to scroll down to “Firmware Upgrade” and press the “Select” softkey.
8. Your WiFi phone’s screen should display “Phone must be connected to computer. Phone will now power
down.” Press the “Continue” softkey. Your WiFi phone should turn off, and it should remain turned off
while you are upgrading the firmware.
9. Start the program MIPDFUTOOL.EXE from the location where you unzipped it to in Step 1.7 above.
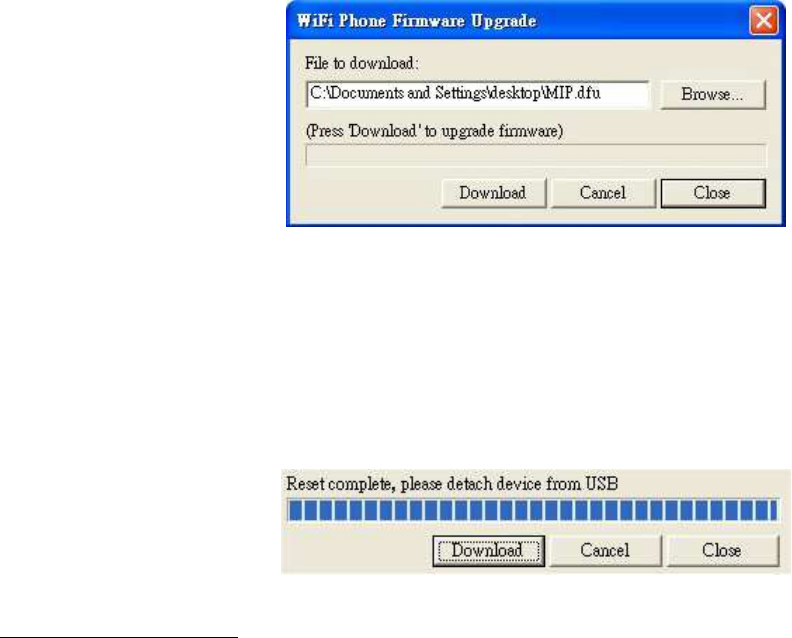
10. Windows should display the “MIP Device Firmware Upgrade” program screen.
11. Click the “Browse” button.
12. Browse to the location where you unzipped the file 51200-25-2-00C.DFU.
13. Select the file 51200-25-2-00C.DFU and click “Open”.
14. Click the “Download” button.
15. The firmware update program will load the new firmware file onto your WiFi phone. The process may take
several minutes. The WiFi phone will remain turned off while the file is loading (this is normal).
16. The program will notify you when the upgrade is complete, and it should restart your WiFi phone. Close the
program, and disconnect the USB to mini-USB cable.
Step 4, Verification (optional):
1. Turn on your WiFi phone.
2. Press the “Menu” softkey.
3. Use the Navigation key to scroll down to “Information” and press the “Select” softkey.
4. Use the Navigation key to scroll down to “Firmware:”
5. The firmware revision displayed should be “51200.25.2.00c”.


