


4
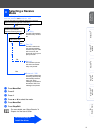
Setting Up the Machine
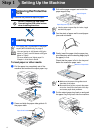
1
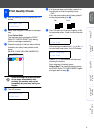
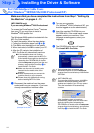
Remove the protective tape and paper.
DO NOT connect the USB cable.
Connecting the USB cable is done
when installing the driver.
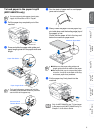
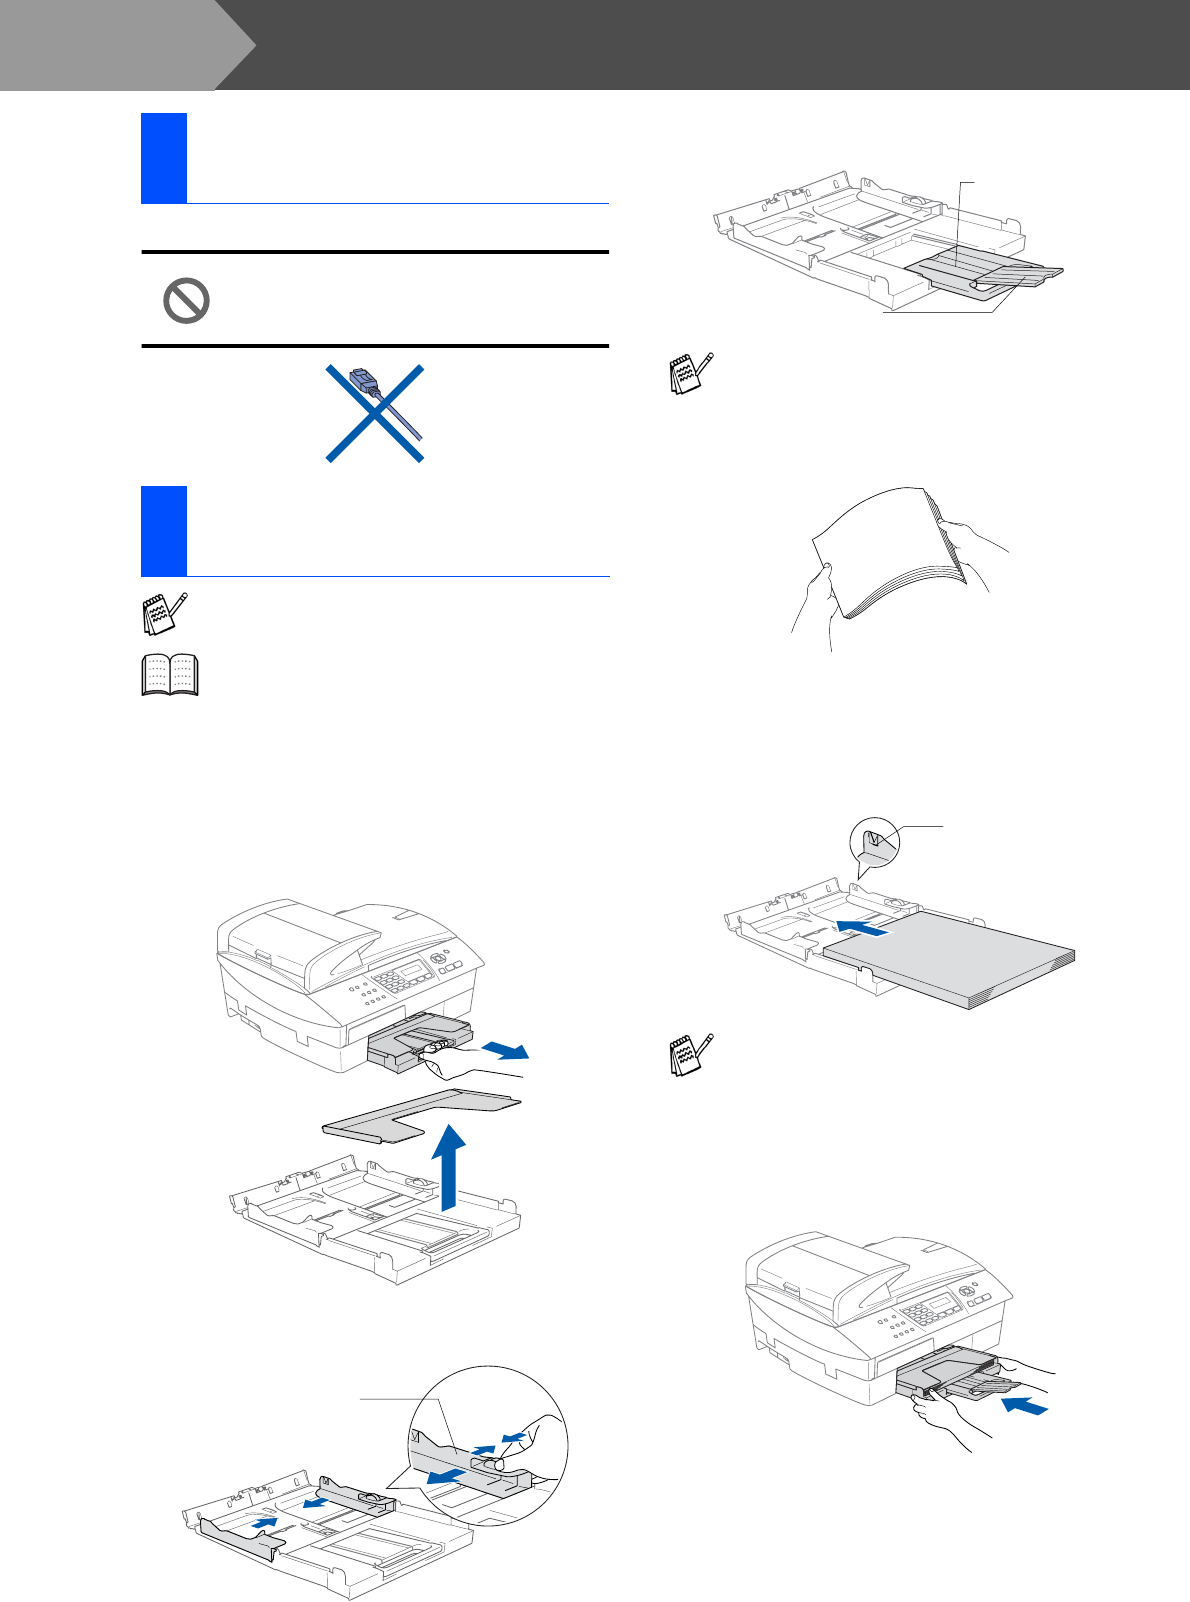
To load paper or other media
1
Pull the paper tray completely out of the
machine and remove the output paper tray.
2
Press and slide the paper side guide to fit
the paper width.
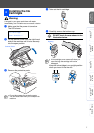
3
Pull out the paper support and unfold the
paper support flap.
4
Fan the stack of paper well to avoid paper
jams and mis-feeds.
5
Gently insert the paper into the paper tray
print side down and the leading edge (top of
the paper) in first.
Check that the paper is flat in the tray and
below the maximum paper mark.
6
Put the output paper tray back on and push
the paper tray firmly back into the machine.
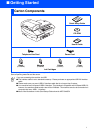
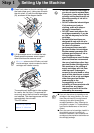
1
Removing the Protective
Parts
2
Loading Paper
For Tray#2, see To load paper in the paper
tray#2 (MFC-5840CN only) on page 5.
You can load up to 100 sheets of 80 g/m
2
paper in Tray#1 and 250 sheets of 80 g/m
2
paper in Tray#2.
For more details, see “About paper” in
Chapter 1 of the User’s Guide.
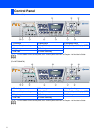
Paper Side Guide
Use the paper support flap for Letter, Legal
and A4 size paper.
■
Make sure the paper side guides touch
the sides of the paper.
■
Be careful that you do not push the paper
in too far; it may lift at the back of the tray
and cause paper feed problems.
Paper Support Flap
Paper Support
Maximum Paper Mark
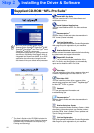
Step 1