NOTE: This is a field replaceable unit (FRU). Removal and installation procedures must be performed
only by Dell certified service technicians.
NOTE: You must remove the bezel assembly to replace a faulty bezel assembly or when you are
replacing the chassis.
1. Ensure that you read the Safety instructions.
2. Follow the procedure listed in Before working inside your system.
3. Remove the Mini Enterprise Service Tag (MEST) and save for future use.
4. Keep tweezers ready for the service caution label.
5. Keep the #2 Phillips screwdriver ready.
Steps
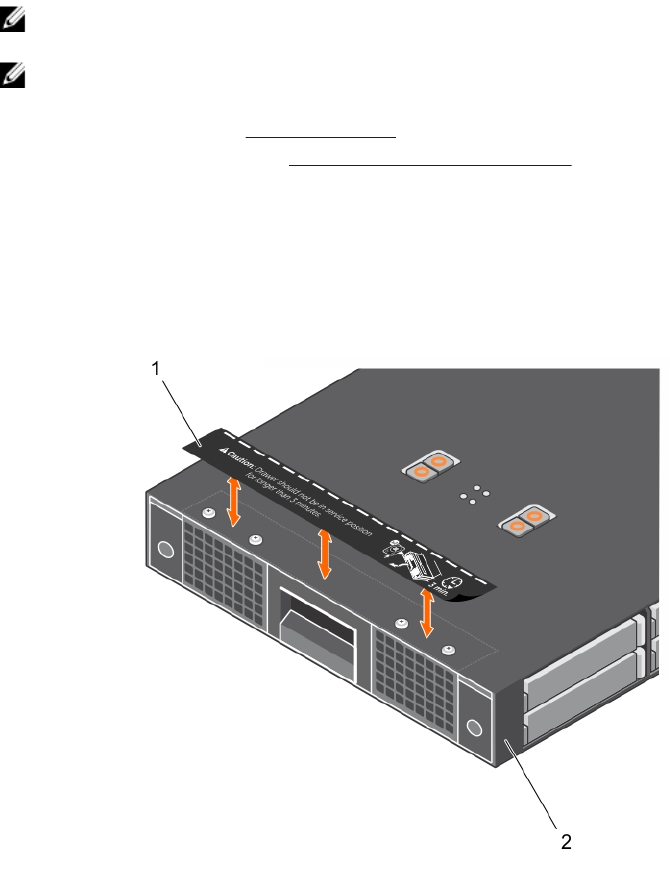
1. Release the service caution label from top of the storage sled by using tweezers.
2. Remove the service caution label and save for future use.
Figure 29. Removing and installing the service caution label
1. service caution label 2. storage sled
3. Using a Phillips #2 screwdriver, turn the sled locks to lock position.
4. Pull the drive drawer handle and open the drive drawer.
5. Remove the screws securing the bezel assembly to the top of the sled.
6. Turn the sled over with the bottom side of the sled facing up.
7. Remove the screws securing the bezel assembly to the bottom side of the sled.
8. Pull the bezel assembly out of the sled.
38


