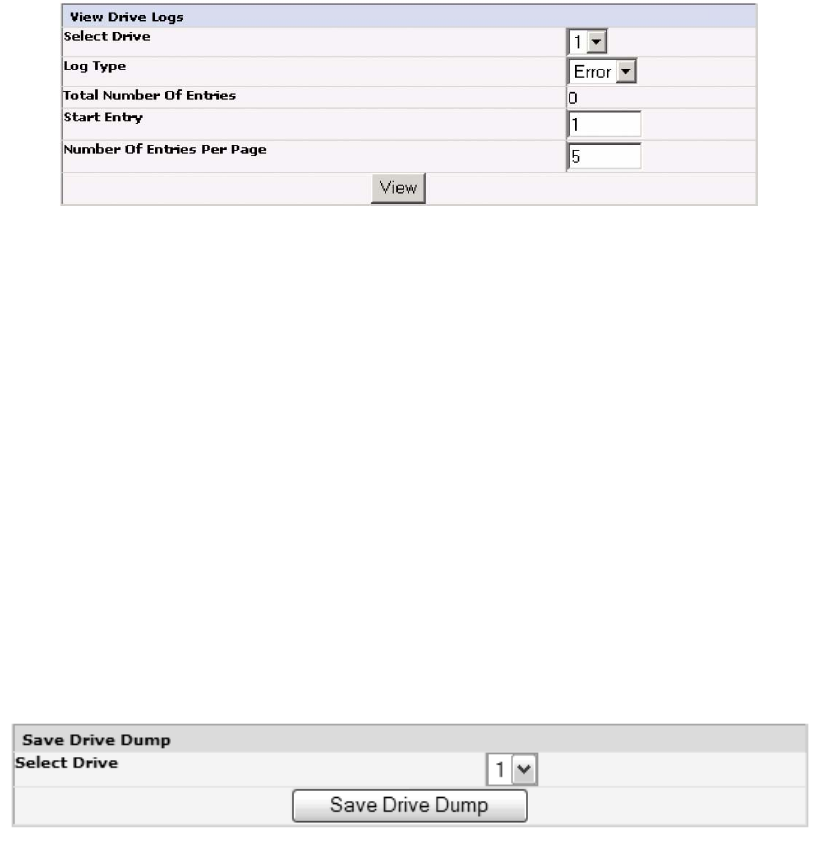
Save Drive Dump
This menu item allows a drive dump to be saved to the host computer. Once the
Save Drive Dump button is clicked, the user will have the option of saving the
drive dump to their hard drive. The progress status for the drive dump is shown
on the System Status screen to the right of the main Web User Interface screen.
Note: Ensure that all the pop-up facilities on the web browser are set to enable
pop-up boxes to appear. For example on the Microsoft Internet Explorer,
under Tools, ensure that the Pop-up Blocker is turned OFF and Internet
Options -> Security -> Custom Level -> Downloads -> Automatic
Prompting for file Downloads and File Downloads are both Enabled.
Once saved on the hard drive, it can be e-mailed to Tech Support for analysis, if
needed.
Note:
The dump may take as long as 20 minutes to complete.
Service Library: Perform Diagnostics
Note: When running the “System Test”, the library must contain at least the same
number of data cartridges as there are drives in that library. For example, if
your library has 4 drives installed, you must have 4 or more data cartridges
in the library prior to the start of the test. If there are fewer data cartridges
than drives in the library, an error message ”Slot Empty” will occur, and the
test will not complete successfully.
This page provides the system administrator with general tests to verify the
usability and reliability of the library. The “System Test” will use resident data
cartridges to test the load and unload capability of the drives, and ensure that the
library mechanics are working satisfactorily. No data will be written to the
cartridges and the cartridges will be returned to their normal slot location. The
“Slot To Slot” test will move each resident data cartridge from one slot to another,
a77ug096
Figure 5-50. Service Library: View Drive Logs screen
a77ug121
Figure 5-51. Service: Save Drive Dump
5-52 Dell PowerVault TL2000 Tape Library and TL4000 Tape Library User's Guide


