Quick and Easy Set up, Projection, and Storage
• Turn the projector on and off by simply plugging in or unplugging.
• Projection only starts when a computer image is input (Auto Power
On).
• Project onto large screens from a short distance.
• Make easy height adjustments with one lever.
• No cool down delay makes it easy to put away.
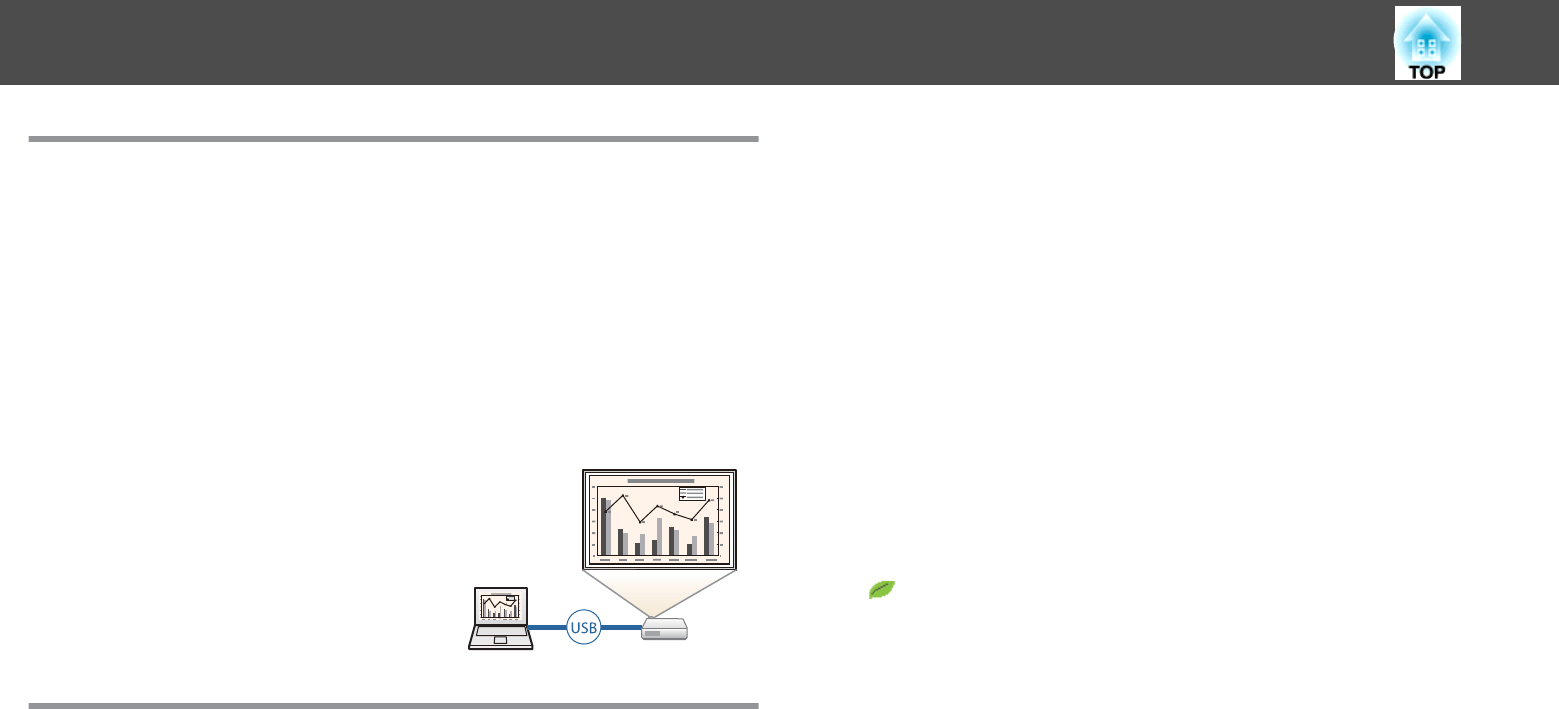
Connecting with a USB Cable and Projecting (USB Display)
By simply connecting a USB cable, you can
project images from a computer's screen
without a Computer cable.
s "Projecting with USB Display" p.45
Useful Functions for Projecting Images
Connect a USB Storage Device and Project Movies or Images (PC
Free)
You can connect USB storage devices or digital cameras to the projector
and project saved images.
A wide range of file formats are supported such as movies or images.
s "Projecting Images Stored on a USB Storage Device (PC Free)"
p.85
Flip the Image Horizontally and Project (Flip Horizontal)
You can temporarily flip the image horizontally and project. This is useful
when projecting images for dance lessons and so on.
s
"Flipping the Image Horizontally (Flip Horizontal)" p.90
Various Functions for Excellent Power Saving
• Various functions to prevent wasting electricity
The projector comes with a number of built-in functions to save power
such as dimming the projected image, an auto power off timer, and
adjusting power consumption while the projector is standing by.
s "ECO Menu" p.133
• Function for displaying the power-saving status on the projected screen
When ECO Display is set to On from the Configuration menu, leaf icons
(
) that indicate the power-saving status are displayed at the bottom-
left of the projected screen when the lamp brightness has switched to low
brightness.
s ECO - ECO Display p.133
Making the Most of the Remote Control
You can use the remote control to perform operations such as enlarging
part of the image. You can also use the remote control as a pointer during
presentations or as a mouse for the computer.
s "Pointer Function (Pointer)" p.91
s "Enlarging Part of the Image (E-Zoom)" p.92
s "Using the Remote Control to Operate the Mouse Pointer (Wireless
Mouse)" p.93
Projector Features
8


