52
Creating Presentations for Your Projector
Transferring Your Presentation to the
Projector
Once your scenario is saved, you can transfer it to the memory card.
The transfer process converts your scenario from a .SIC file to a .SIT
file. Only .SIT files can be played on the projector.
Before you start, make sure you are set up to access the card—either in
your computer’s PCMCIA slot or card reader, or through a USB
connection to the projector. See page 40 for instructions on accessing
the memory card.
1. From the Scenario Option menu, choose
Transfer Scenario
.
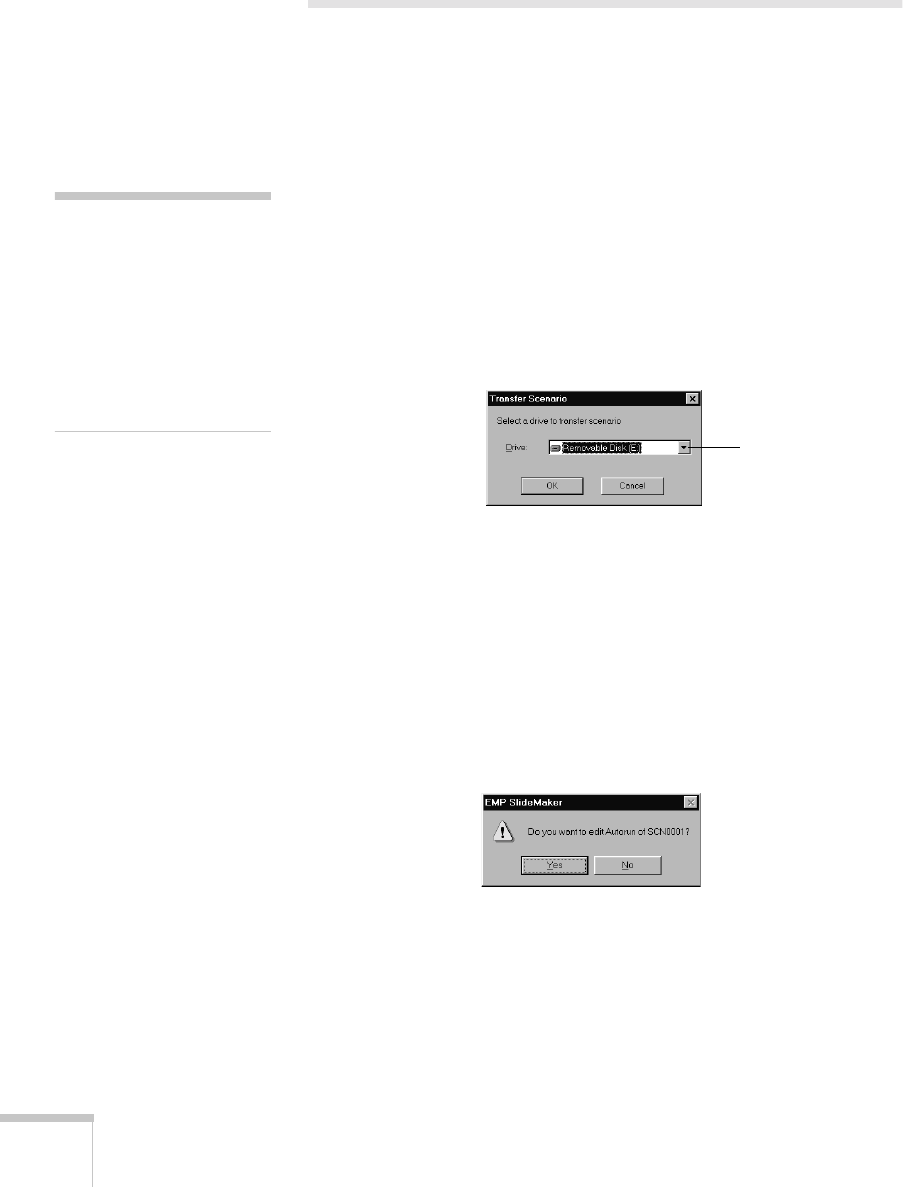
You see a drive selection window:
2. Choose the drive where your card is located—either in your
computer’s PCMCIA slot or card reader, or in the projector.
3. Click
OK.
You see a confirmation message.
4. Click
OK
again. You see a window that displays the progress of
your scenario.
After the scenario has been transferred to the card, you see the
following message about your scenario’s Autorun setting:
The Autorun setting means that the scenario will start playing
whenever the projector is turned on (with the memory card in the
projector).
note
The USB connection is only
available on computers with
a factory-installed version of
Windows 98, Me, or 2000.
It is not available with
Windows 95 or NT 4.0, and
might not work on upgraded
systems.
Click to select your
memory card drive


