© 2004 SPX Corporation
1010
1010
10
Operating Procedures
Cooler Only Mode
Transfers used ATF and new ATF through the
cooler lines.
Note: Confirm vehicle and transmission are at
operating temperature before initiating service.
Identify Cooler Lines
1. Disconnect cooler lines, and attach adapters
to the input and output connectors.
Power Up
1. Connect the power cord to a 12V DC
battery: red to the positive post and black to
the negative post.
2. Turn the unit on. The
Reversed Polarity
LED
lights if the power is connected incorrectly.
The unit self-tests: The buzzer sounds, all
LEDS and displays light and flash, the
dipstick tube holder evacuates ATF, and the
software version displays.
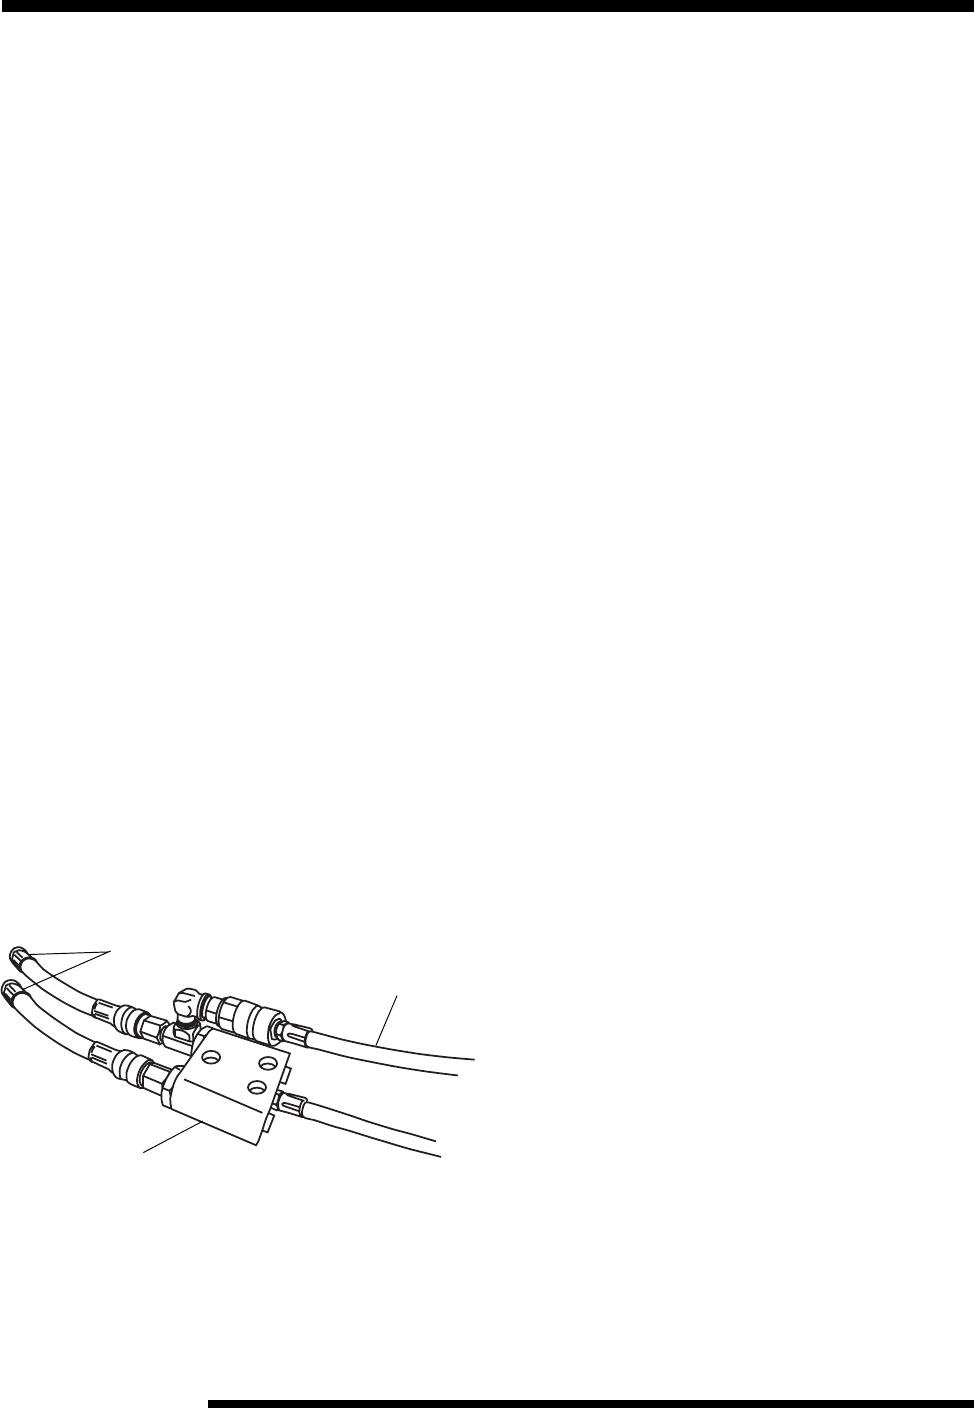
3. Attach the adapters to the unit’s cooler line
selector valve assembly.
Note: The adapters
can be connected to either coupler.
4. Disconnect the red hose from the dipstick
wand assembly, and connect it to the
selector valve assembly.
5. Confirm connections are secure.
6. Press the SELECT button until only the
Cooler Only
LED is lit and flashing.
7. Pause until the ENTER LED lights and
flashes (about one second).
8. Press ENTER to confirm the selection. The
left (
New Fluid In
) display reads 12 (the
default quantity in
quarts of new ATF to be
run into the system).
9. Use the arrow keys to select the amount of
quarts to be transferred. (12 quarts is the
default; minimum is 6 quarts, maximum is 32
quarts.)
10. Press ENTER to confirm the quantity
displayed. The alarm sounds and the
Start
Engine
and ENTER LEDs flash.
11. Start the vehicle’s engine.
Start Service
1. Press ENTER to start the ATF exchange.
The following takes place:
a. The unit extracts used ATF from one of
the cooler lines.
b.
The amount of ATF extracted appears on
the
Replaced Fluid Out
display (i.e., if 12 was
selected in
“Power Up”
step 9, and 3 quarts
were extracted in step 1a above,
Replaced
Fluid Out
will display 9).
c. The unit replaces the ATF taken out with
new ATF through the other cooler line.
This recycling continues until the selection in
step 9 under “Power Up” is met. When the
selection is met, the buzzer sounds and the
End
Service
and ENTER LEDs light.
2. Press ENTER to confirm that the correct
amount of oil has been replaced.
Check
Trans Level
LED lights.
Red Hose
Selector Valve
Assembly
Adapters


