English
36
Settings/
Adjustments
Adjusting White Balance
1
11
1
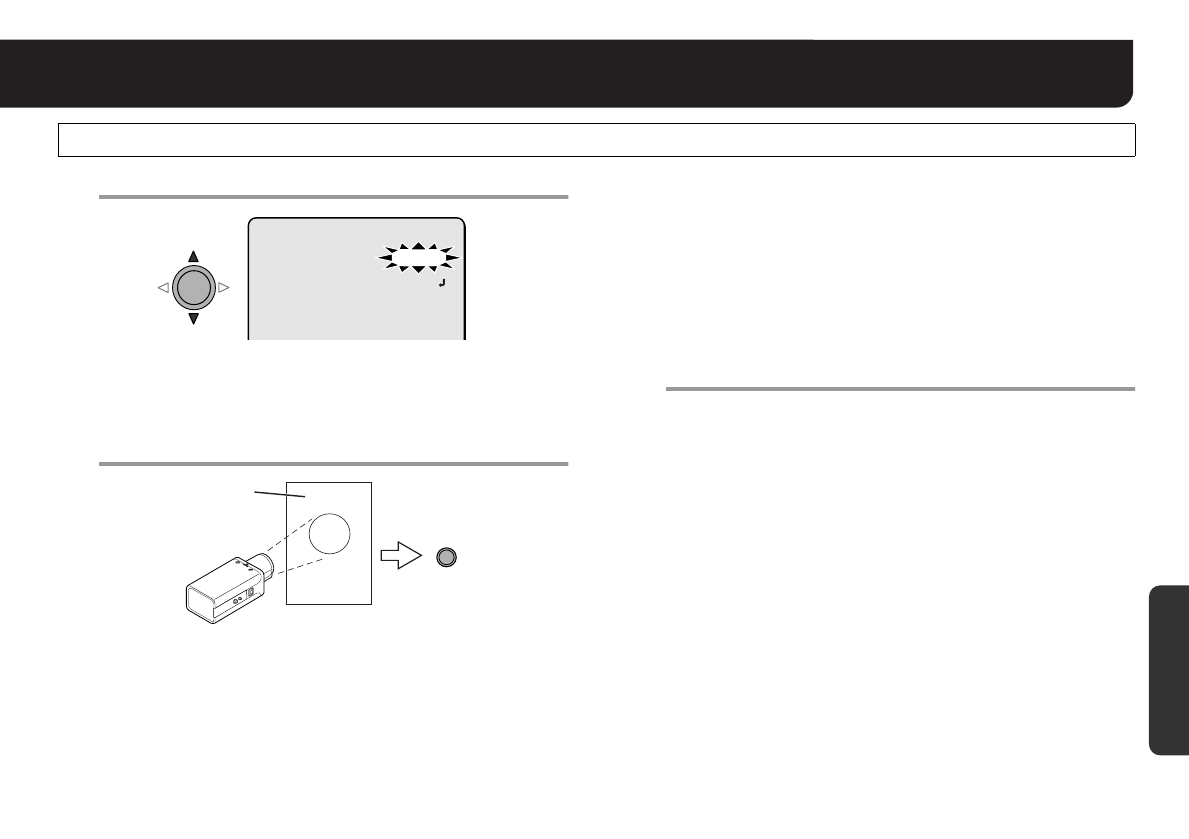
Select “AWC LOCK” – “SET”.
R“SET” blinks.
2
22
2
Point a camera to a white paper or wall to project
an image on the whole screen, and press the SET
button.
RThe blinking of “SET” stops and illuminates, and white balance
adjustment will start. The adjustment will end after about 2
seconds when the blinking of “SET” restarts.
• If the adjustment does not yield a satisfactory result, press the
SET button again.
■ To perform fine adjustment of color
In the “AWC SETTING” screen, select “GO TO MWB” – “SET”, and
press the SET button.
RThe “MWB SETTING” screen appears. Specify values manually.
(See page 37)
3
33
3
Set “MENU” to “END” and press the SET button.
RFinishes the settings screen and returns to the normal
monitoring screen.
• If you want to return to the previous screen, select “BACK” and
press the SET button.
AWC SETTING (One-Push Adjustment)
AWC SETTING
GO TO MWB SET
AWC LOCK SET
SET
White paper or wall
MEMO: Transferring to the “MWB SETTING” through “GO TO
MWB”, white balance mode (see page 34) will be changed to
“MWB”.
