6
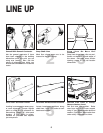
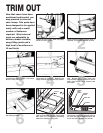
LINE UP
1
5
Consult With General Contractor
Ask the general contractor if there
have been changes in the building
dimensions since the print you are
using was issued. Also, ask the
points of reference from which you
should take dimensions to locate the
cases.
Set Shims On Basehorse Locations
Locate basehorse positions along
chalk lines. Spot shim packs at each
basehorse location.
2
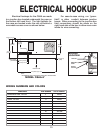
Snap Chalk Lines
Mark floor where cases are to be
located for the entire lineup.
3
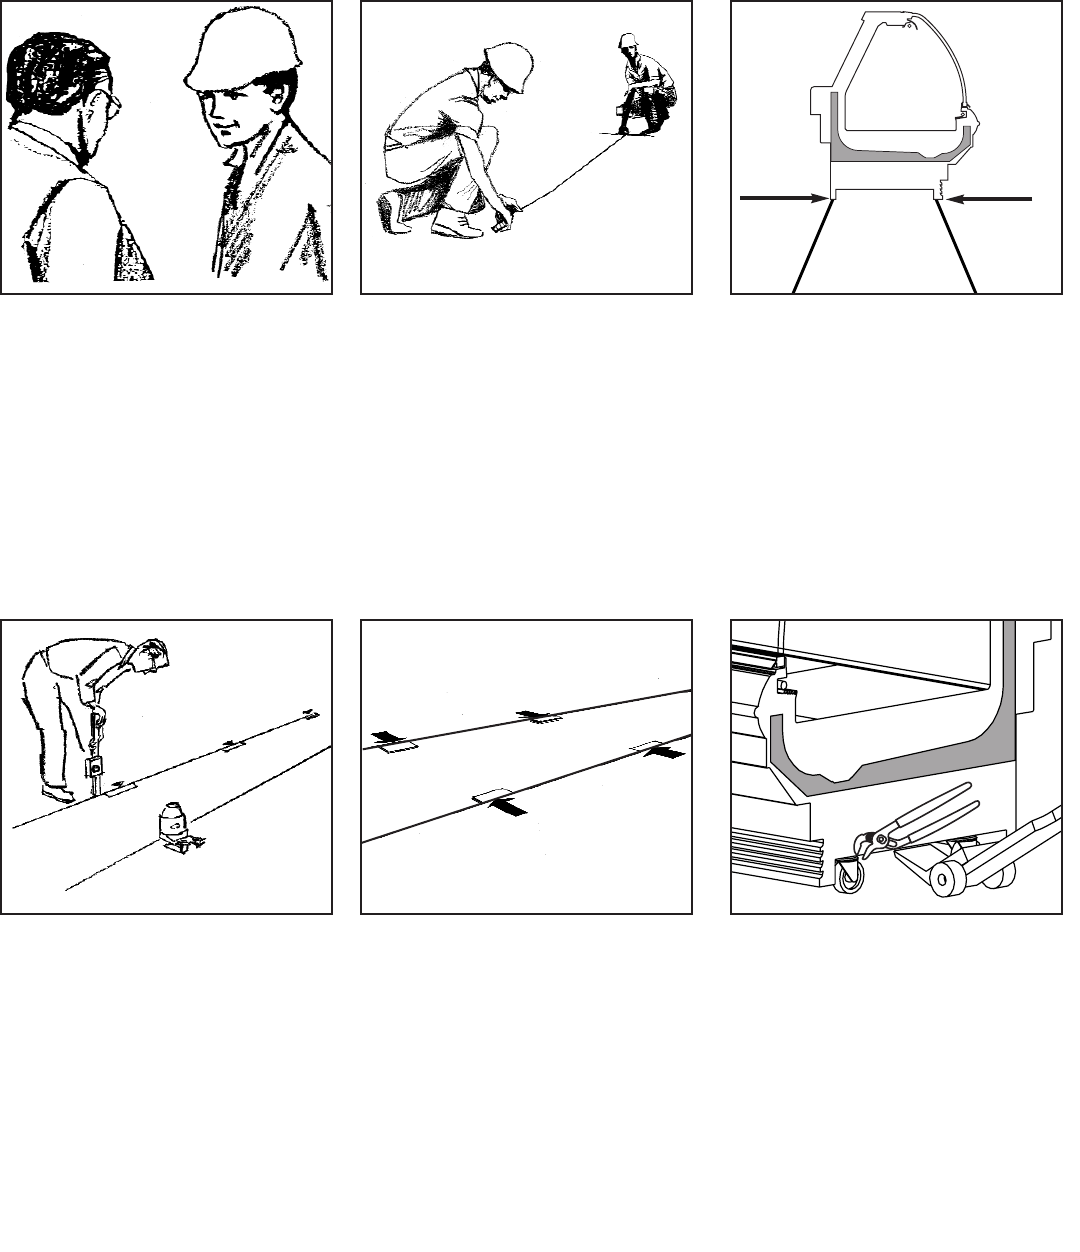
Snap Lines On Base Rail
Locations
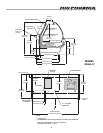
Snap lines where base rails are posi-
tioned, not the front or back edges of
the cases. See case cross section
drawing, pages 3-4 for rail location
dimensions.
4
Level Floor. Use Laser Transit
Leveling is necessary to assure prop-
er case alignment. Locate highest
point on chalk line as reference for
determining height of shim-pack
levelers. A laser transit is recom-
mended for precision and requires
just one person.
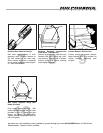
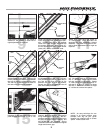
6
Position First Case In Lineup,
Remove Casters, Level
Roll first case into position. Raise
case from end under cross support
using “J” bar. Remove cotter pins and
casters. [CAUTION! Keep hands from
under case] Level case on shims.
BASE RAIL
BASE RAIL


