


EN 19
En
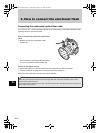
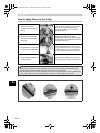
Water Leakage Test
The final test after loading the camera is explained below. Always perform this test. It can be performed
easily in a water tank or a bathtub. The required time is about five minutes.
Simple water leakage test
Explanatory image Hints
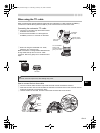
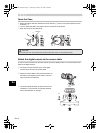
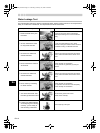
1 Place the Case slowly into
the water.
As the rear lid of the Case is transparent,
waterdrops entering into it can be confirmed
easily.
2 At first, immerse the Case
for only three seconds.
In case of trouble with the O-ring, three
seconds is enough for water to enter. Are there
air bubbles coming out between the lids?
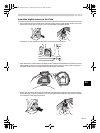
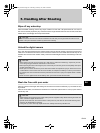
3 Check that no water has
entered the Case.
Remove the Case from the water and check
that no water has leaked at the inside of the
Case.
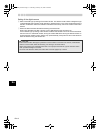
4 Next, immerse the Case for
30 seconds.
Check carefully for air bubbles!
Do not perform any operation yet, but just
observe.
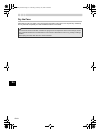
5 Check that no water has
entered the Case.
Remove the Case from the water and check
that no water has leaked at the bottom of the
Case.
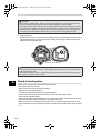
6 Next, check by immersing
for three minutes.
Check carefully for air bubbles!
Try operation of the buttons used frequently.
Check carefully for air bubbles!
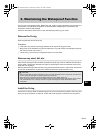
7 This is the final check. Has
the silica gel become moist?
Has the silica gel become moist?
Please check carefully!
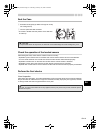
8 If there is no water leakage
and everything is functioning
correctly, you are ready to
start shooting underwater.
Now everything is all right!
PT-E06_EN.Book Page 19 Thursday, February 26, 2009 5:04 PM