


47
Operation and setup of the picture frame
on the photo frame or on the remote control.
Step2: Select [Delete All] using the navigator key and press
on the
photo frame or on the remote control to proceed.
Step3: Select [OK] using the navigator key and press
on the photo
frame or on the remote control to con rm.
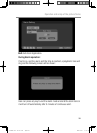
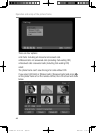
Add phonebook menu
Step1: Select [Add] icon using the navigator key and press on the
photo frame or on the remote control to proceed.
Step2: Select digits or characters using the navigator key and press
on the photo frame or on the remote control to input name or
number.
Step3: Select [Save] using the navigator key and press
on the photo
frame or on the remote control to proceed.
Step4: Press
button on the photo frame or on the remote control to
select one photo.
Step5: Select [Save] icon using the navigator key and press
on the
photo frame or on the remote control to con rm.
Note:
If there is no external memory, Step4 and Step5 will not appear.
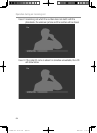
Dial out from phonebook
During phonebook review screen, you can select one entry using the
navigation key, and then pressing
on the photo frame or on the
remote control to dial out the selected number. During the call, you can
press
on the photo frame or on the remote control to end the call.
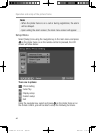
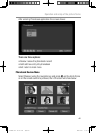
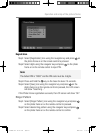
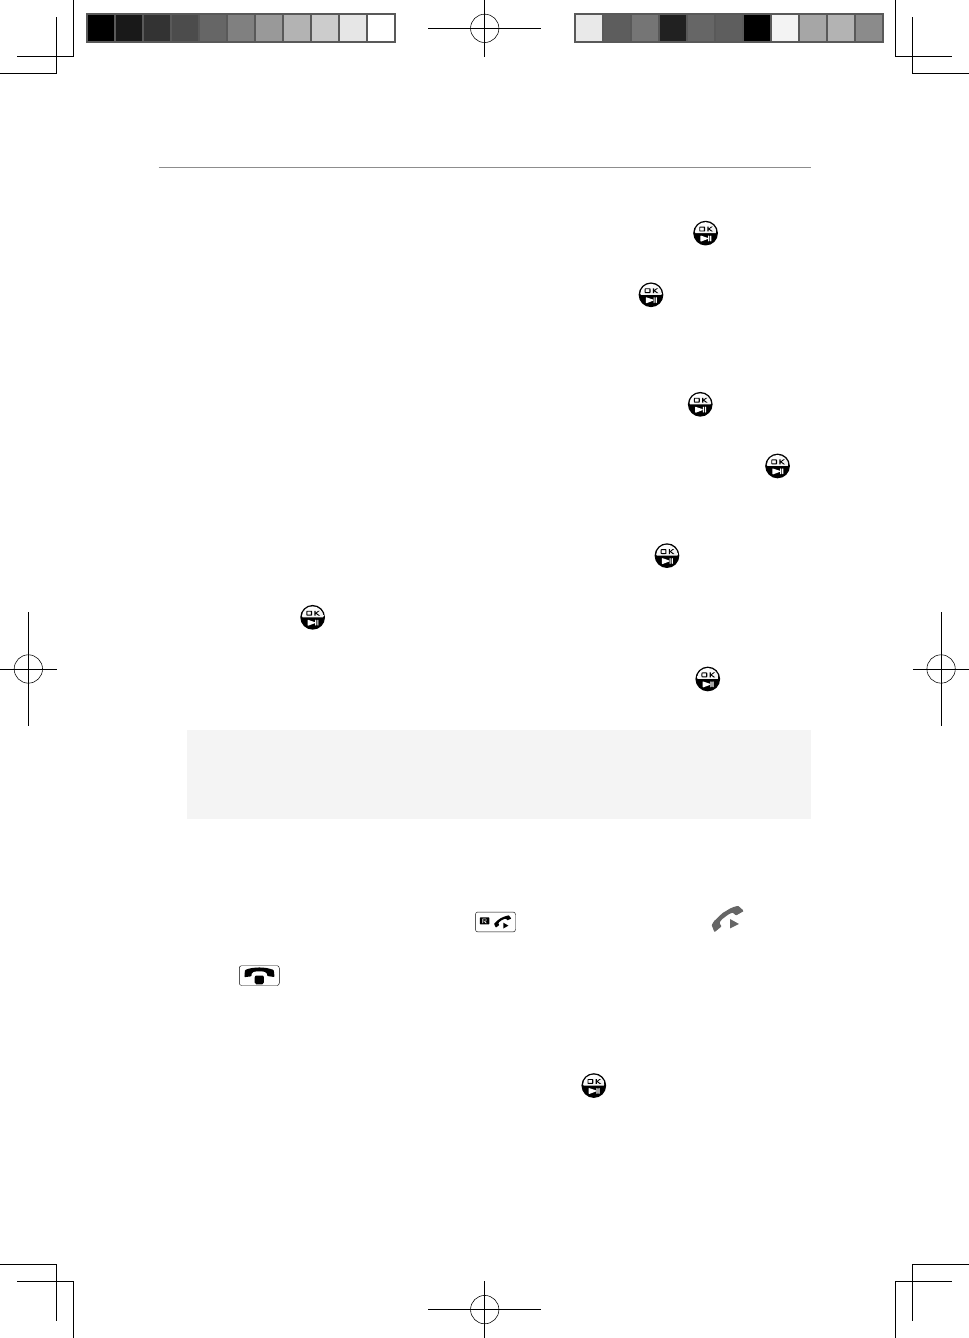
Call log Menu
The photo frame can store up to 30 call logs. Select [Call Log] icon using
the navigator key in the main menu and press
on the photo frame or
on the remote control to proceed. The following screen will be shown.
PIX2000 User Guide.indd 章节2:47PIX2000 User Guide.indd 章节2:47 2009-6-30 17:33:372009-6-30 17:33:37