NEW MSG NEW MSG
C
H
6
97
C
H
6
96
2
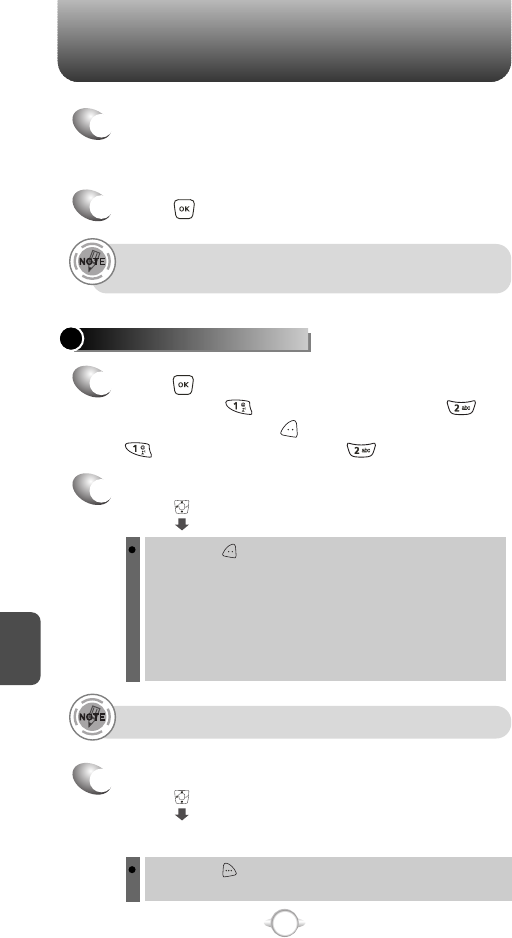
Under “To”, input the phone number and
press .
3
Under “Text”, input a new TXT Message then
press .
By pressing [ADD], you can choose from the following:
1. Contacts : Search the phone number which is stored in
the contacts list.
2. Groups : Search the group which is stored in the contacts
list.
3. Recent Calls : Search the phone number which is stored in
the recent calls list.
4. To PIX Place : To send pictures by using online Address.
By pressing [OPTIONS].
Add Quick Text : Inserts already written sentences in TXT Msg.
(Please refer to page 31 for more details on entering letters,
numbers and symbols. Max 1000 characters support.)
(Please refer to page 31 for more details on entering letters,
numbers and symbols.)
6
Under “Subject”, input a subject then press .
By pressing [OPTIONS].
Add Quick Text : Inserts already written sentences in TXT
Msg.
(Please refer to page 31 for more details on entering letters,
numbers and symbols. Max 100 characters support.)
4
Under “PIX”, only one picture can be inserted
per message.
Press [MY PIX], then select the picture
you’d like to send and press .
You may enter up to 10 contacts.
If anything has been entered in the TXT msg field and you exit the
message, the input will be saved in “Drafts”.
8
To send the PIX Message, press [SEND].
7
Press [OPTIONS], then select “Priority Level”,
select “High” or “Normal”, then press .
To save the PIX Message, press [OPTIONS],
then select “Save As Draft”.
To preview a written picture message, press
[OPTIONS], then select “Preview”.
To add slide, press [OPTIONS], then
select “Add Slide”.
5
Under “Sound”, only one sound can be inserted.
Press [SOUND], then select the sound
you’d like to send and press .
4
Under “Message”, input a new TXT Message.
5
Press to send.
1
Press [MENU], then select “Messaging”
menu, press “New Msg”, then press
“PIX Msg” or press [MESSAGE], press
“New Msg”, then press “PIX Msg”.
SEND NEW PIX MESSAGE
