3.45
ENGINE
3
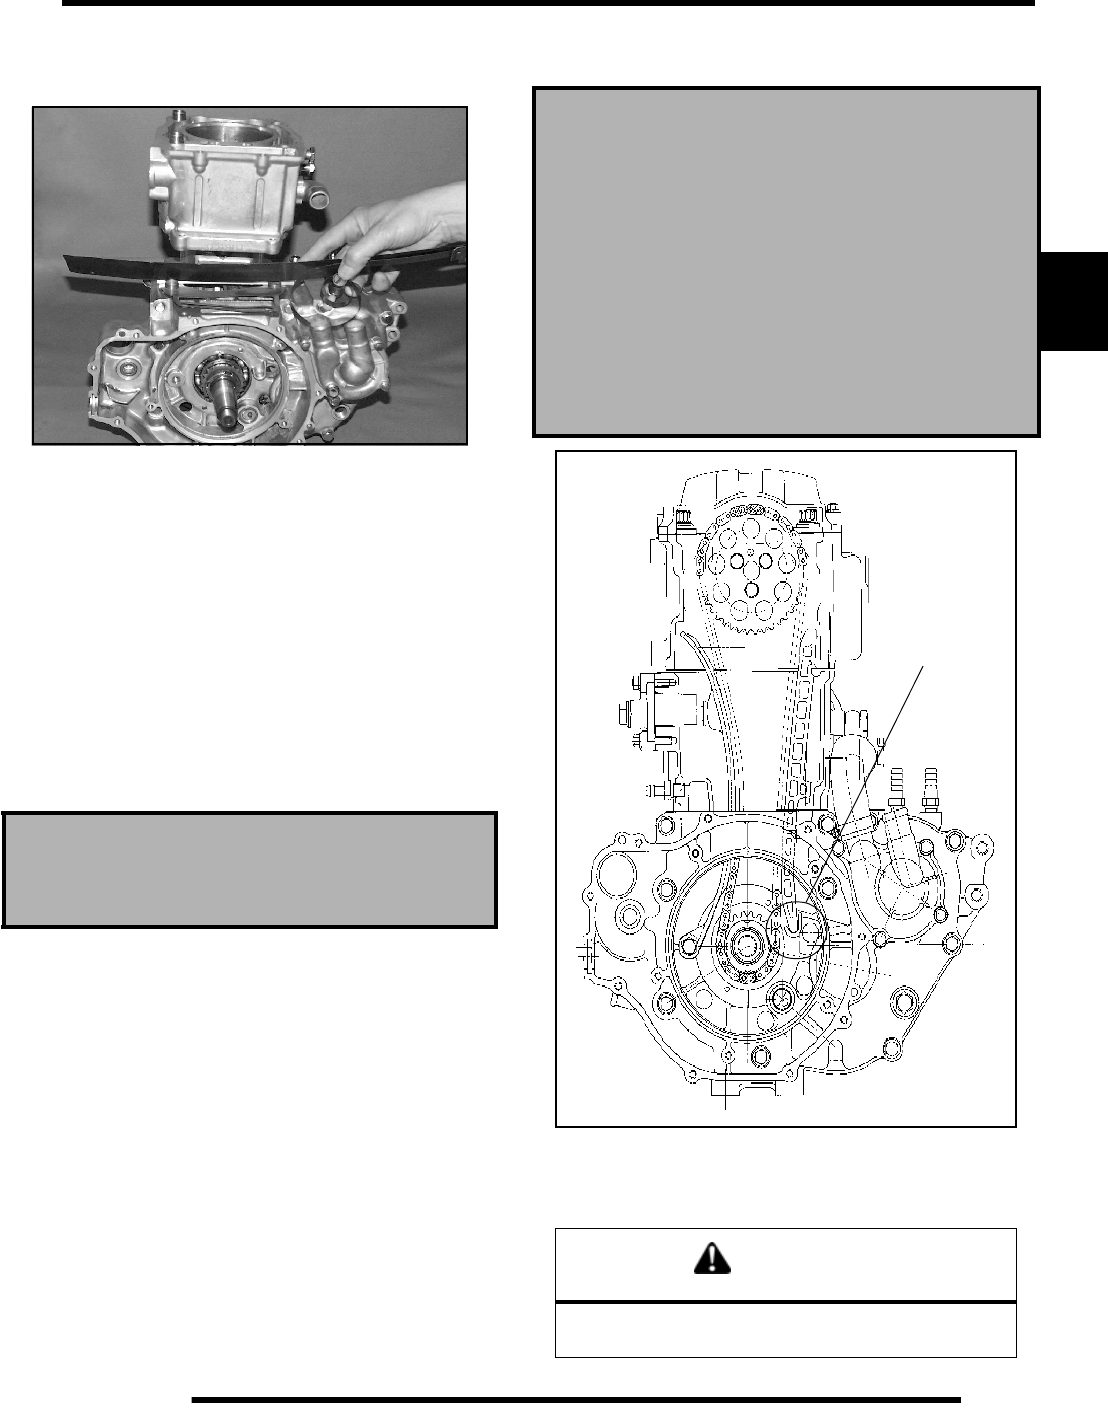
10. Apply clean engine oil liberally to the cylinder bore and
tapered area of the sleeve. Install the cylinder with a slight
rocking motion until the rings are captive in the sleeve.
11. Remove the ring compressor and support block.
12. Push the cylinder downward until fully seated on the base
gasket.
13. Apply a light film of oil to the threads and flange surface
of the cylinder mounting bolts.
14. Install all four bolts finger tight. Rotate the engine and
position the piston at BDC.
NOTE: If cam chain is installed, hold it up while rotating
the engine to avoid damage to the chain, drive sprocket
teeth, or tensioner blade.
15. Tighten the cylinder bolts in three steps in a criss cross
pattern and torque to specifications.
16. Install the two 6 mm bolts and torque to specifications.
Cylinder Head Installation
Clean the gasket surfaces on the cylinder head and
cylinder. Remove all traces of old gasket material.
Refer to disassembly photos.
1. Install the cam chain tensioner guide. Be sure bottom end
of guide is located properly in crankcase.
2. Install the two dowel pins and a new cylinder head gasket.
3. Place the cylinder head on the cylinder. Apply a film of
engine oil to the cylinder head bolt threads and washers, and
hand tighten the bolts.
The following procedure must be used to torque the
cylinder head properly:
Cam Chain/Camshaft Installation
Install the cam chain over the crankshaft.
Cylinder Bolt Torque:
10 mm - 46 ft. lbs. (62 Nm)
6 mm - 6 ft. lbs. (8 Nm)
Torque all bolts evenly in a criss- cross pattern
*Torque bolts to 22 ft. lbs. (30 Nm)
*Torque bolts to 51 ft. lbs. (70 Nm)
*Loosen bolts evenly 180
o
(1/2 turn)
*Loosen bolts again another 180
o
(1/2 turn)
*Torque bolts to 11 ft. lbs. (15 Nm)
*From this point, tighten bolts evenly 90
o
(1/4 turn)
*Finally, tighten another 90
o
(1/4 turn)
*Install two 6 mm bolts and torque to 6 ft. lbs. (8 Nm)
CAUTION
Serious engine damage may result if the camshaft
is not properly timed to the crankshaft.
Guide in
recess
