10.46
ELECTRICAL
Starter Motor Removal / Disassembly
NOTE: Use electrical contact cleaner to clean starter
motor parts. Some solvents may leave a residue or
damage internal parts and insulation.
1. Remove the starter from the engine.
2. Remove the two bolts, washers, and sealing O-Rings.
Inspect O-Rings and replace if damaged.
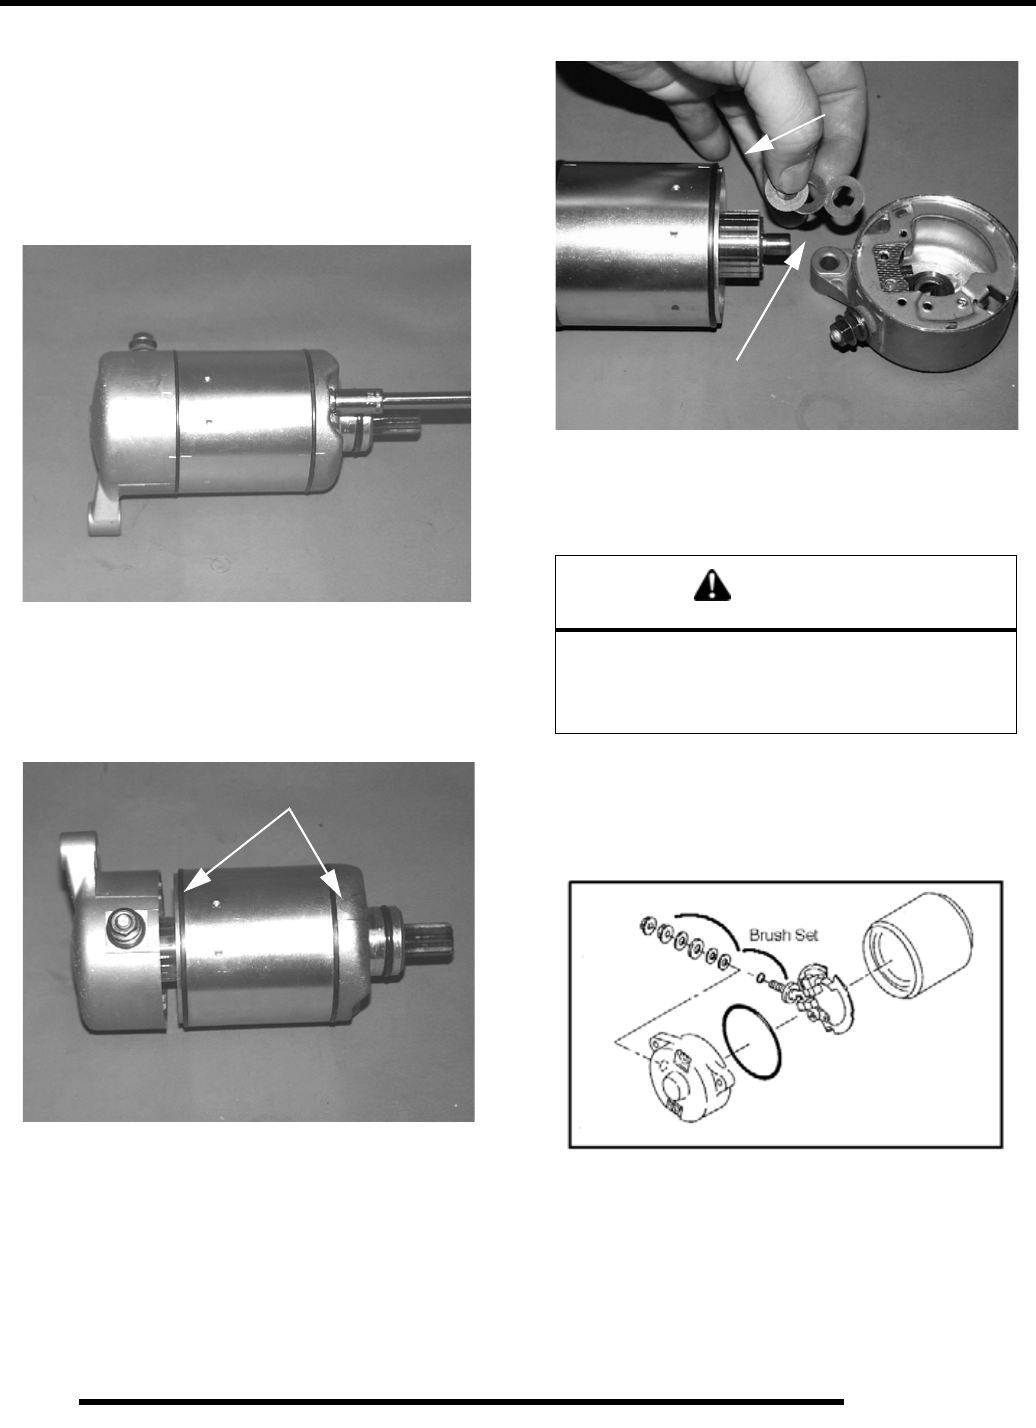
NOTE: Note the alignment marks on both ends of
the starter motor casing. These marks must align
during reassembly.
3. Remove the rear brush housing assembly, holding the front
housing and armature assembly together.
4. Remove the shims from the armature shaft and inspect the
O-rings located on the armature housing.
NOTE: The shims must be reinstalled during
reassembly.
Brush Inspection / Replacement
1. Measure resistance between starter input terminal and
insulated brushes. The reading should be .3 ohms or less.
Measure the resistance between the cable terminal and
brush housing. Make sure the brush is not touching the
case. The reading should be infinite.
2. Remove nut, flat washer, large phenolic washer, two small
phenolic washers, and O-Ring from brush terminal. Inspect
the O-Ring and replace if damaged.
3. Remove brush plate and brushes. Measure length of
brushes and replace if worn past the service limit. Replace
springs if they are discolored or have inadequate tension.
NOTE: The electrical input post must stay with the
field coil housing.
O-Rings
CAUTION
Some cleaning solvents may damage the insulation
in the starter. Care should be exercised when
selecting an appropriate solvent. If the commutator
needs cleaning use only electrical contact cleaner.
O-Rings
Shims
