


18 Storing Contacts
Assigning pictures
1. Press to select Contacts.
2. Highlight a contact and press .
3. Highlight the contact name and press to
select
Options.
4. Select Picture → Assign Picture → Images.
5. Select Saved Images or Caller IDs.
Note: With mobile PhoneTools for Kyocera,
you can transfer digital pictures to your
phone. To purchase MPT or other
accessories, visit
www.kyocera-wireless.com/store.
6. Scroll through the list to view your options
and press to assign it to your contact.
Classifying contacts as Personal or
Business
1. Press to select Contacts.
2. Highlight a contact and press .
3. Highlight the contact name and press to
select
Options.
4. Select Classify.
5. Select Personal or Business and press .
Note: To assign Personal or Business ringers, see
“Assigning business and personal ringers” on
page 29.
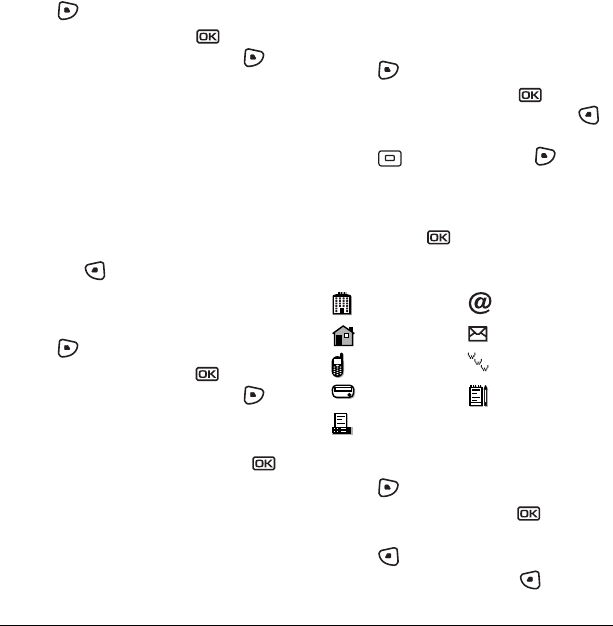
Assigning number types
When you assign a number type, an icon is placed
in front of a contact number to specify the type of
number, such as work, home, or mobile.
1. Press to select Contacts.
2. Highlight a contact and press .
3. Highlight the contact number and press
to select Edit.
4. Press down once and press to select
Options.
5.
Highlight an option to designate the number
as General, Work, Home, Mobile, Pager, or
Fax and press . The associated icon will
appear next to the number in your Contacts
directory and Recent Calls list.
Editing a contact
1. Press to select Contacts.
2. Highlight a contact and press .
3. Highlight the contact name or number and
press to select
Edit.
4. Enter your changes and press to select
Save.
work email address
home street address
mobile Web page URL
pager note
fax