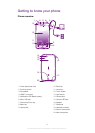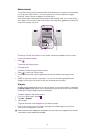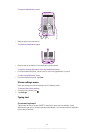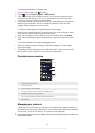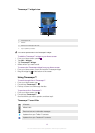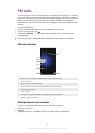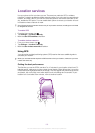
1
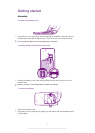
Press and hold down the power key on the top of the phone until the phone
vibrates.
2
If your screen goes dark, press or press briefly to activate the screen.
3
To unlock the screen, drag to the right across the screen.
4
Enter your SIM card PIN when requested, and select OK.
Your SIM card PIN is initially supplied by your network operator, but you can change it later from
the Settings menu. To correct a mistake made while entering your SIM card PIN, press .
It might take a while for the phone to start up.
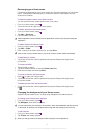
To turn off the phone
1
Press and hold down the power key until the options menu opens.
2
In the options menu, tap Power off.
3
Tap OK.
It may take a while for the phone to shut down.
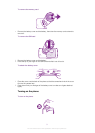
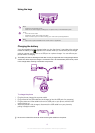
Screen lock
When your phone is on and left idle for a set period of time, the screen darkens to save
battery power, and locks automatically. This lock prevents unwanted actions on the touch
screen when you are not using it.
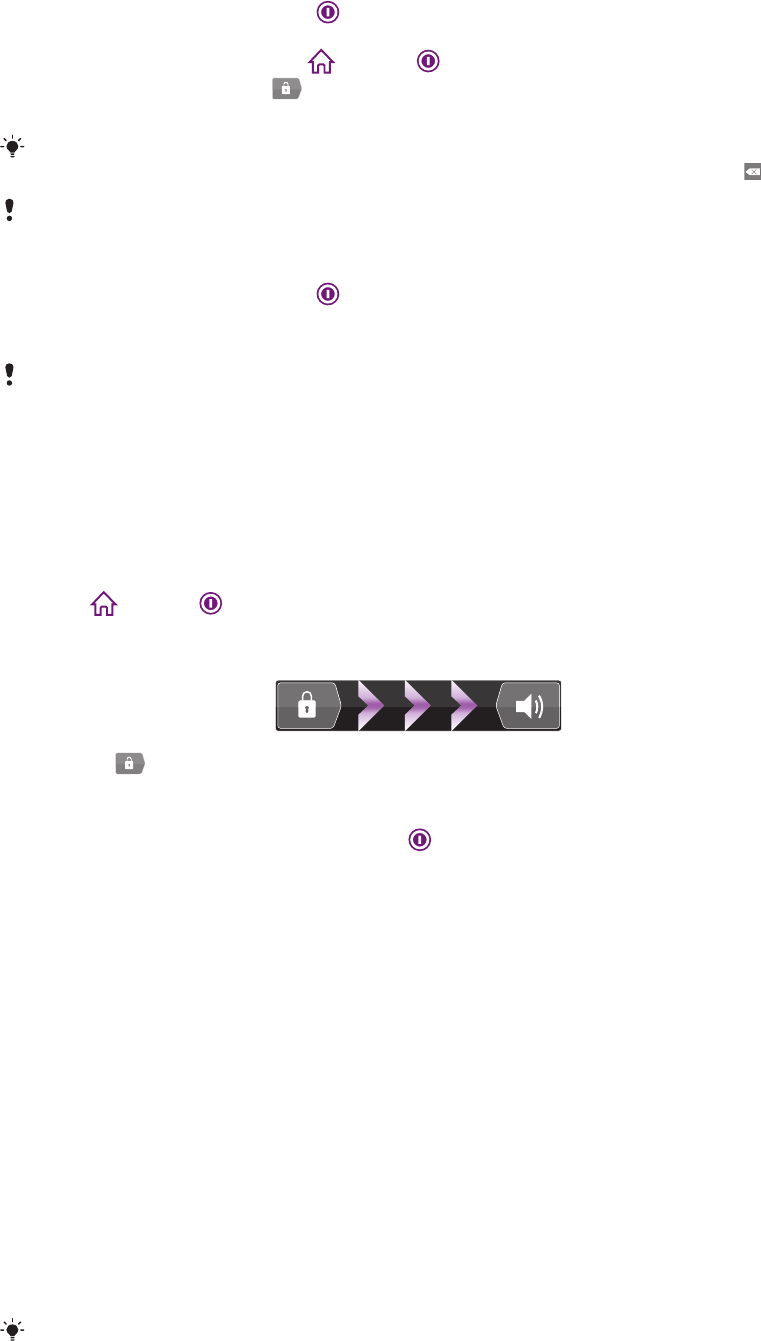
To activate the screen
•
Press or press briefly.
To unlock the screen
•
Drag the
icon to the right across the screen.
To lock the screen manually
•
When the screen is active, briefly press the key.
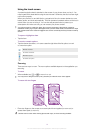
Setup guide
The first time you start your phone, a setup guide opens to explain basic phone functions
and helps you enter essential settings. This is a good time to configure your phone to your
specific needs.
The setup guide covers the following:
•
Basic phone settings such as language and Internet. For example, you can adjust settings
for how you access the Internet.
•
Wi-Fi® settings – speed up your connection and decrease data transfer costs.
•
Online service settings – helps you with email setup, online service accounts, and contact
transfers from an old phone or other data source.
You can also refer to the respective chapters in the in-phone User guide, available through
the Support application in the phone and at www.sonyericsson.com/support, for more help
with the following:
•
Wi-Fi®
•
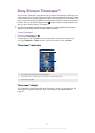
Sony Ericsson Sync
If you prefer, you can skip some steps and access the setup guide later from the Application
screen or change the settings from the Settings menu.
10
This is an Internet version of this publication. © Print only for private use.