


Getting to know your P910i 13
This is the Internet version of the user’s guide. © Print only for private use.
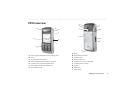
Charging the battery
• When the battery needs to be charged, a beep is heard. The
indicator light (on the top of your P910i) flashes red and a
battery low message appears on the screen.
• The battery can be charged whenever you want. The P910i
performance is not affected. However, using your P910i
while charging increases the charging time.
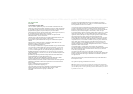
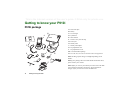
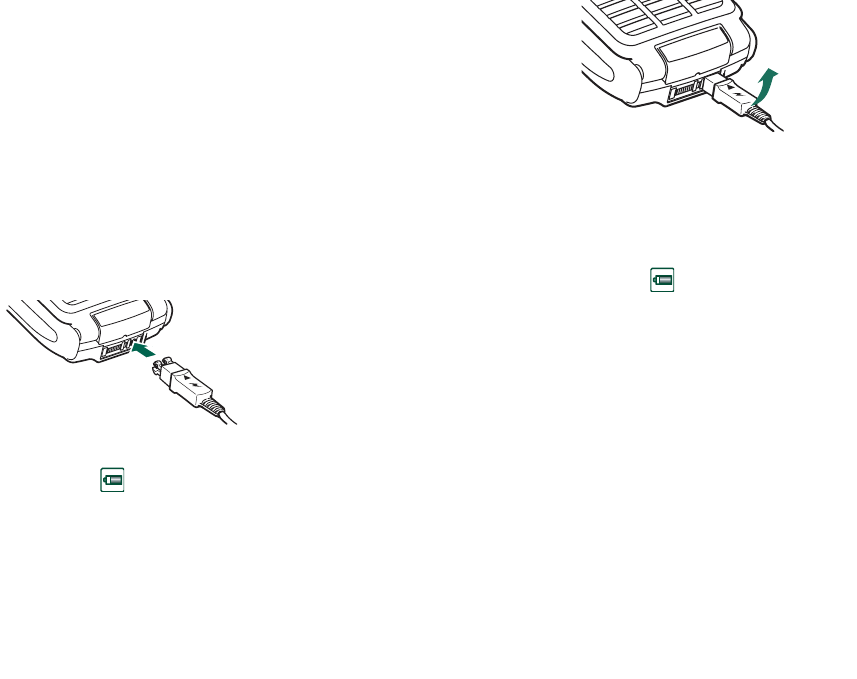
To charge the battery
The P910i can be charged either when it is switched on or off.
1. Make sure the battery is inserted in your P910i and the cover
is closed.
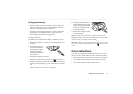
2. Connect the charger to
the P910i at the base of
the phone by the flash
symbol. The charger
plug flash symbol must
face upwards.
3. Connect the charger to the mains.
Charging is indicated by the battery icon on the screen
pulsing continuously, and the indicator at the top of the P910i
showing a steady red light (or green, if the P910i is switched
on).
See also ‘Battery Use and Care’ on page 185.
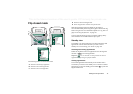
4. Wait approximately 4 hours or
until the battery meter on the
screen is full and the indicator
on the top of the P910i shows
a steady green light.
5. Remove the charger by tilting
the plug upwards.
Tip You can also use other battery chargers that have been
supplied with other Sony Ericsson mobile phones using the same
connector plug, for example, T300 or P900.
Note When the battery is completely discharged, or new, it may
take up to 30 minutes before the battery icon appears on the
screen.
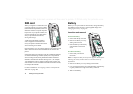
Care instructions
Your P910i is a highly sophisticated electronic device. To get
the most out of it, please make sure that you follow this advice:
• Keep the P910i in its protective carry case when not using it.
• Use a lightly moistened cloth when you clean the screen.
• Use only the stylus provided to tap the screen.