3. Telephone
22
2 Press {A} or {B} repeatedly to display the desired
item.
3 Press {MENU}.
4 Press {#}.
L To cancel erasing, press {STOP}.
5 Press {SET}.
L To erase other items, repeat steps 2 to 5.
6 Press {STOP} to exit.
3.2 One-touch dial feature
For rapid access to frequently dialled numbers, the unit
provides the one-touch dial feature.
3.2.1 Storing one-touch dial items
L Station 1 to 3 can be used alternatively as broadcast
keys (page 29).
L You can also send faxes using the one-touch dial
feature (page 29).
1 Press {MENU} repeatedly to display “PHONEBOOK
SET”.
2 Select the desired station key.
For station 1–3:
Press one of the station keys, press {A} or {B}
repeatedly to select “DIAL MODE”, then press
{SET}.
For stations 4–5:
Press one of the station keys.
For stations 6–10:
Press {LOWER}, then press one of the station keys.
3 Enter the name, up to 16 characters (see page 18 for
instructions).
4 Press {SET}.
5 Enter the telephone number, up to 24 digits.
6 Press {SET}.
L To program other items, repeat steps 2 to 6.
7 Press {STOP} to exit.
Note:
L You can confirm the stored items by printing the
telephone number list (page 63).
To correct a mistake
1. Press {<} or {>} to move the cursor to the incorrect
character/number.
2. Press {STOP}.
L To erase all characters/numbers, press and hold
{STOP}.
3. Enter the correct character/number.
3.2.2 Making phone calls using the one-
touch dial
Before using this feature, store the desired names and
telephone numbers for the one-touch dial feature.
1 Lift the handset or press {MONITOR}.
2 Select the desired station key.
For stations 1–5:
Press the desired station key.
For stations 6–10:
Press {LOWER}, then press the desired station key.
L The unit will start dialling automatically.
3.2.3 Editing a stored item
1
Press {>}.
L Confirm that there are no documents in the
document entrance.
2 Press {A} or {B} repeatedly to display the desired
item.
3 Press {MENU}.
4 Press {*}.
L If you do not need to edit the name, skip to step
6.
5 Edit the name. For further details, see the storing
procedure on page 22.
6 Press {SET}.
L If you do not need to edit the telephone number,
skip to step 8.
7 Edit the telephone number. For further details, see
the storing procedure on page 22.
8 Press {SET}.
L To edit other items, repeat steps 2 to 8.
9 Press {STOP} to exit.
3.2.4 Erasing a stored item
1
Press {>}.
L Confirm that there are no documents in the
document entrance.
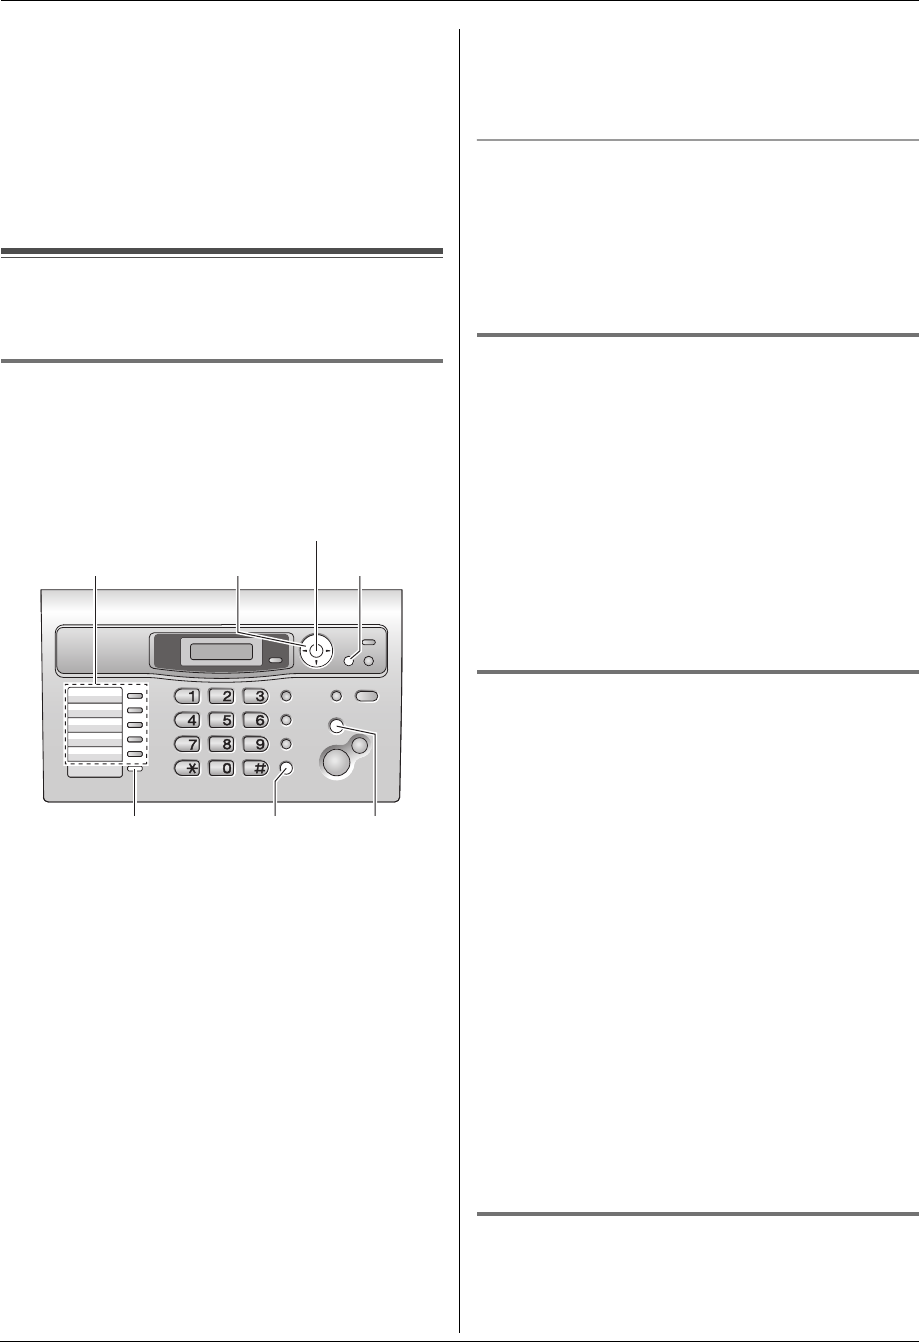
{SET}
{<}{>}{A}{B}Station keys
{MONITOR}
{LOWER}
{MENU}
{STOP}
FL313HK-PFQX2630ZA-en.book Page 22 Tuesday, August 29, 2006 10:19 AM


