


84 Experiencing Multimedia
Use zooming
Before capturing a still image or a video clip, you can first zoom in to make the object in focus move closer,
and you can zoom out to make the object move farther away. In all capture modes, press NAVIGATION up on
your phone to zoom in, NAVIGATION down to zoom out.
The camera zoom range for a picture or video depends on the capture mode and capture size. Also, please
note the capture sizes available for certain capture formats also vary from one capture mode to another.
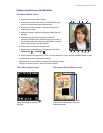
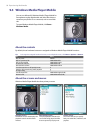
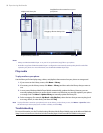
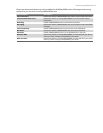
The Review screen
After capturing a photo or video, you will be presented with options that you can do with the captured media
file.
Icon Function
Click to go back to Camera screen.
Click to delete the captured image or video clip.
Click to send the captured image or video clip to someone via e-mail.
Click to switch to Pictures & Videos to show the still image, or switch to Windows Media Player to play back the
video clip.
Click to associate the photo to a selected contact. (For Contacts Picture mode only)
Note After you have taken photos in Sports mode, the total number of consecutive shots is shown at the lower right corner
of the Review screen. Press NAVIGATION up or down to browse through the sequence of photos.
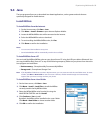
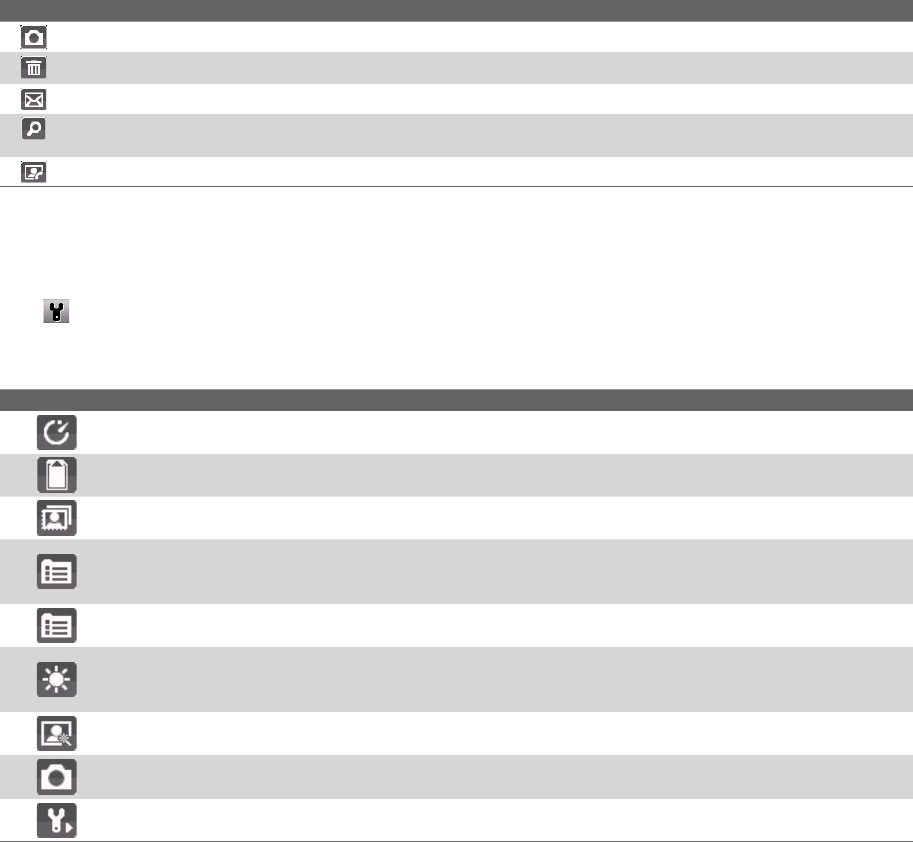
Customize Camera settings
Click on the Camera screen to open the Camera settings screen where you can activate self-timer, change
the ambience, customize capture settings, and more. Use the NAVIGATION CONTROL and the left SOFT KEY to
go through the available settings. The following table provides a list of the general options in the menu.
Option Allows you to
Select the Self-timer option for capturing images: Off, 2 seconds, or 10 seconds. Selecting 2 seconds or
10 seconds delays the capturing by the specified time after you press ENTER.
Select whether to save the file in the device memory or on the memory card.
Only available in Picture Theme mode. Allows you to select a template to use for Picture Theme mode.
Only available in Panorama mode. Direction determines how the photos will be stitched. Stitch Count
determines how many snapshots will be taken for the panoramic photo. When Auto Stitch is On, the camera
automatically stitches the snapshots into one single file. When Off, the snapshots are saved as separate files.
Only available in Sports mode. The Capture Speed option determines the interval between shots. The
Snapshots option determines how many shots to take with a single press of ENTER.
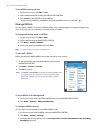
Specify
the white balance setting, such as Auto, Daylight, Night, Incandescent, and Fluorescent to suit
the lighting environment. You can also
choose a special effect, such as Grayscale, Sepia, Cool, or Negative to
apply to your photos or video clips.
Choose the resolution to use and set the metering mode to either Center Area or Average. While
capturing images, you can also set the Quality and enable Time Stamp.
Switch between different capture modes, such as Photo, Video, Contacts Picture, and more. For details, see
“Capture modes” earlier in this chapter.
Access more settings that lets you customize the Camera or Video Recorder functions. You can customize
settings such as the capture format, camera shutter sound, flicker adjustment, recording limit, and more.