f
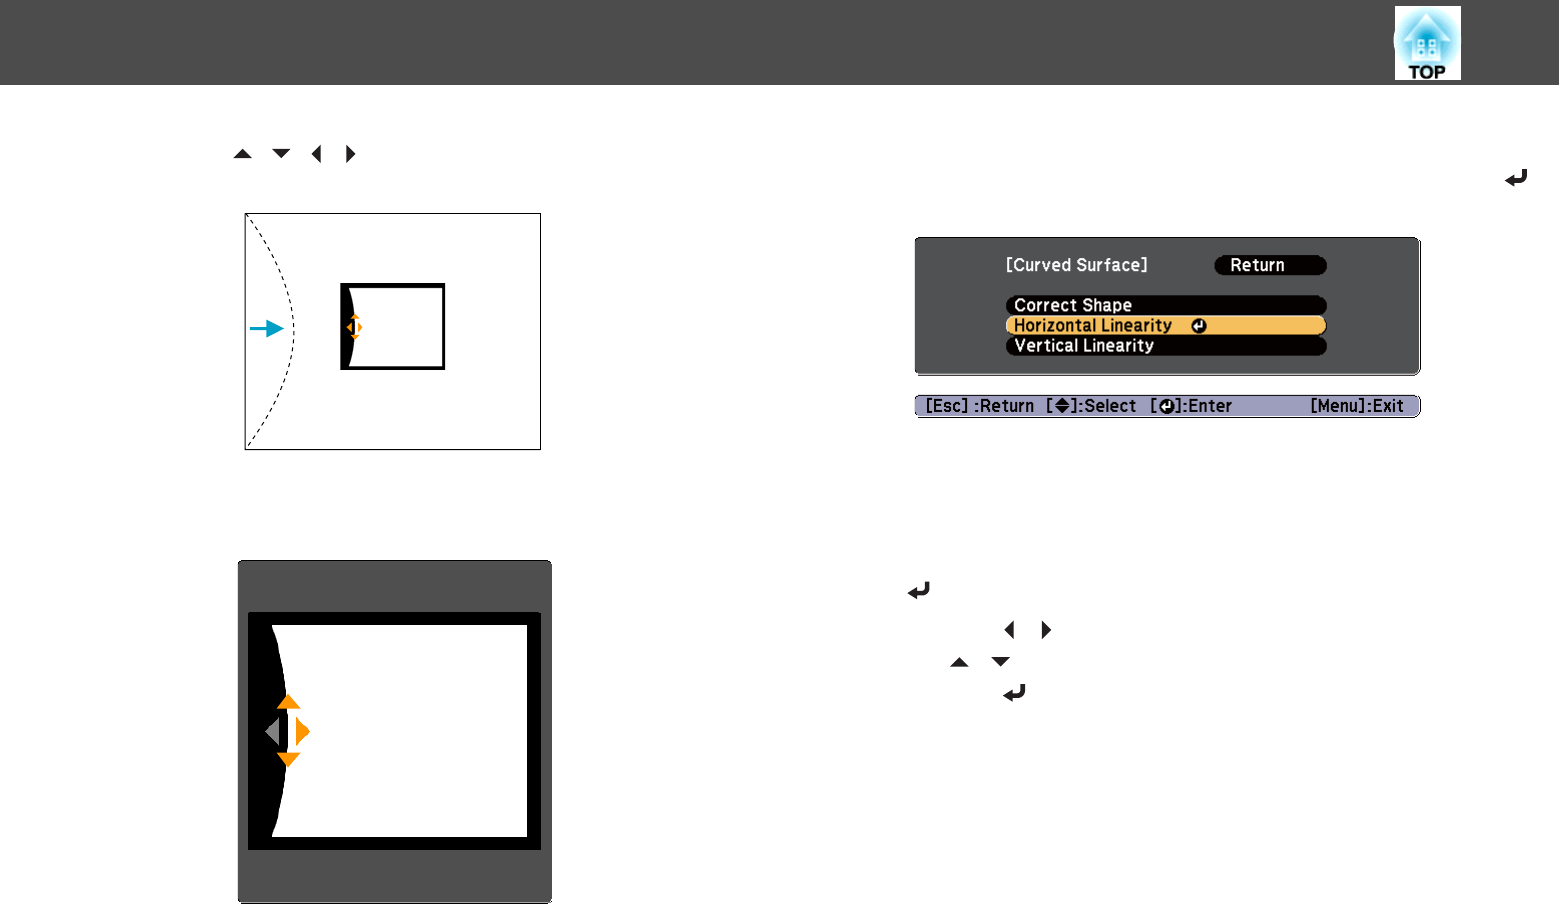
Press the [ ][ ][ ][ ] buttons to adjust the position of the
sides.
If the triangle in the direction you are adjusting the shape turns gray,
as shown in the screen shot below, you cannot adjust the shape any
further in that direction.
g
Press the [Esc] button to return to the previous screen.
h
Repeat steps 5 to 7 as needed to adjust any remaining parts.
If the image expands and contracts, go to the next step and adjust
the linearity.
i
Press the [Esc] button to return to the screen in step 4. Select
Horizontal Linearity or Vertical Linearity, and then press the [
]
button.
Select Horizontal Linearity to adjust the horizontal expansion or
contraction, and select Vertical Linearity to adjust the vertical
expansion or contraction.
j
Select the standard line for the adjustments, and then press the
[
] button.
Press the [
][ ] buttons when selecting Horizontal Linearity, and
the [
][ ] buttons when selecting Vertical Linearity, and then
press the [
] button.
The selected standard line is displayed in flashing orange and white.
Adjusting Projected Images
64


