e
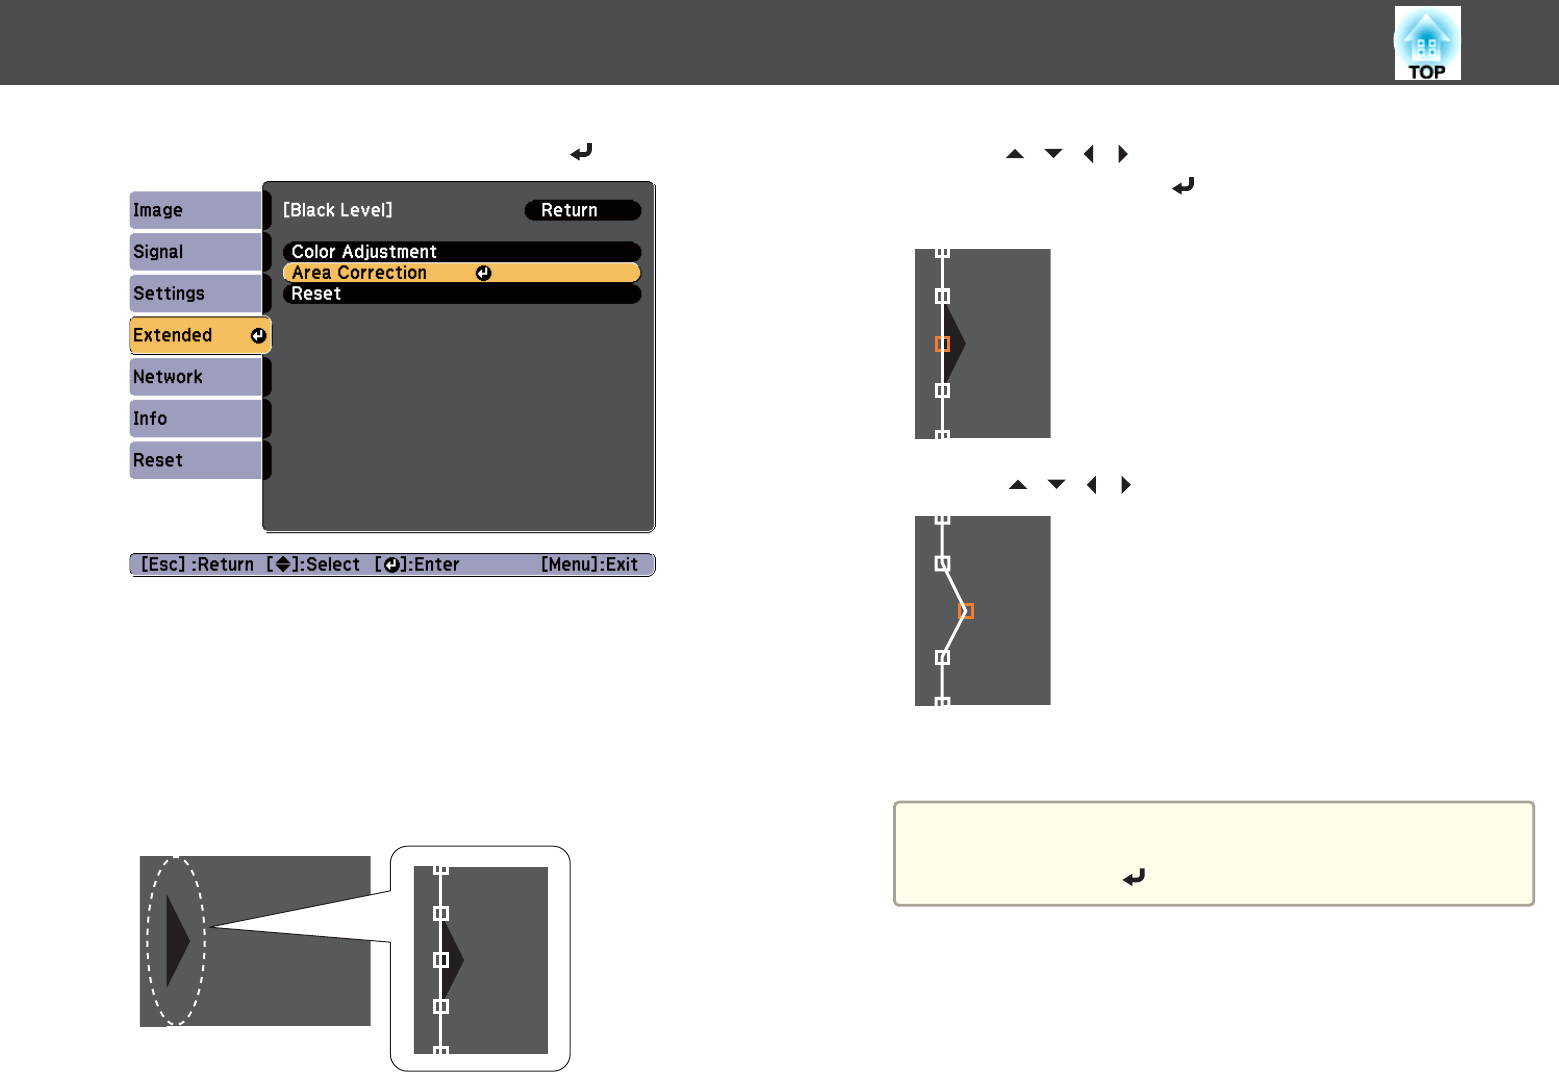
Select Area Correction, and then press the [ ] button.
The points where you want to set the range for adjustment are
displayed.
The points are displayed based on the settings for Top Edge/Bottom
Edge/Right Edge/Left Edge.
The number of points displayed on one side differs depending on the
adjustment method selected in geometric correction.
Example: When Left Edge is On and Point Correction (5x5) is
selected
f
Press the [ ][ ][ ][ ] buttons to select the point you want to
move, and then press the [
] button.
The selected point is displayed in orange.
g
Press the [ ][ ][ ][ ] buttons to move the point.
To continue to move another point, press the [Esc] button to return
to step 6, and then repeat steps 6 and 7.
a
To return Black Level to its default value, press the [Esc]
button to return to the screen from step 5, select [Reset], and
then press the [
] button.
h
To complete the adjustment, press the [Menu] button.
Multi-Projection Function
88


