


Get started
13
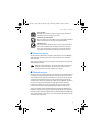
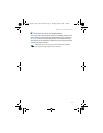
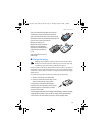
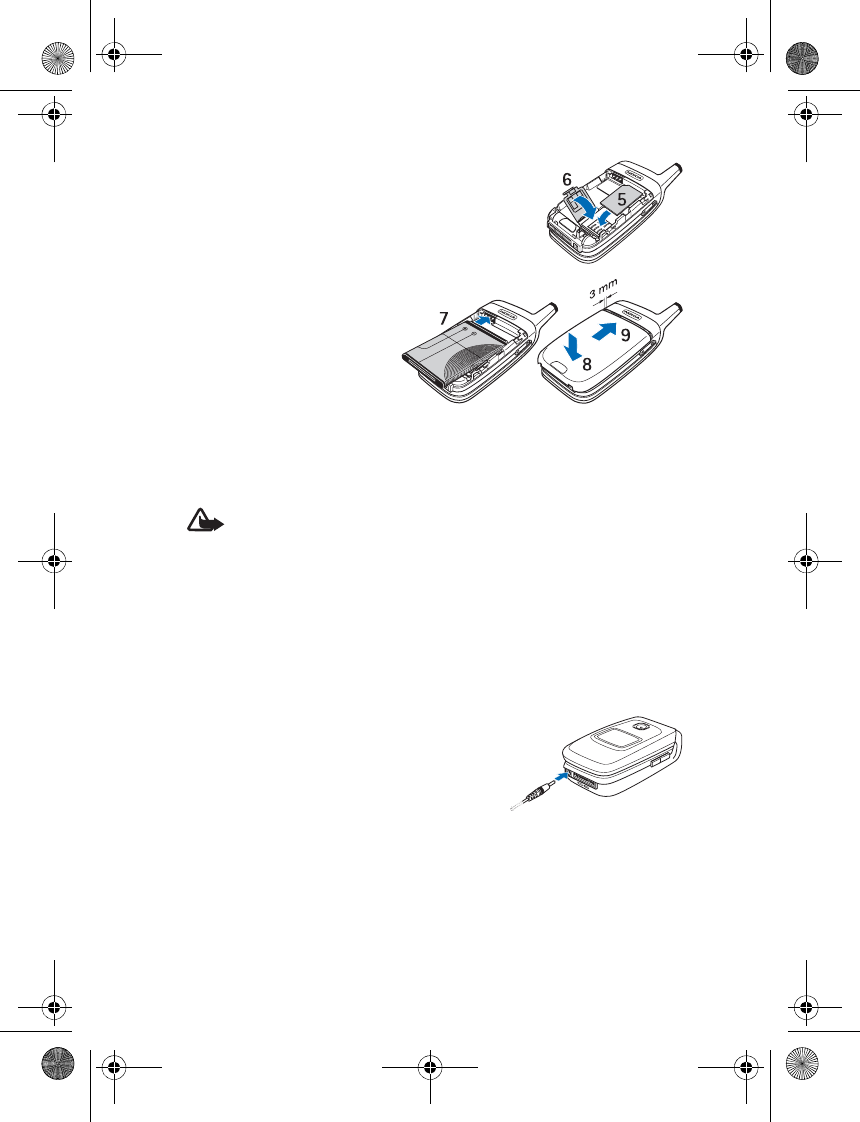
Insert the SmartChip (5). Make sure that the
SmartChip is properly inserted, and that the
gold-colored contact area on the card is facing
downwards. Close the SmartChip holder (6), and
press it until it snaps into position.
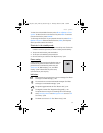
Replace the battery (7).
Observe the battery contacts.
Always use original Nokia
batteries. See “Nokia battery
authentication guidelines,”
p. 78.
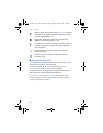
Slide the back cover into its
place (8, 9).
■ Charge the battery
Warning: Use only batteries, chargers, and enhancements approved by
Nokia for use with this particular model. The use of any other types may
invalidate any approval or warranty, and may be dangerous.
Check the model number of any charger before use with this device. This device is
intended for use when supplied with power from an AC-3, AC-4, and DC-4 charger,
and from AC-1, ACP-7, ACP-12, and LCH-12 charger when used with the charger
adapter CA-44.
For availability of approved enhancements, please check with your dealer.
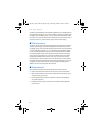
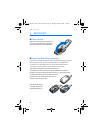
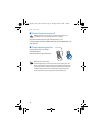
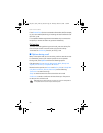
1. Connect the charger to a wall socket.
2. Connect the lead from the charger to the
socket on the bottom of your phone.
If the battery is completely discharged, it
may take a few minutes before the charging
indicator appears on the display or before
any calls can be made.
The charging time depends on the charger and the battery used. For example,
charging a BL-4C battery with the AC-3 charger takes approximately
2 hours and 12 minutes while the phone is in the standby mode.
6102i_EN_ESv1_BIL_9248318_UG.book Page 13 Thursday, March 16, 2006 1:38 PM